How Can We Help?
Predict the Influence of a Discount on Purchases
In this use case example, we will be walking through how to maximize the ROI of a marketing campaign by using Uplift Modeling. Specifically, we’ll find the users whose predicted probability to convert is increased the most when presented with a discount.
What are Uplift pipelines?
Predictions from an Uplift pipeline answer the question: how is my intervention expected to influence each user’s likelihood of converting in the future? Your intervention can be any action that you take or experience that you provide in order to influence user behavior. Your definition of “converting” can be defined based on any event data that is being tracked and sent to Cortex.
The predictions from an Uplift pipeline range from 0-1, where a higher prediction means that your intervention will have a larger impact on the user’s likelihood of converting.
When data do I need for this prediction
Before you can build an Uplift pipeline, you must first run an A/B test so that some users receive your intervention (treatment group), and other users do not (control group). It’s important that this A/B test is randomized — that is, both the treatment and control group should be made up of users selected entirely at random. This allows Cortex to gather unbiased data on how users respond to your intervention.
This example requires:
- A/B Test Groups: a list of users who were in each variant of your A/B Test
- Conversion Event: since this example is trying to optimize for a conversion, i.e. purchase, we need to track this user event through Cortex
While the above is all that is required to set up our sample prediction, more data will typically lead to better predictive performance. Other information that can be used to build features for our pipeline include:
- Additional User Behaviors (e.g. logins, clicks, pageviews, adds to cart, etc.) with additional metadata (e.g. What device is the user on? Where was the user referred from? etc.)
- User Attributes (e.g. demographics, loyalty status, etc.)
How do I build these pipelines in Cortex?
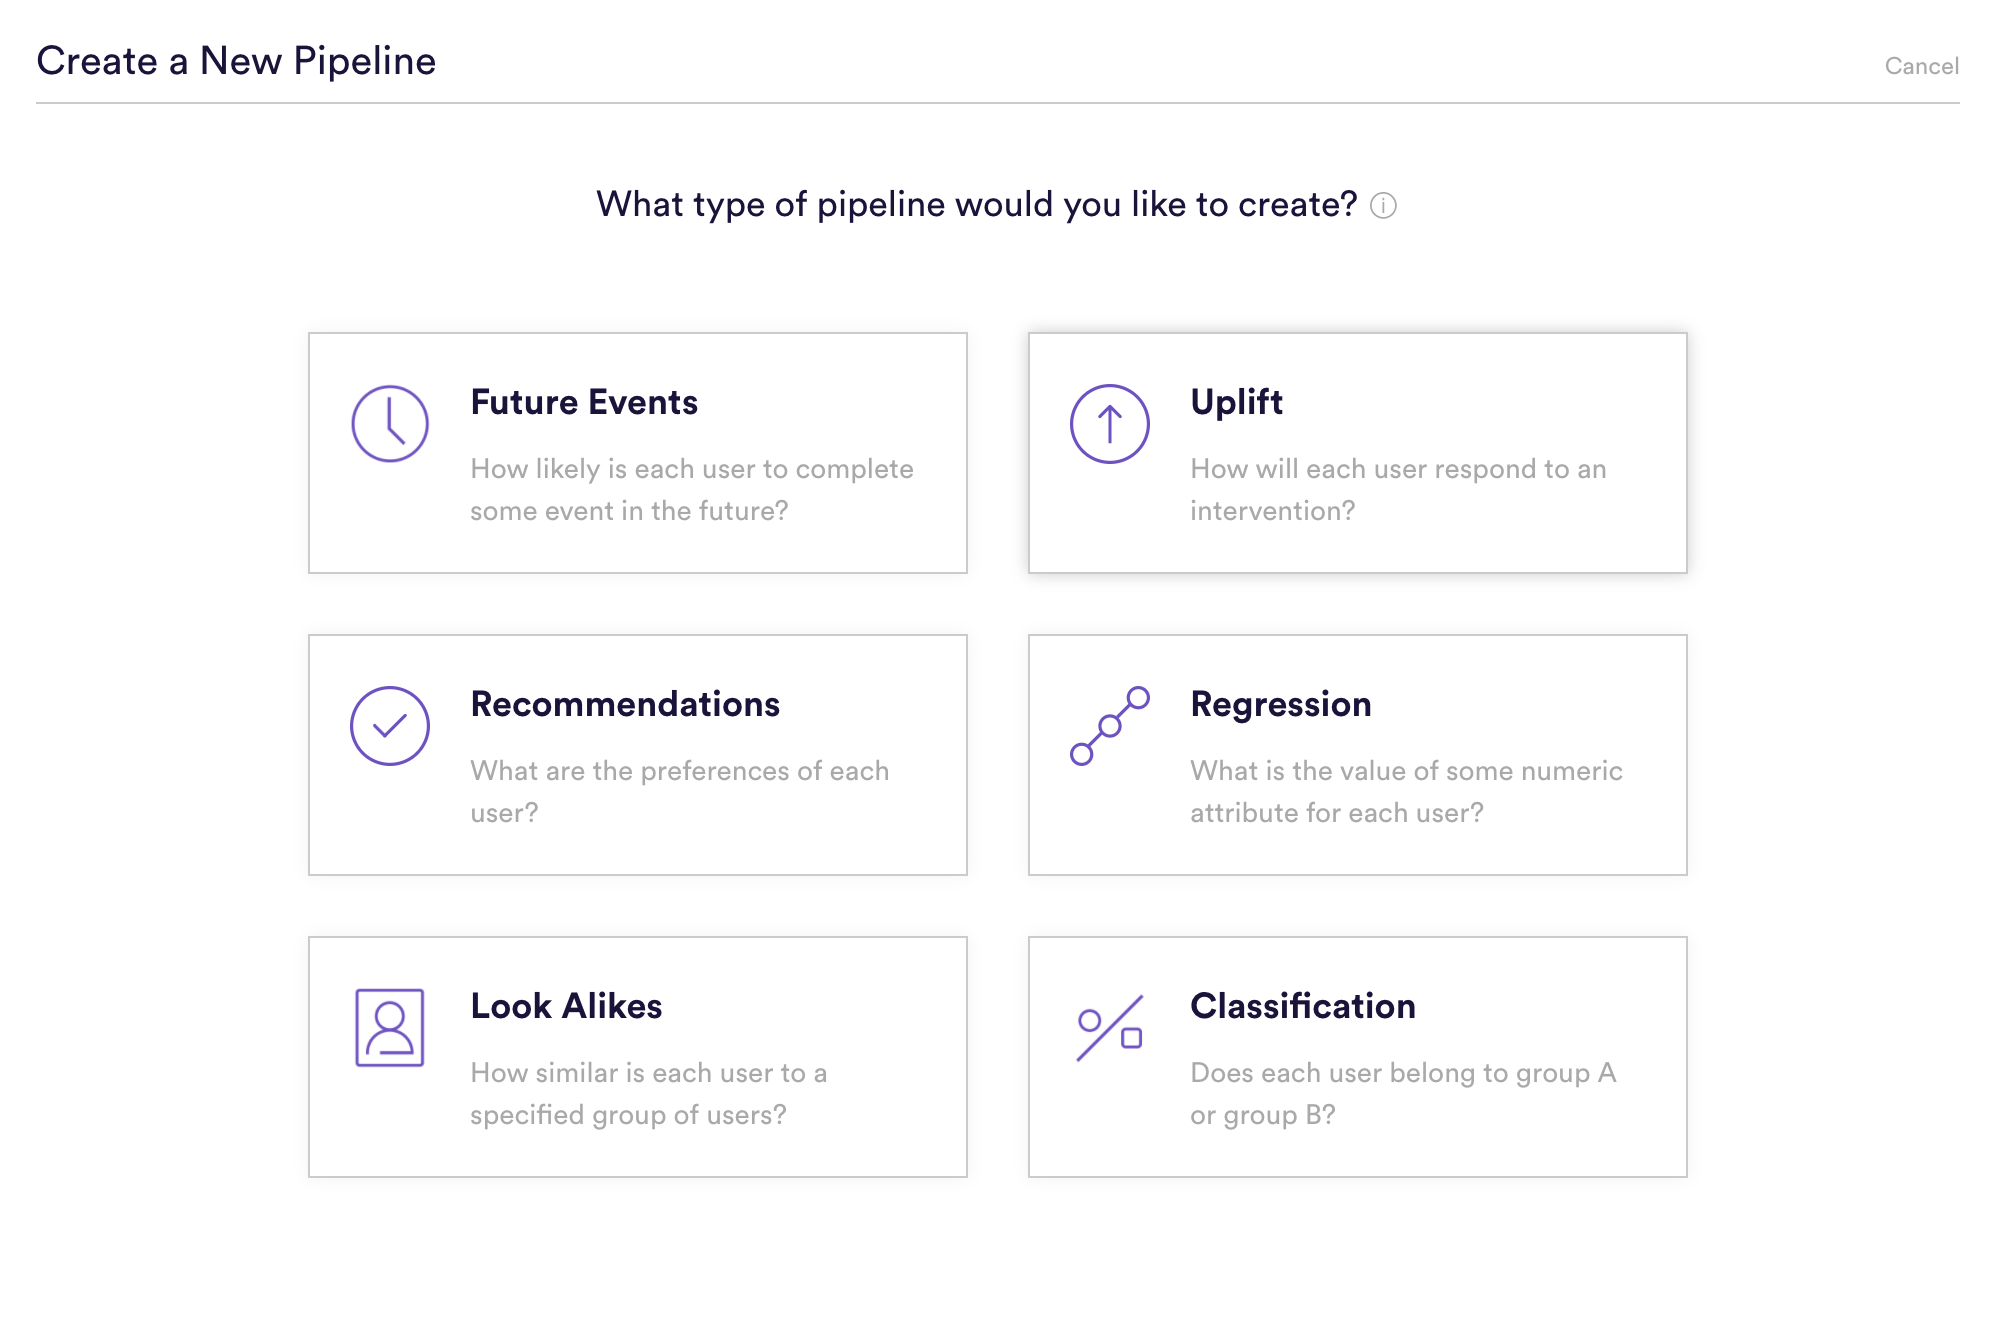
Step 1: Choose Pipeline Type
Select “Create New Pipeline” from within your Cortex account, and choose the Uplift pipeline type. Note that before you can proceed, you’ll need to confirm that you’ve conducted a randomized A/B test for the intervention whose impact you’d like to predict.
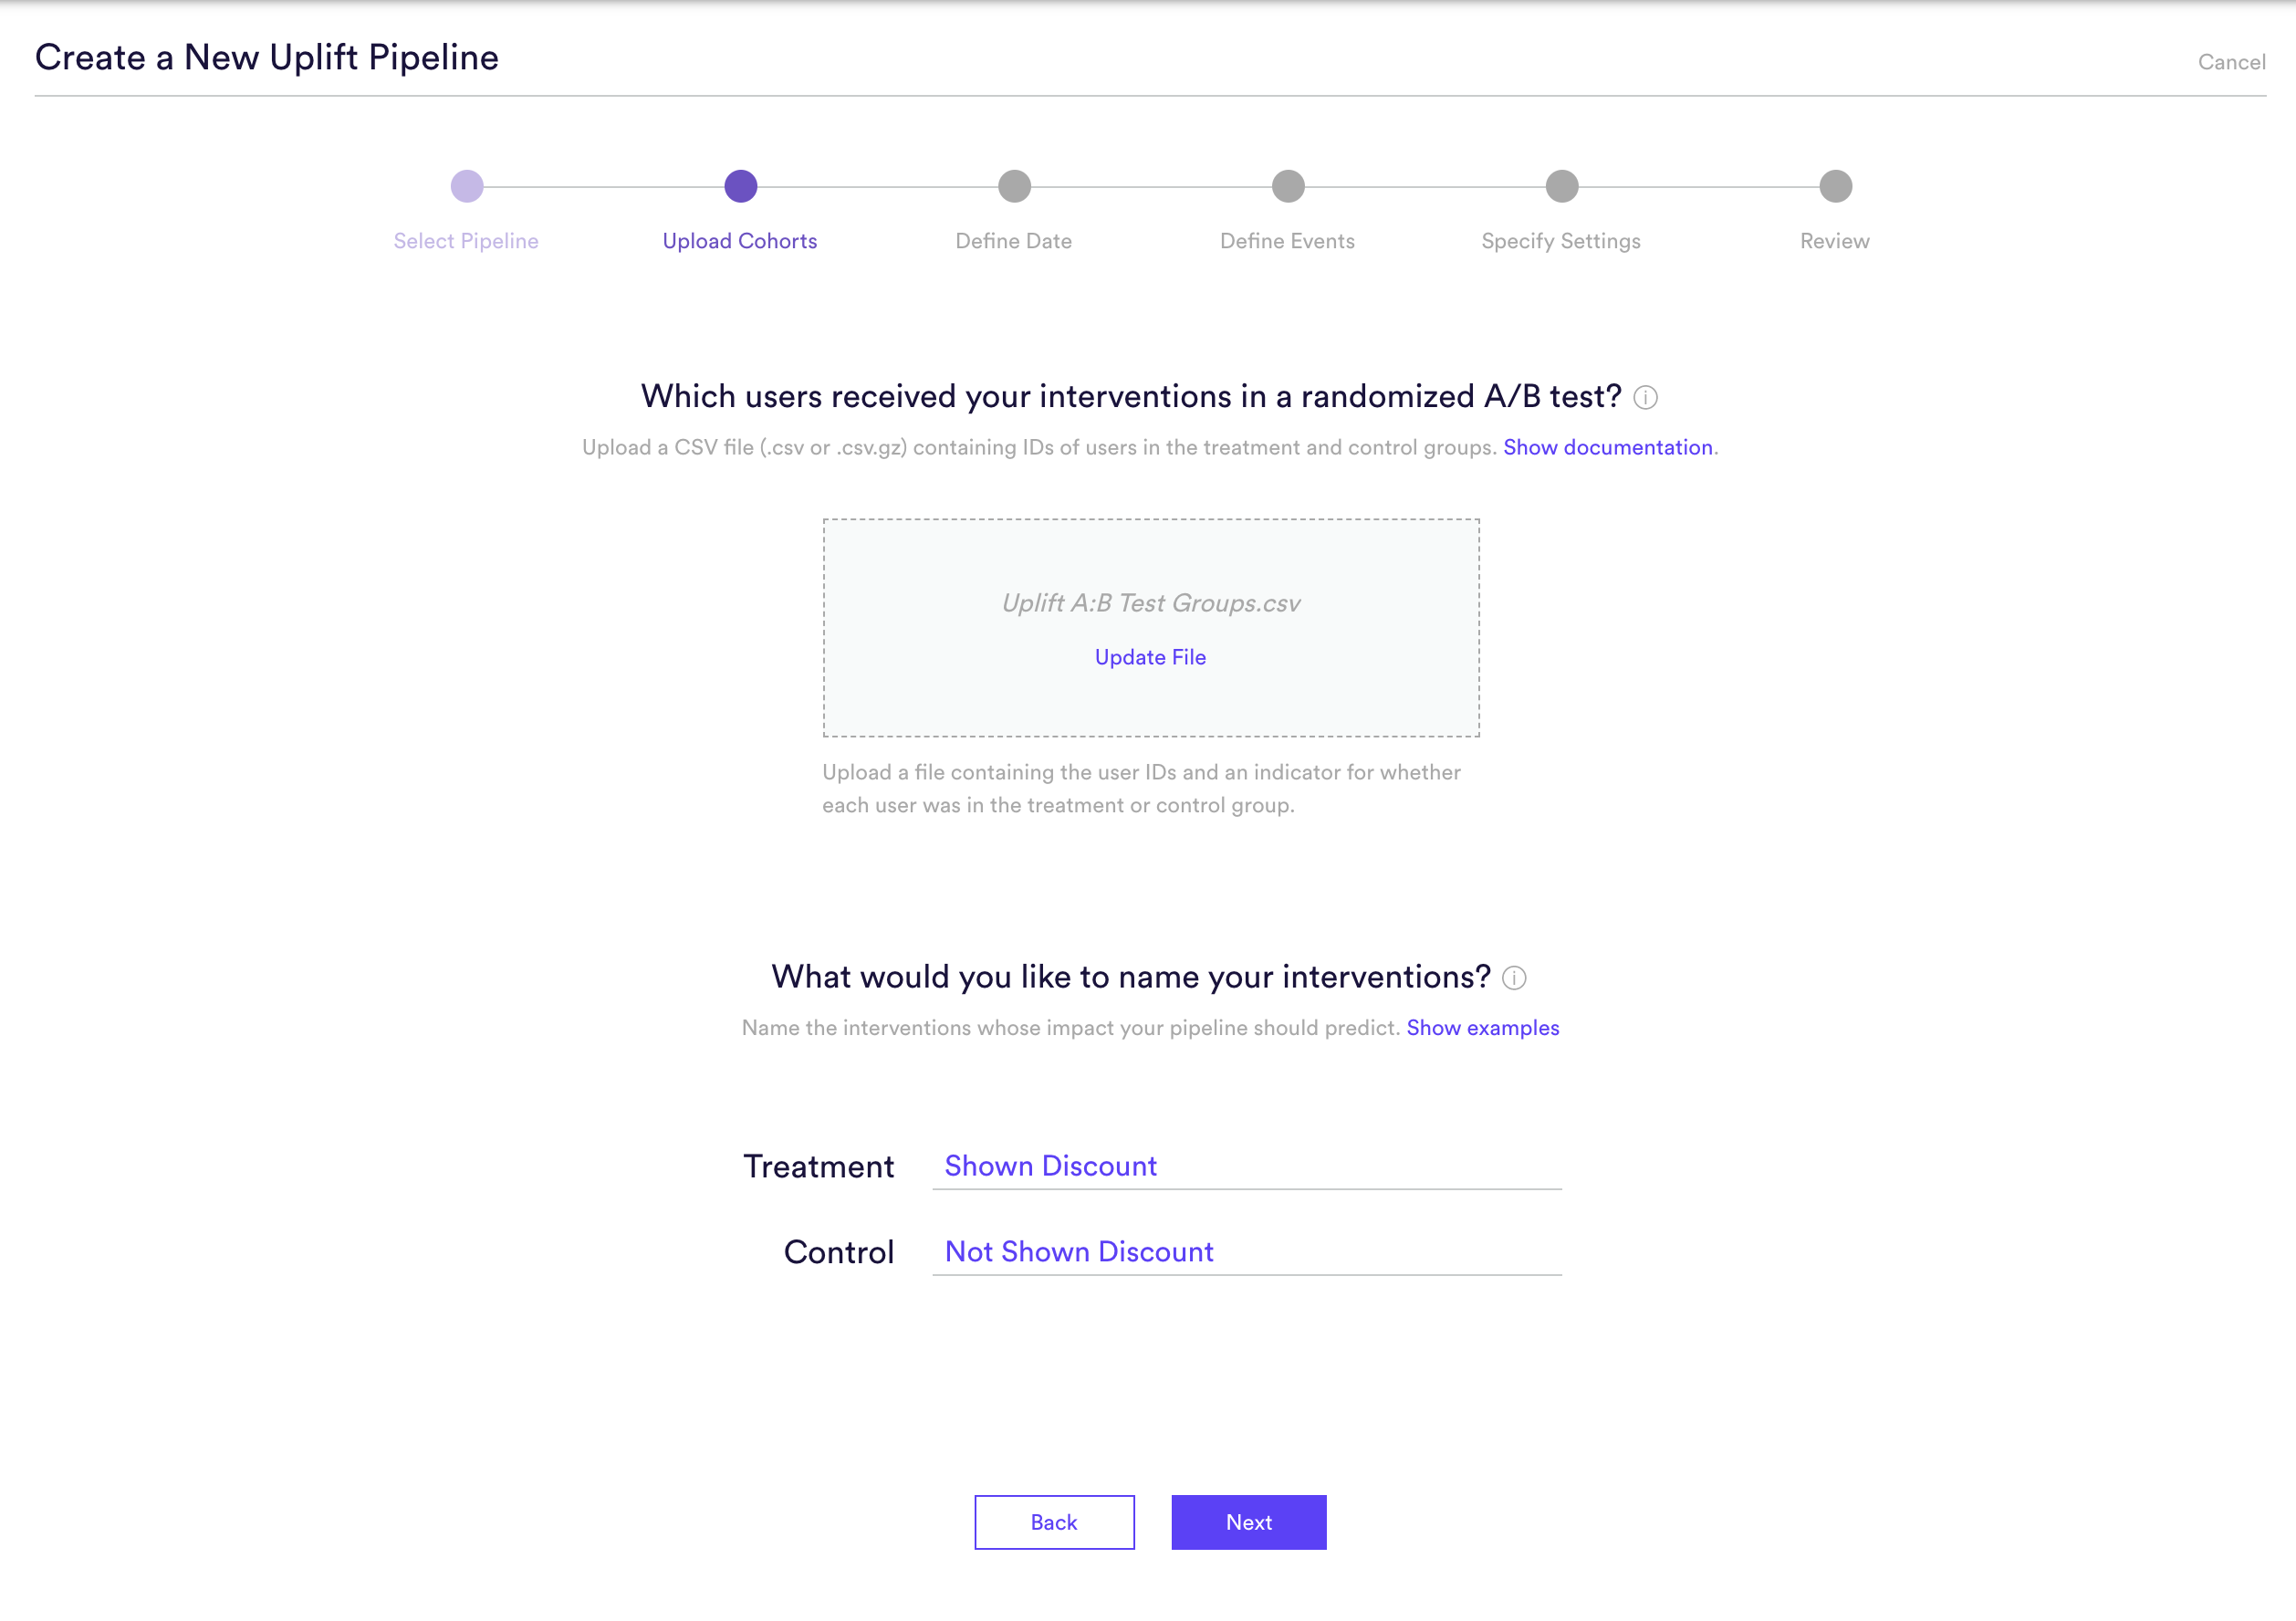
Step 2: Upload Cohorts
Upload a file containing a list of users that were included in the A/B test you confirmed in Step 1. It’s important that this A/B test is randomized — that is, both the treatment and control group should be made up of users selected at random.
Once you’ve uploaded your file, enter a descriptive name for the interventions that you tested. The names you provide will be used only to summarize your predictions in an understandable way and won’t have any effect on what your pipeline is predicting or how it performs.
Here we have two variants to our A/B Test
- Treatment: Shown Discount
- Control: Not Shown Discount
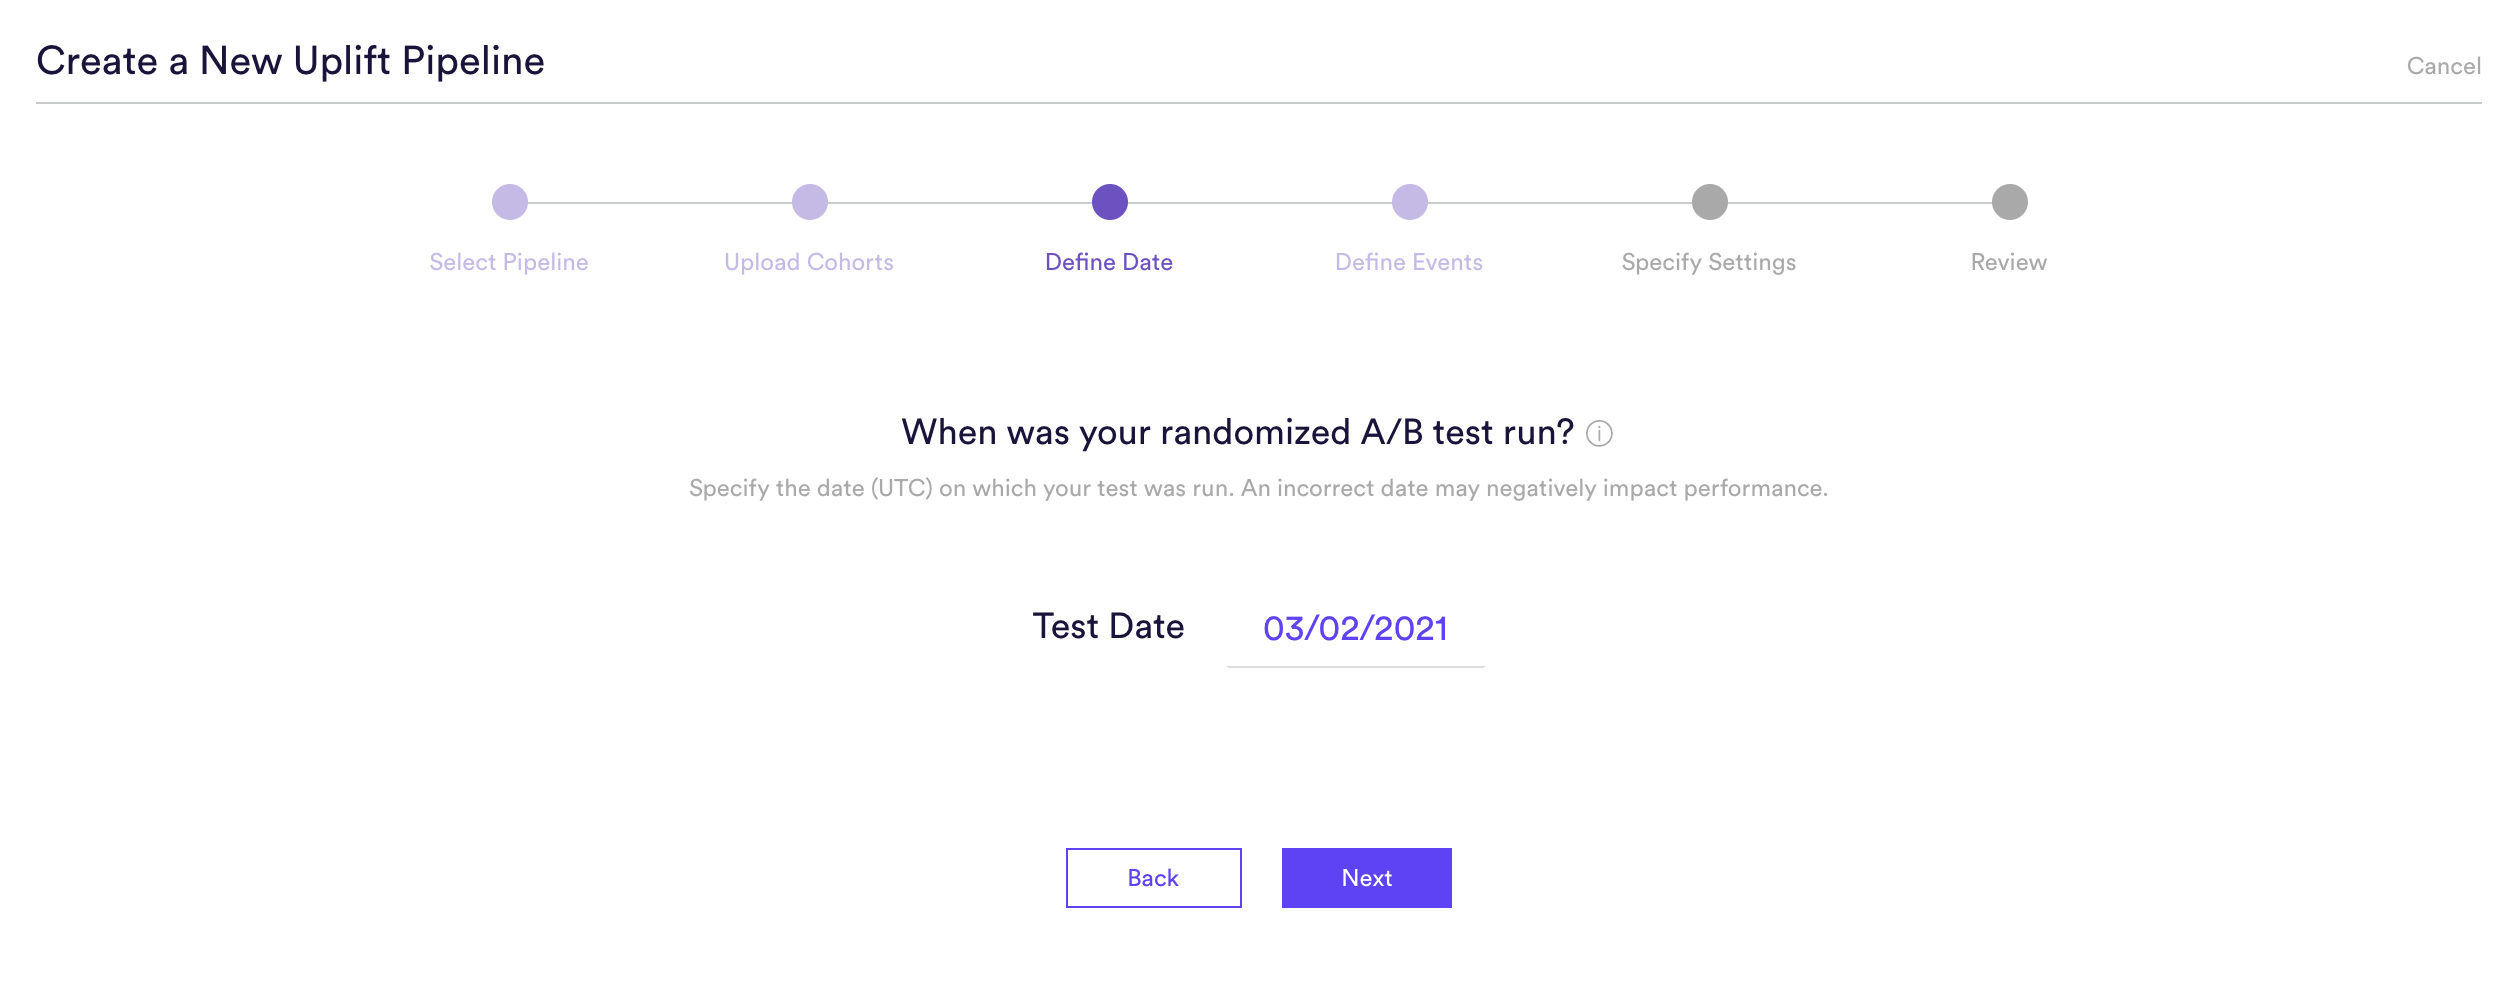
Step 3: Define Dates
Specify the date (UTC timezone) on which your A/B test was run — that is, when your test and control groups first received their interventions. Providing an accurate date is critical to building a high quality uplift pipeline — in order to learn which users will convert because of your intervention, Cortex needs to know which conversions occurred before vs. after the intervention was received.
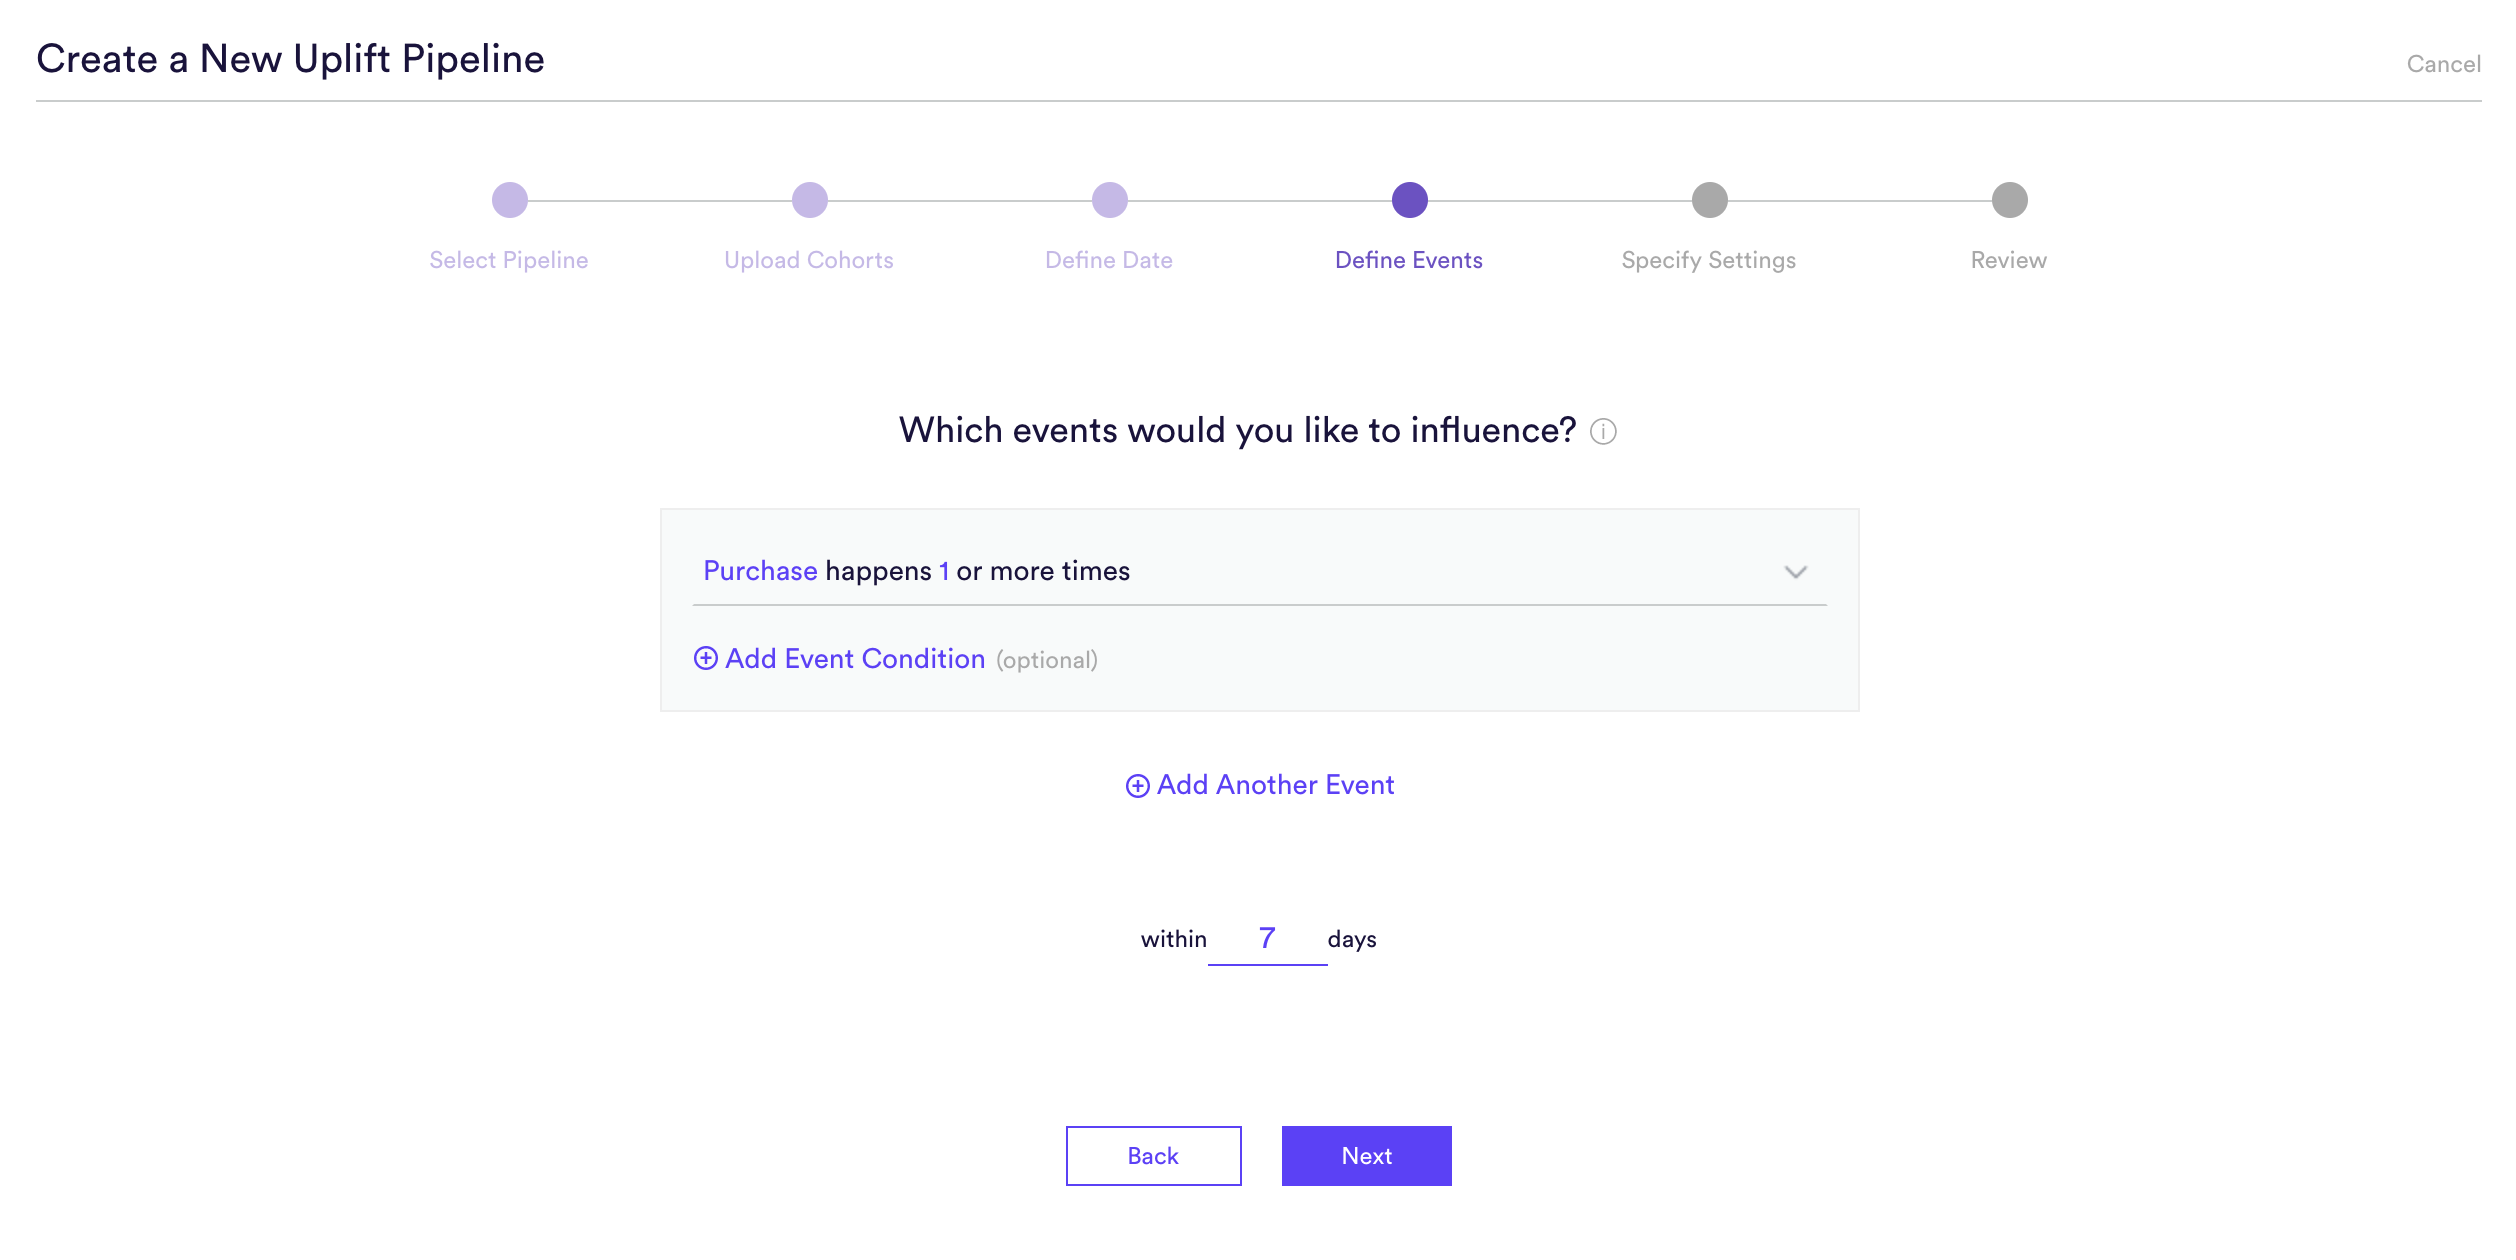
Step 4: Define Events
Uplift pipelines are used to predict how an intervention will change the likelihood that each user completes some conversion outcome in the future. Defining that outcome means providing four pieces of information to Cortex:
- (A) Event Type – The type of event that you’d like to influence. Here we are trying to get our users to make a Purchase.
- (B) Frequency – How many times the event must occur to count as a conversion. Here we are only trying to predict a single Purchase.
- (C) Event Conditions – Conditions (if any) under which the event must occur to count as a conversion. We have no additional conditions to our Purchase event, but if we were trying to drive purchases of a specific category of item this would be where that is specified.
- (D) Prediction Window – How far into the future your pipeline should predict. Because Cortex uses past conversion data to make predictions about the future, how far into the future your pipeline can predict is limited by how much time has passed since your A/B test.
You can define any outcome that you can describe in this way with your data. Add any number of conditions to an event, or chain any number of distinct events together using AND/OR. No matter how complex, your events will always read like an English sentence.
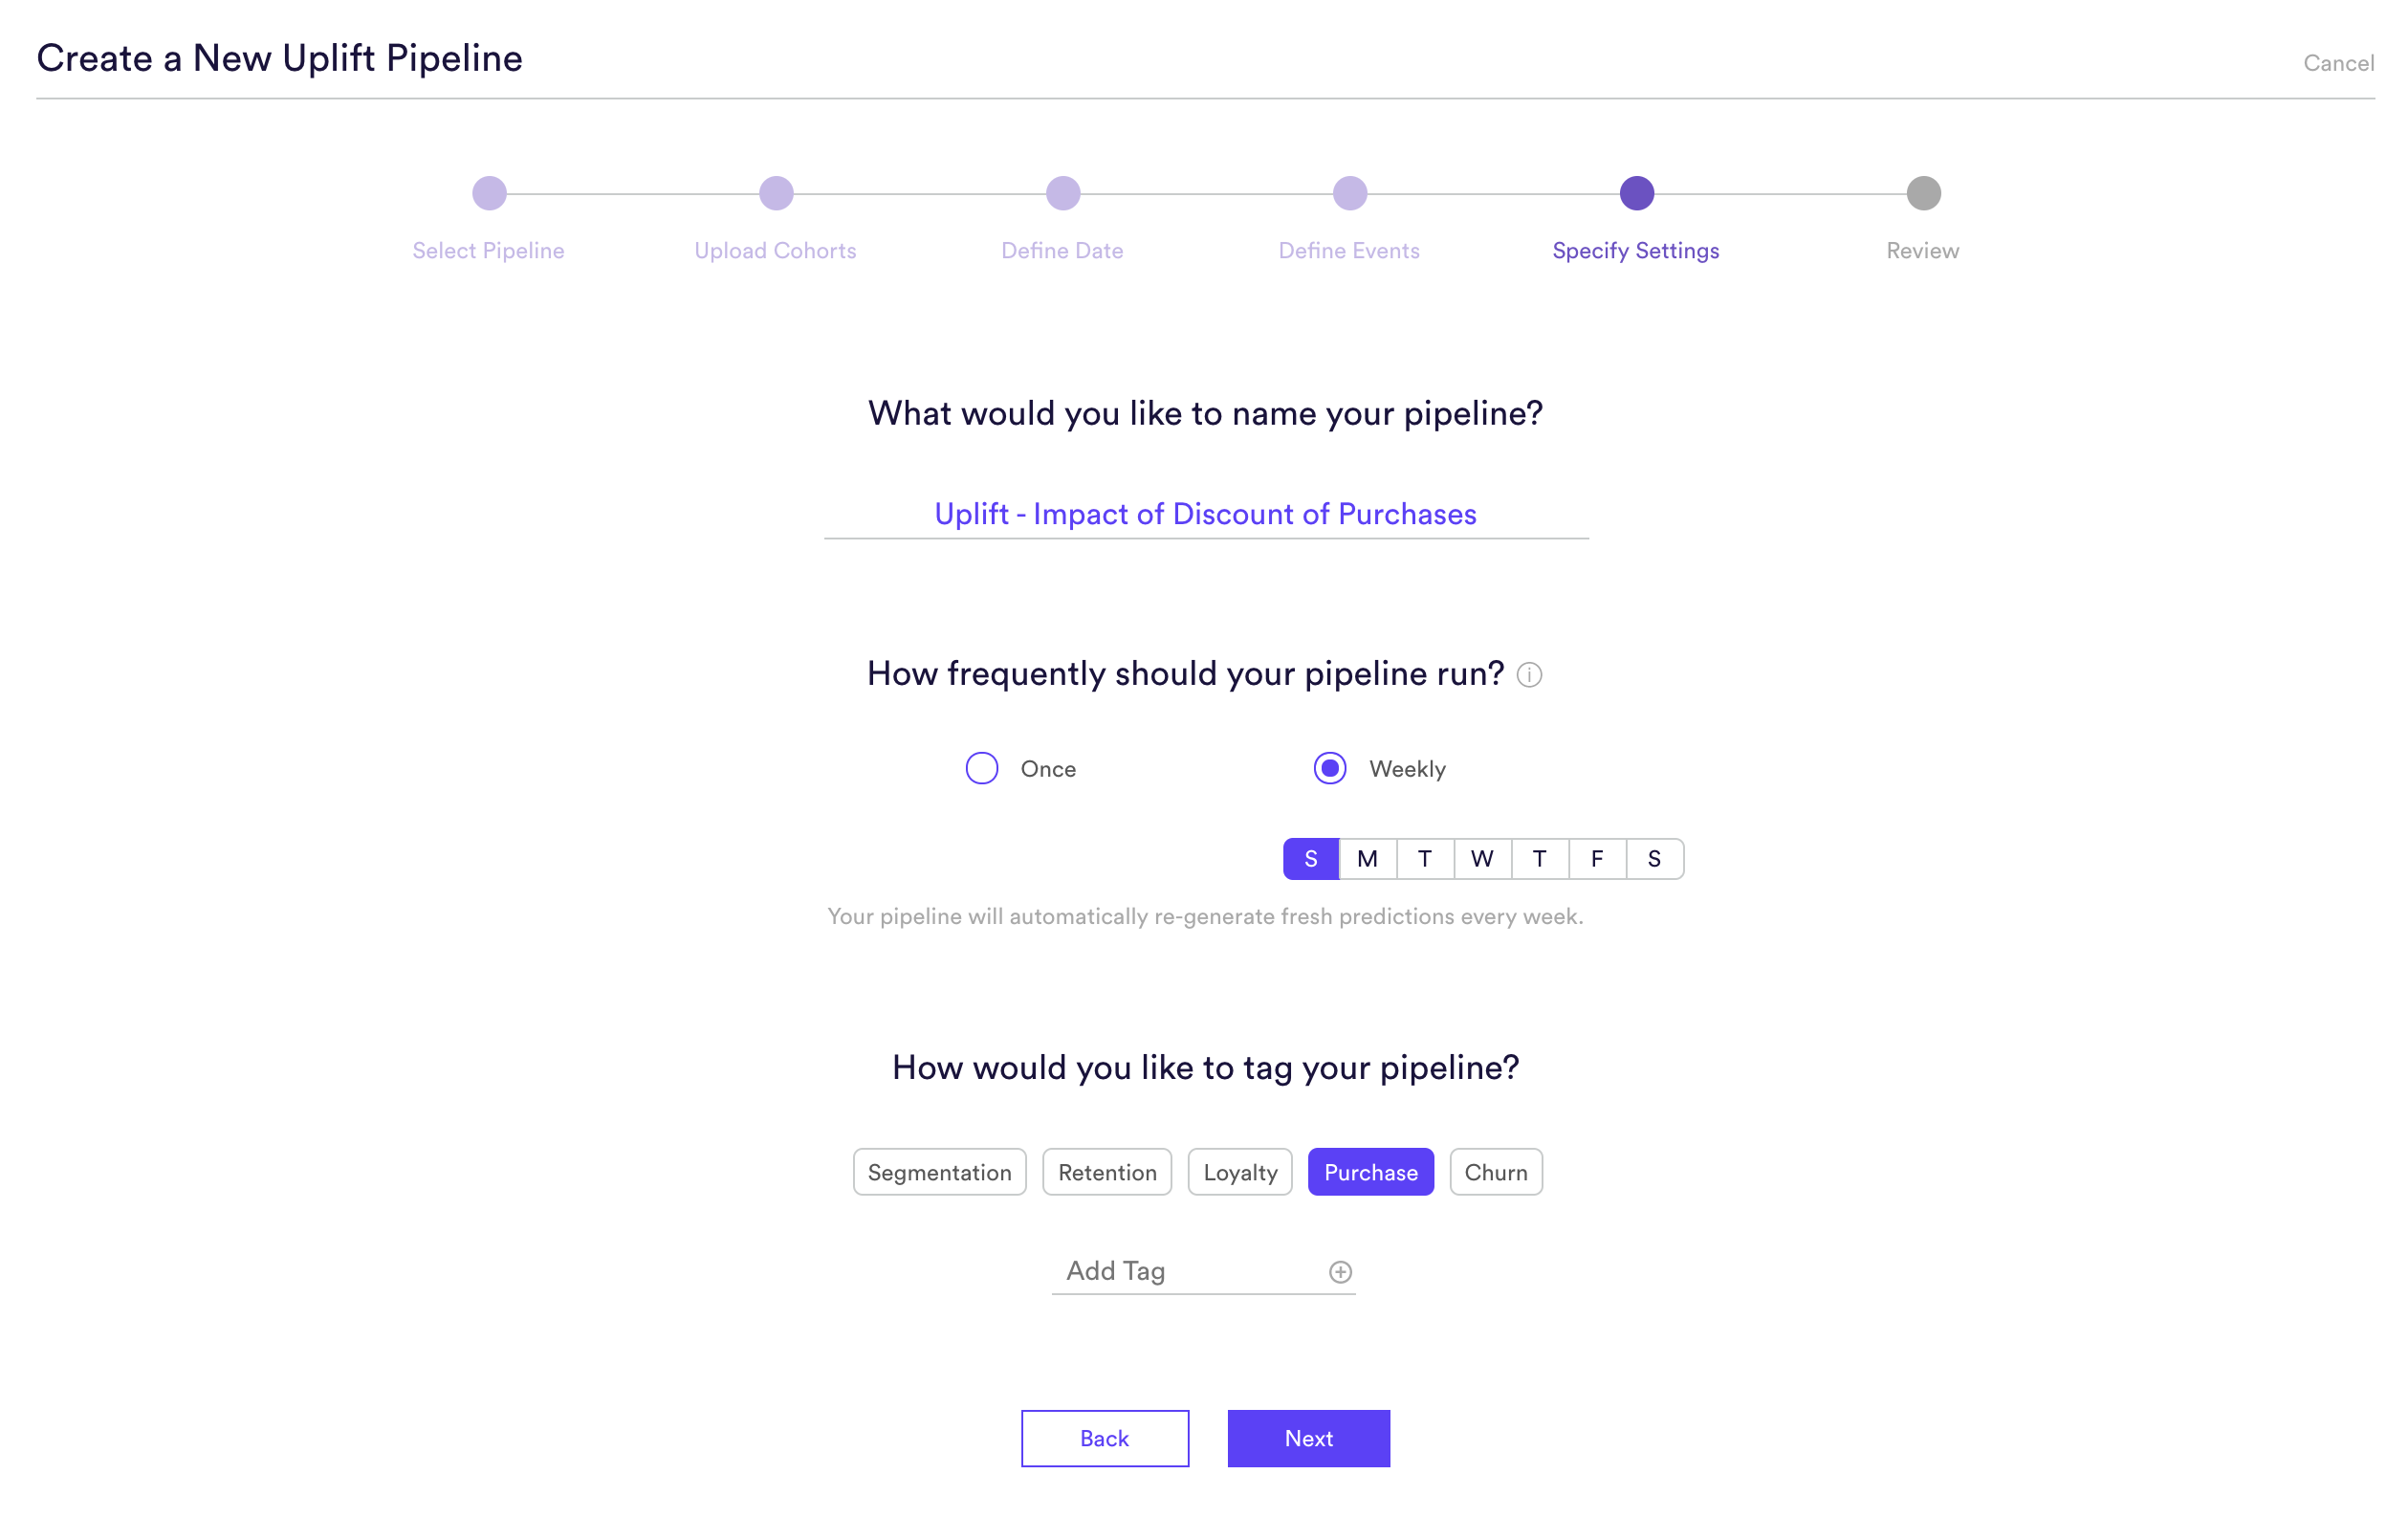
Step 5: Specify Settings
Specify settings such as your pipeline’s name, schedule, tags, and more. Finally, review that everything looks correct and begin training your pipeline! Our settings for this pipeline are:
- Name: Uplift – Impact of Discount on Purchase
- Pipeline Run Frequency: Weekly on Sundays
- Tags: Purchase
Every time your pipeline runs, Cortex goes through the end-to-end process of generating fresh predictions from the latest data that’s been ingested. If you’d like to power automation based on recommendations that are always up-to-date, make sure your pipeline is set to run continuously. If you’re just testing things out or building a pipeline for one-time use, your pipeline should only run once.
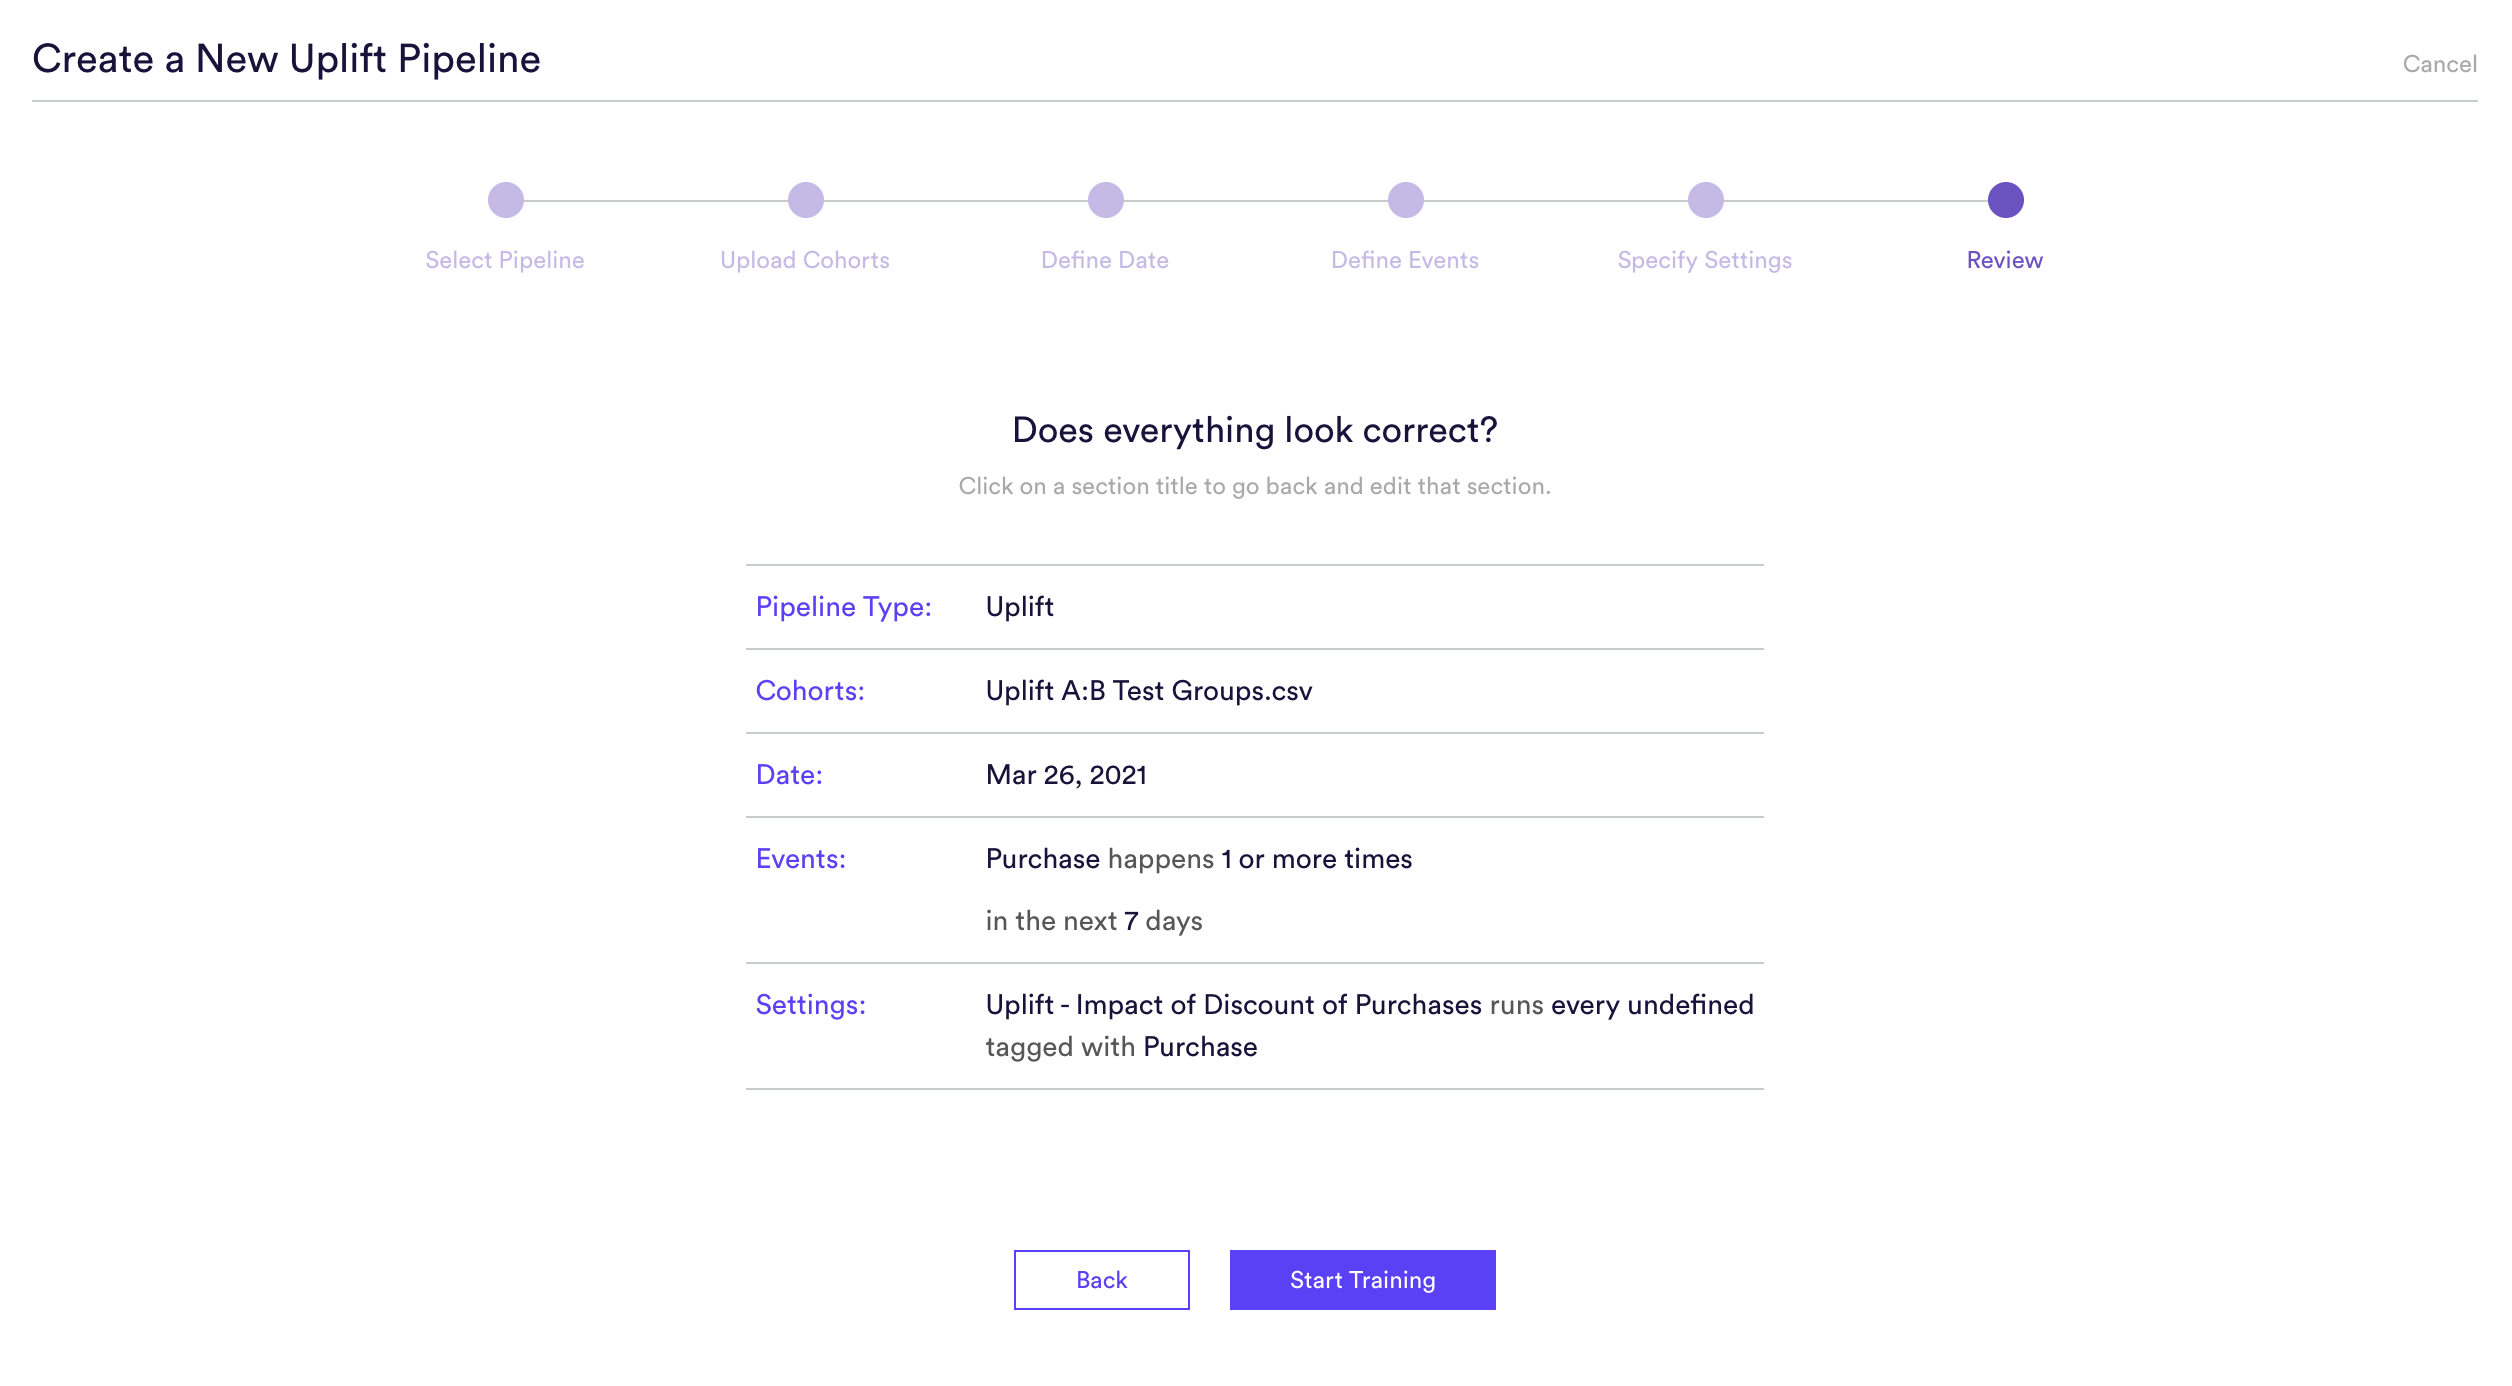
Step 6: Review
The final step is to review your pipeline and ensure all settings look accurate! If anything needs updated, simply go ‘Back’ in the workflow and update any step.
Step 7: Update Cohorts over Time (optional)
If you’re re-running your A/B test over time, you can import the new cohorts into Cortex so that your pipelines are always learning from the most recent information. To upload new labels, hit the “Edit” button on your pipeline (next to “Export Predictions”).
Related Links
- Uplift Performance
- How to Build a Future Events Pipeline
- How to Build a Look Alike Pipeline
- How to Build a Classification Pipeline
- How to Build a Regression Pipeline
- How to Build a Recommendations Pipeline
Still have questions? Reach out to support@mparticle.com for more info!