How Can We Help?
Pipeline Management
Cortex was built on the idea that everyone in an organization should have the ability to create predictions off the data that is already being captured. This means that, ideally, multiple teams are creating any number of predictions within Cortex over time.
Because this can lead to many Machine Learning Pipelines running and being active at the same time, it’s important that you are able to find the pipelines that matter to you. This article will go over the ways you can manage your pipelines within Cortex.
ML Pipelines
Your pipelines can be managed within the ML Pipelines tab. From this tab, you will be able to:
- Create new Pipelines
- Sort and filter any existing Pipeline
- Find a Pipeline to view results
- Edit Tags list

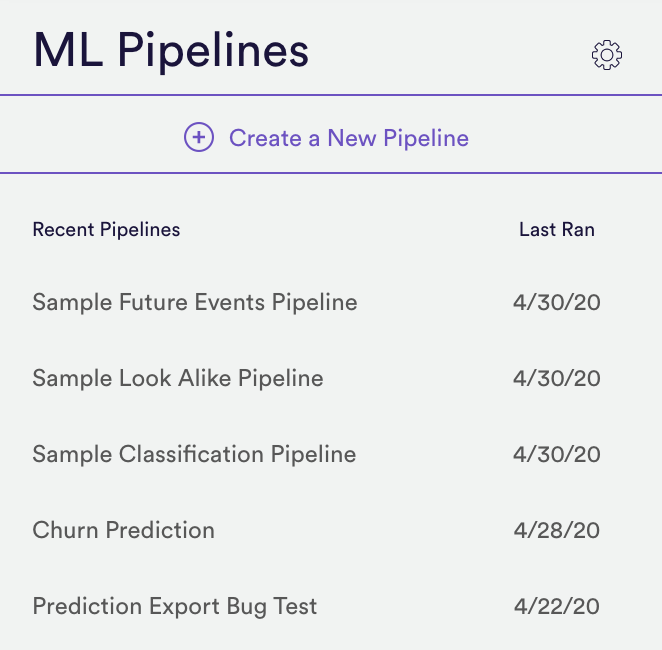
ML Pipelines Left Hand Navigation
Pipelines are the key objects within Cortex, so we want to make sure you have easy access to them. Every page within the ML Pipelines tag will show a list of Recent Pipelines in the left column. From here you also have the ability to start creating a new pipeline.
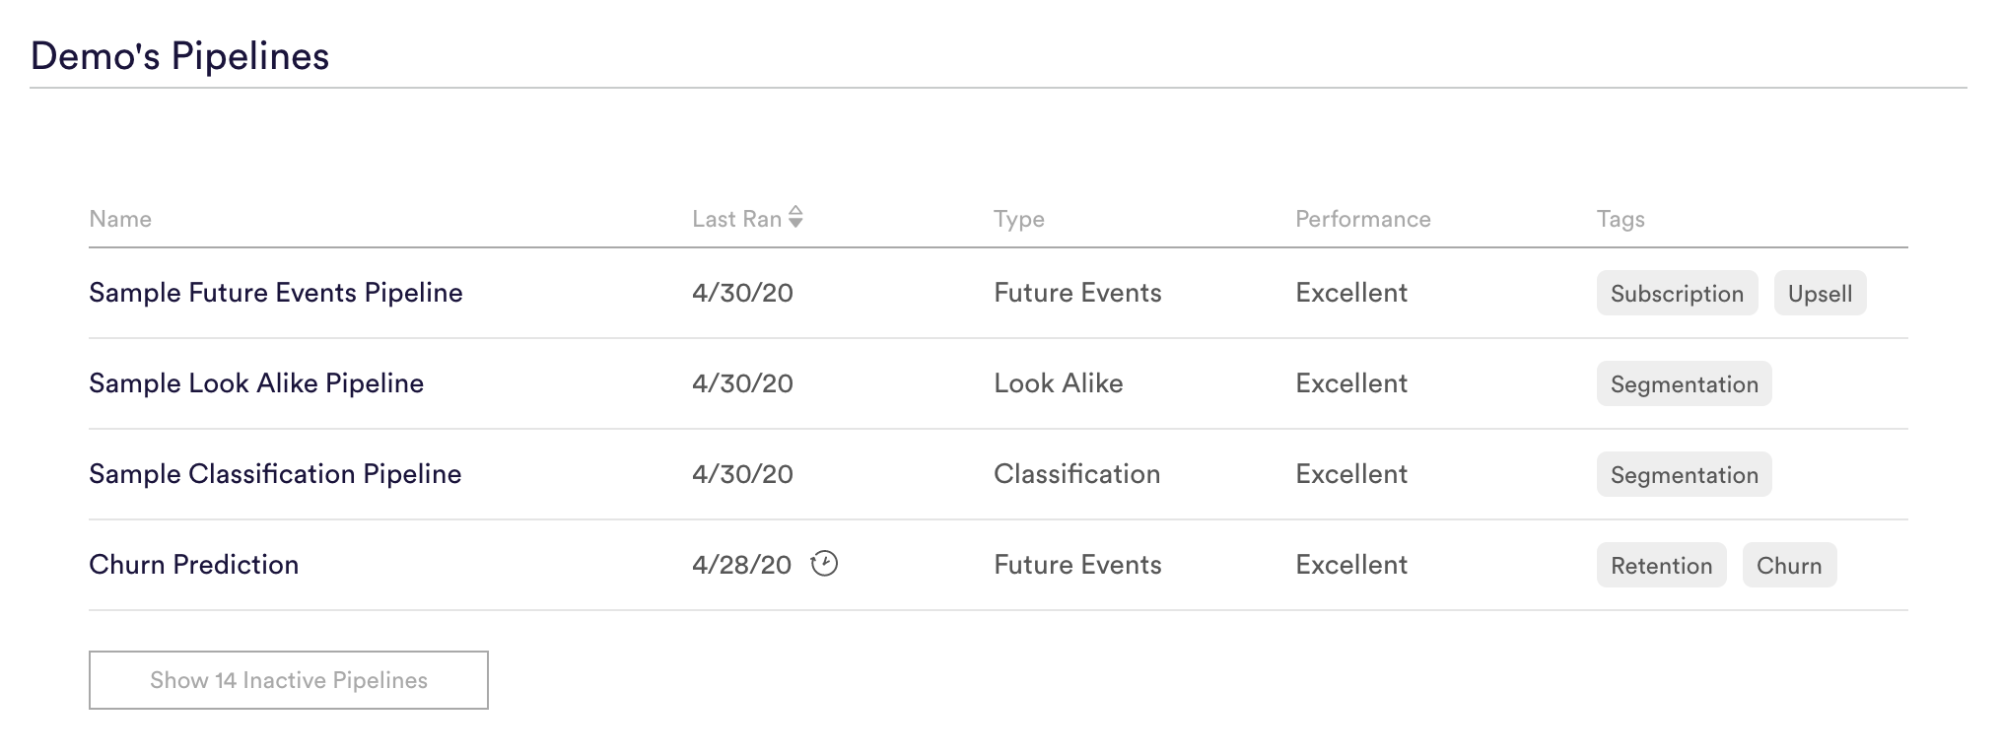
ML Pipelines Sort and Filter
The main table in the ML Pipelines tab will default to showing all Active pipelines in your account. A recurring pipeline will always remain Active as long as they are on a schedule and continue to run. A one-time pipeline will go inactive by default a week after the predictions are made. If a pipeline is marked Inactive, it will be hidden by default in the table.
Pipelines go inactive and are automatically archived if their predictions are out-of-date and not suitable to be used in production. You can always find Inactive pipelines by toggling the Show/Hide Inactive Pipelines button, after which you can select an Inactive pipeline to schedule a training to reactivate.
From this table, you can select any pipeline in order to be taken to the pipelines results and export page. You can also use the table headers to sort the table.
Manage and Edit Tags List
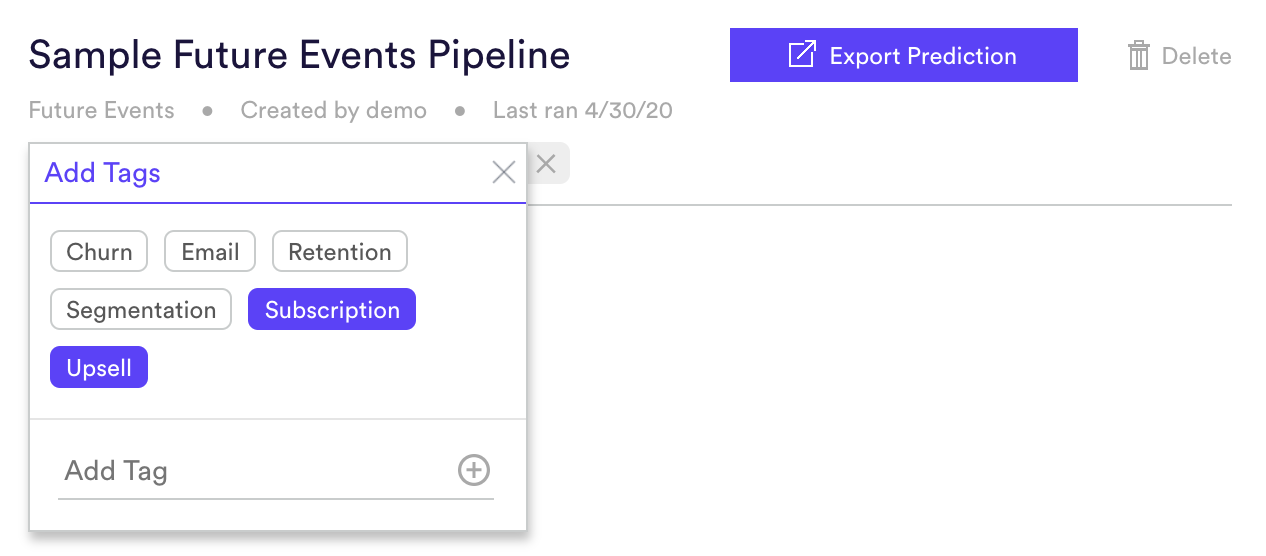
One way to filter your pipelines list is through tags. Any number of tags can be added to a Pipeline, and these tags can be used to group similar pipelines together. Tags can be added to a Pipeline in two locations
- From the ML Pipelines table, you can use the Checkbox select for one, or multiple pipelines, in order to add additional tags. You can also use this bulk select to delete one, or more, pipelines from your account.
- In Step 4 of building your pipeline, you will be able to add a tag to your pipeline. After a pipeline has been trained, you can added or remove tags from the results page
From both locations, you can choose to add an existing tag or create a brand new tag.
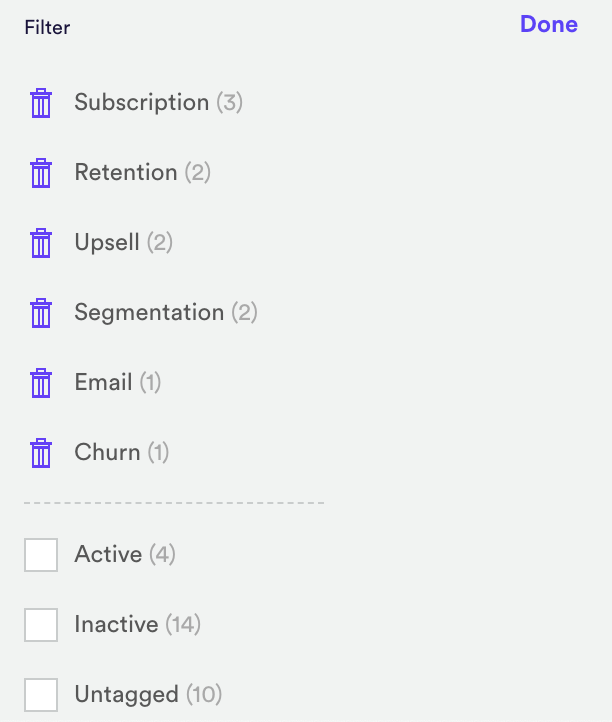
In order to use tags to filter and group pipelines, you can do that from the ML Pipelines tag. Simply select the tag you are looking for from the left hand column, and the ML Pipelines Table will automatically be updated to reflect. Also, from this page you can Edit and Remove any existing tags.
Related Links
- What is a Machine Learning Pipeline?
- How to Build a Future Events Pipeline
- How to Build a Look Alike Pipeline
- How to Build a Classification Pipeline
- How to Build a Regression Pipeline
Still have questions? Reach out to support@mparticle.com for more info!