How Can We Help?
Predict User Age
In this use case example, we will be walking through how to predict a numeric attribute value for each user using a type of Machine Learning Pipeline called Regression. Specifically, we’ll cover how to predict each user’s age based on a list of users whose age is already known.
What data do I need for this prediction?
Predictions from a Regression pipeline answer the question: what is the value of a numeric attribute for each user? In order for Cortex to make this prediction, it is necessary to upload a list of User IDs associated with known values of this attribute. In this example the upload list will be a 2 column file consisting of a User ID and the known Age of that user during a specific time period. Cortex will then analyze the behaviors of this specific group, and use that information to predict the age for every other user.
While the list of User IDs and known Ages is the only information required when setting up our Regression pipeline, additional information about these users is needed in order to make accurate predictions. This information is used to build features for our pipeline:
- User Behaviors (e.g. purchases, logins, clicks, pageviews, adds to cart, etc.) with additional metadata (e.g. What device is the user on? Where was the user referred from? etc.)
User Attributes (e.g. demographics, loyalty status, etc.)
How do I predict the Age of each User?
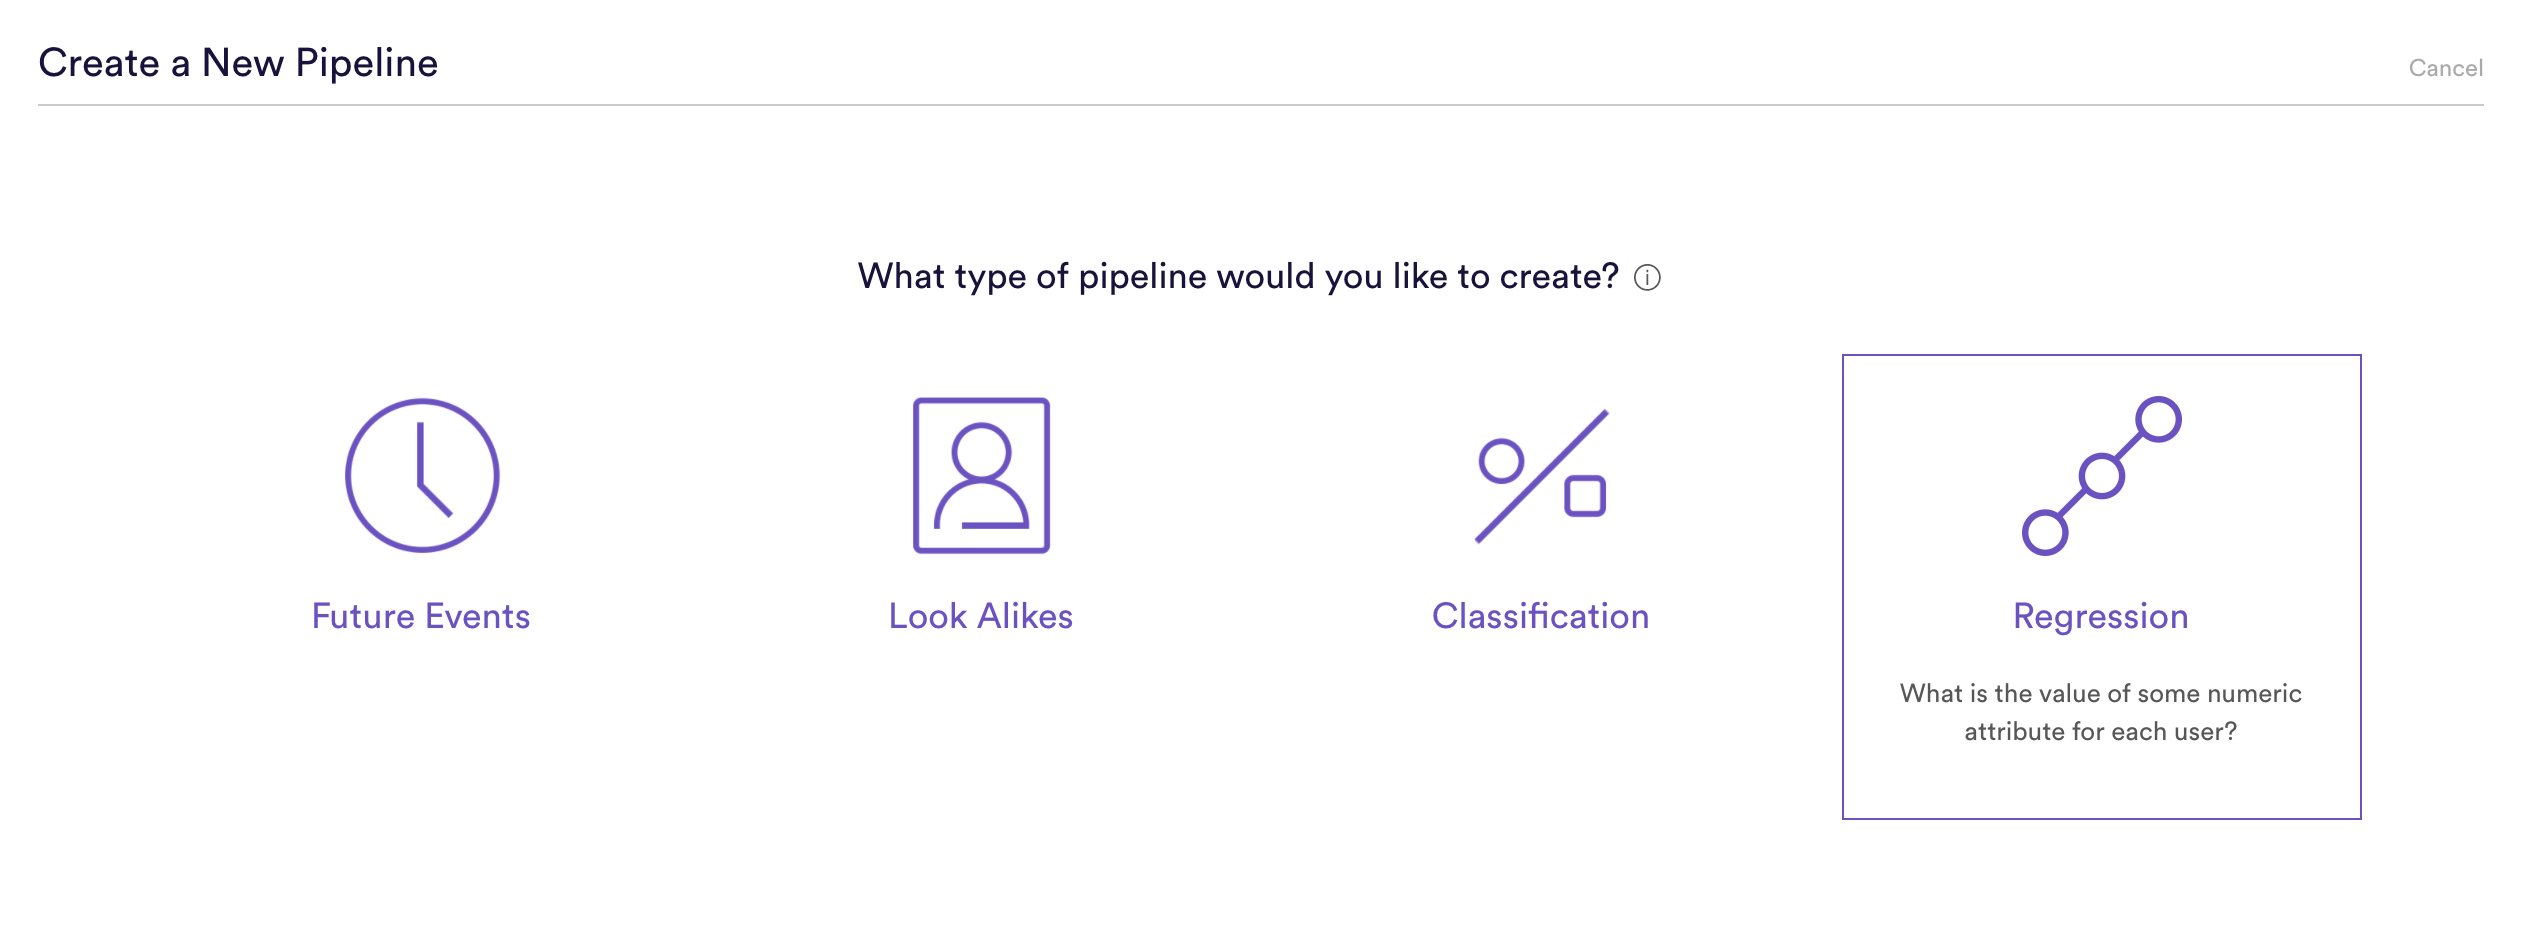
Step 1: Choose Pipeline Type
Select ‘Create New Pipeline’ from your Cortex account, and choose the Regression pipeline type.
Step 2: Upload Sets
This is where we upload our list of User IDs with their known Ages. This file should be a .csv or or .csv.gz file, consisting of two columns: user_id and value, where the value is the known age for the user_id.
| id | label |
| abc123 | 25 |
| xyz987 | 40 |
Step 3: Define Dates
Traits can change over time, and in our example the users’ ages will continue to change every year. Therefore it is important to specify the date range in which the ages in the previous upload were known to be correct, otherwise the training of the pipeline may be using incorrect ages and thus would lead to less accurate predictions.
In this example we are choosing the default range, but this can be any date range in which the age of the User IDs was known.
Step 4: Specify Settings
In this step, we will name our Pipeline ‘Regression Age Prediction’, have it rerun weekly on Sundays, and tag the pipeline with the Age tag. Setting a weekly schedule means that your pipeline will use the latest available data to re-generate up-to-date predictions on a weekly basis.
Step 5: Review
The final step is to review your pipeline and ensure all settings look accurate! If anything needs updated, simply go ‘Back’ in the workflow and update any step. Otherwise, click ‘Start Training’ and sit back while Cortex generates the predictions.
Step 6: Update Labels Over Time (Optional)
If you’re collecting new user ages over time, you can import these extra labels into Cortex so that your pipelines are always learning from the most recent information. To upload new labels, hit the “Edit” button on your pipeline (next to “Export Predictions”).
Related Links
- Regression Performance
- How to Build a Look Alike Pipeline
- How to Build a Classification Pipeline
- How to Build a Future Events Pipeline
Still have questions? Reach out to support@mparticle.com for more info!