How Can We Help?
Segment – Server Side
A Data Source in Cortex represents an integration between your Cortex account and a third-party platform used for enterprise data storage. Once your source is connected, data will regularly flow into Cortex where it can be used to build Machine Learning pipelines.
Segment collects user events and traits from your web & mobile apps and provides a complete data toolkit to every team in your company. This provides a single view of the customer and allows you to integrate your data with numerous sources. In this guide, we’ll walk through how to connect Segment as a Data Source within your Cortex account using the Cortex-Segment Server Side Integration.
Connecting a Segment Data Source
Step 1: Copy Cortex API Key
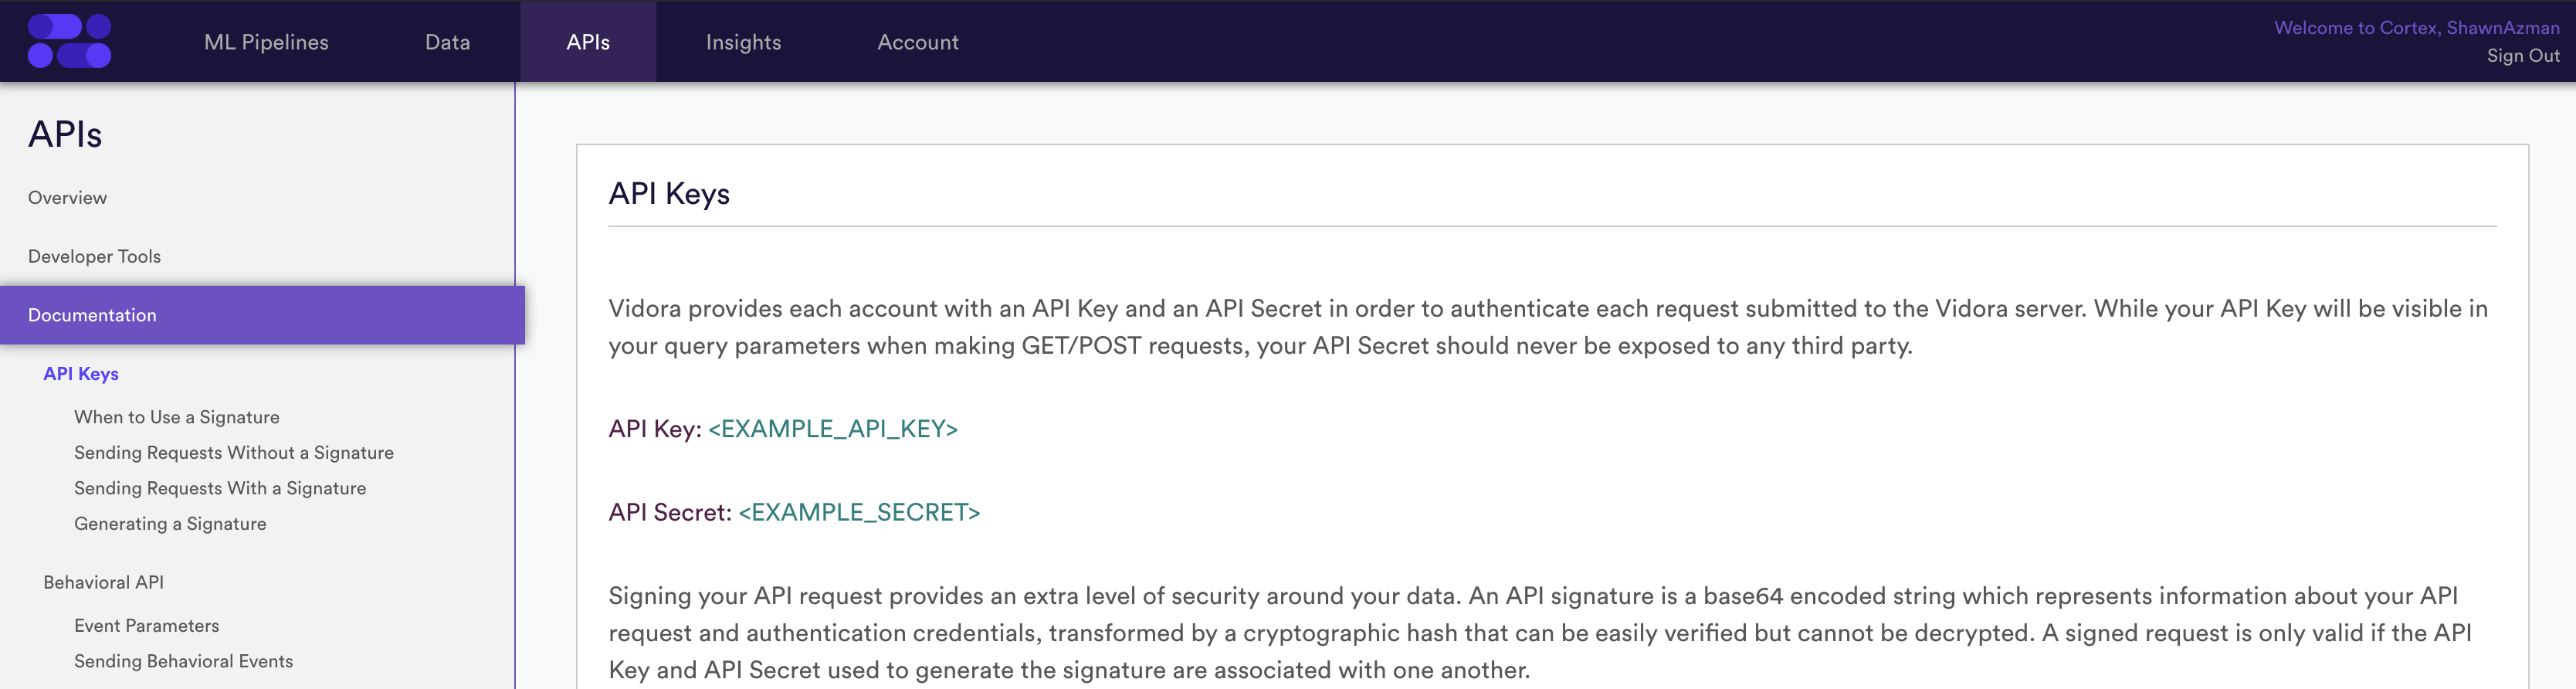
An integration between Segment and Cortex leverages the Cortex Behavioral API. In order to forward events to Cortex via this API, your Cortex API Key must be copied over to your Segment account.
To do this, first log in to your Cortex account and navigate to the API>Documentation page. On this page, you’ll see the API Key for your account. Copy this API Key so that you can reference it in Step 2 below.
Step 2: Set Up the Cortex Destination within Segment
Next, you’ll need to establish Vidora as a Destination within Segment. To get started, log in to your Segment account.
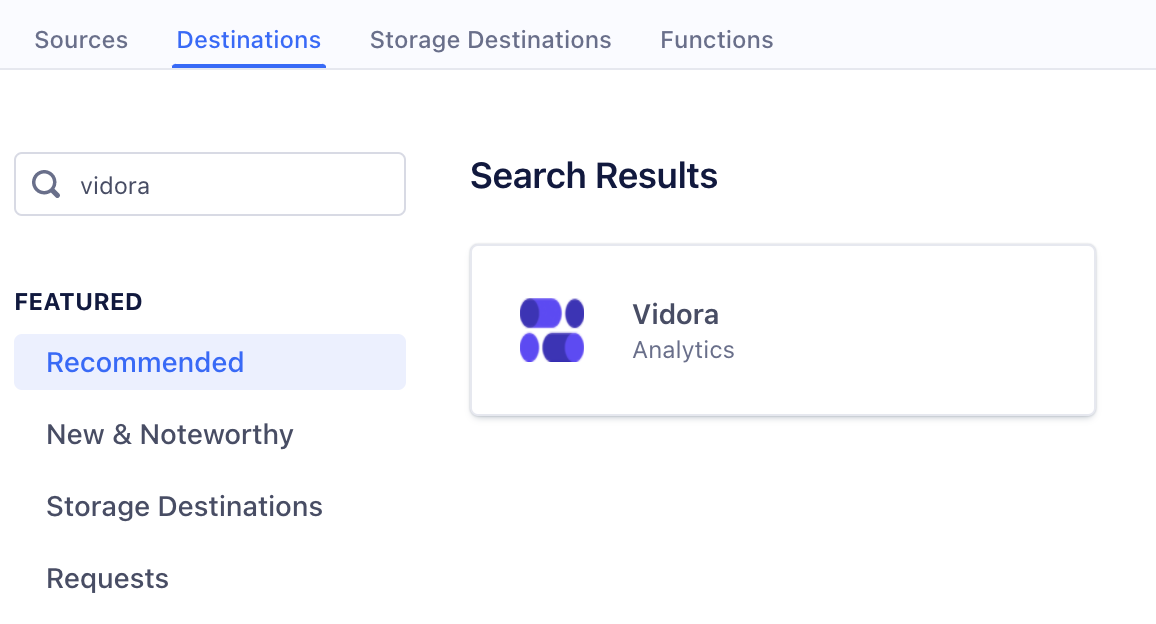
From the Destinations catalog page in the Segment App, click Add Destination. Search for “Vidora” in the Destinations Catalog, and select the “Vidora” destination.
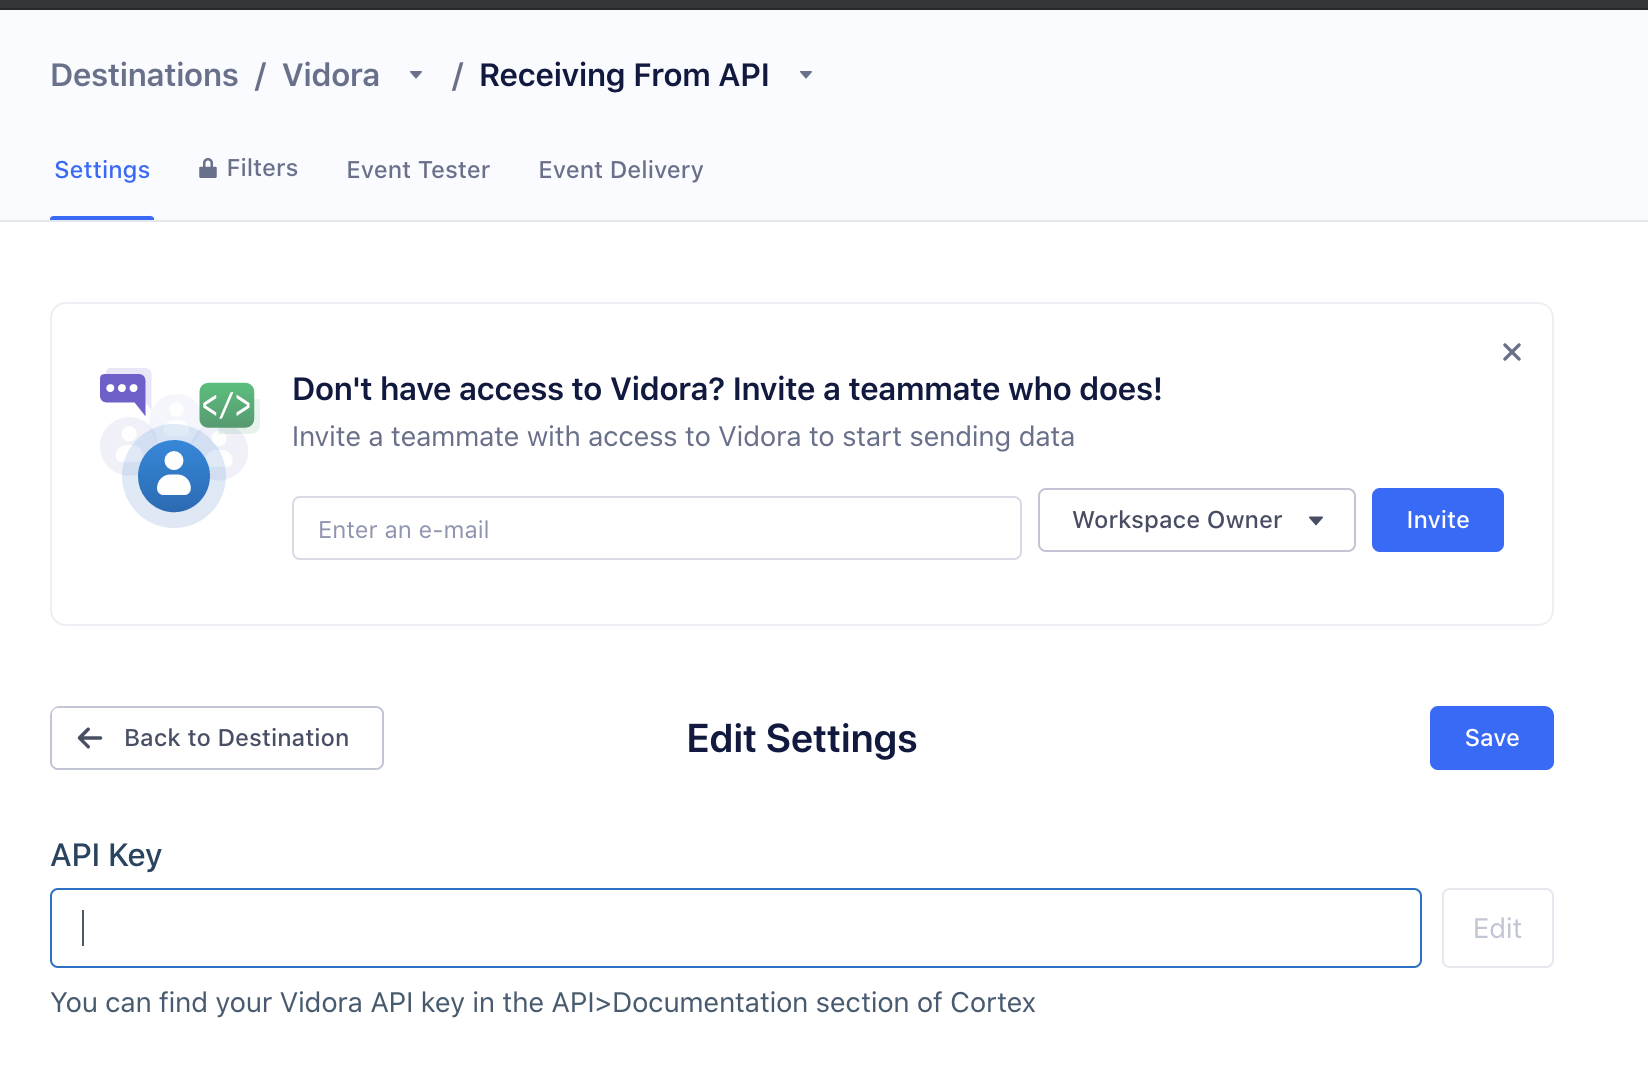
- Choose which Source should send data to the “Vidora” destination.
- Enter the “API Key” you copied in Step 1 in the “Vidora” destination settings in Segment.
Step 3 (Optional): Filter Events
Sometime Data Sources contain Events or Event Fields that should not be sent and ingested into Cortex. In this case, Segment provides a Destination Filter capability which allows you to configure which data to send, or not send, to the Vidora Destination.
From within the Vidora Destination, navigate to the Filters sub section and create a New Filter.
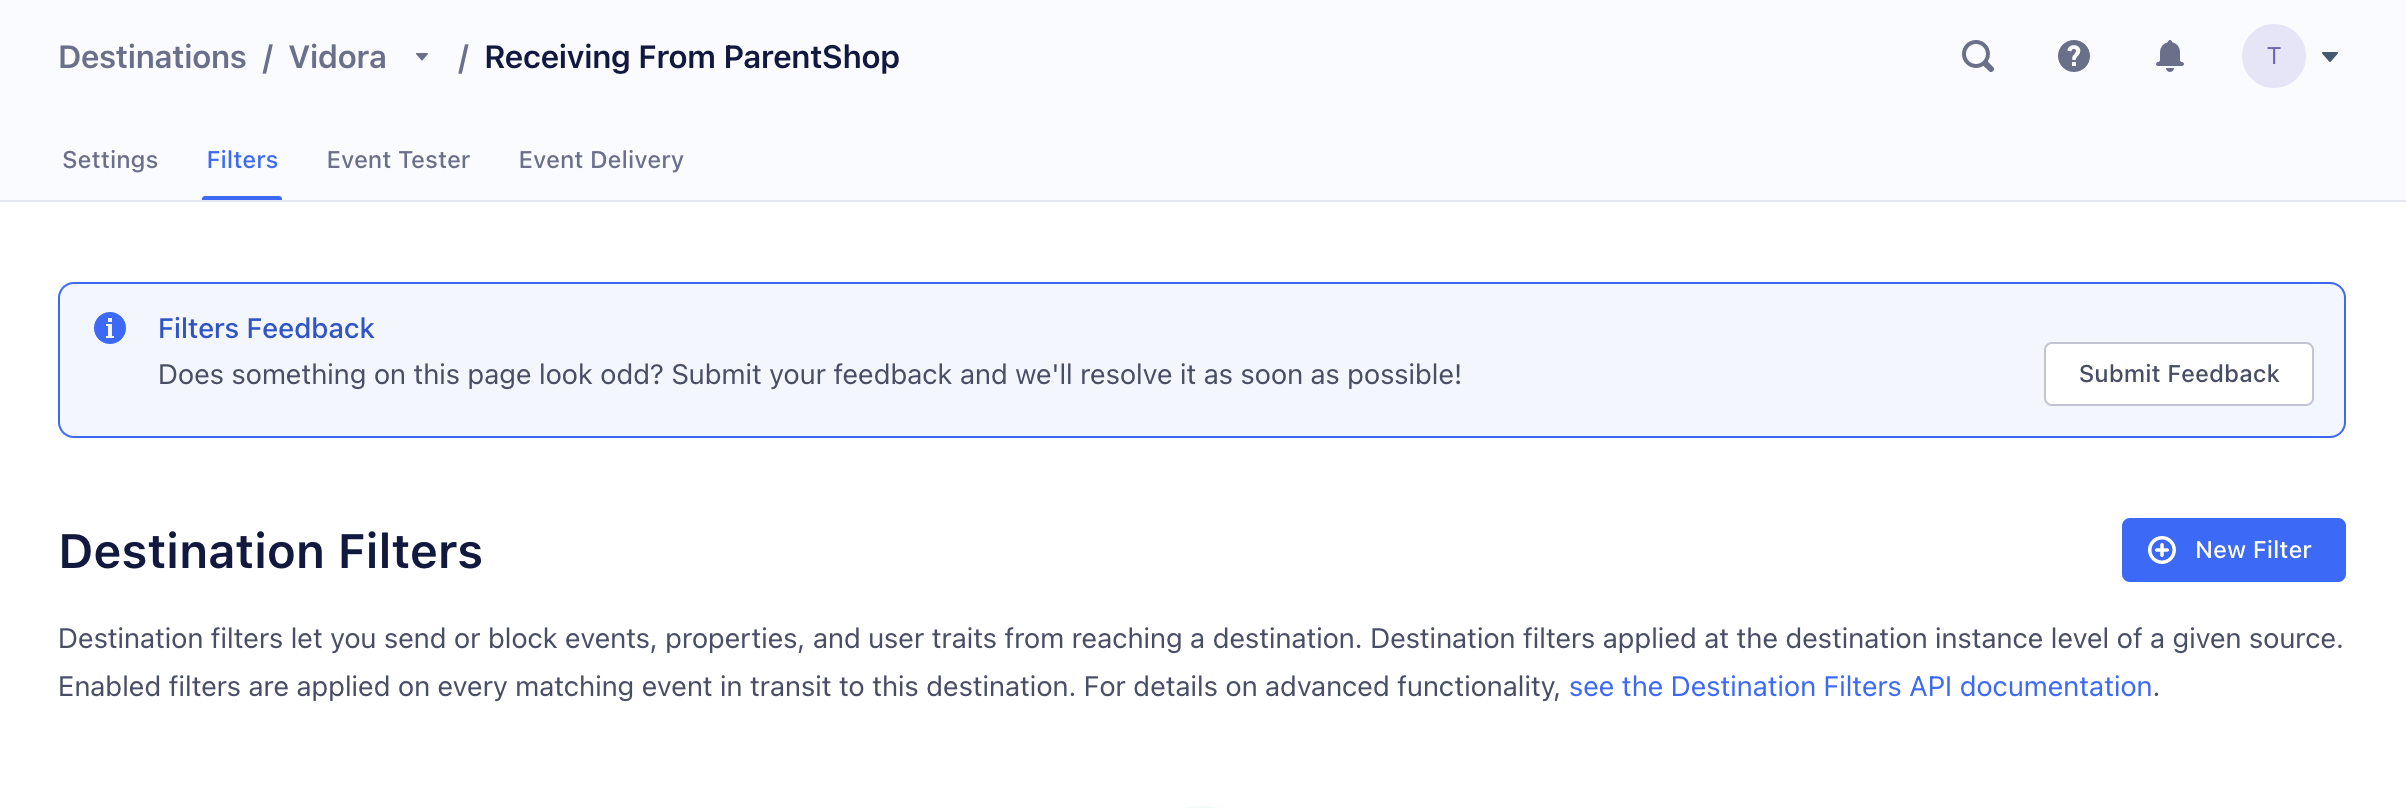
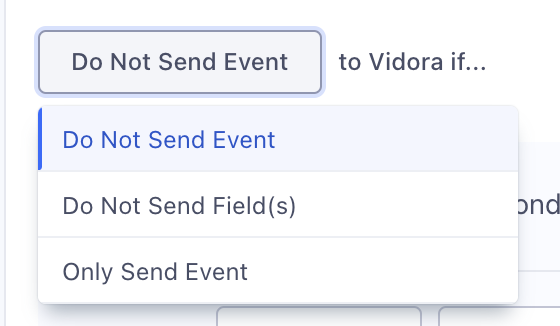
When you select +New Filter, you have the ability to define a Filter Rule. The three options are:
- Do Not Send Event
- Do Not Send Field(s)
- Only Send Event
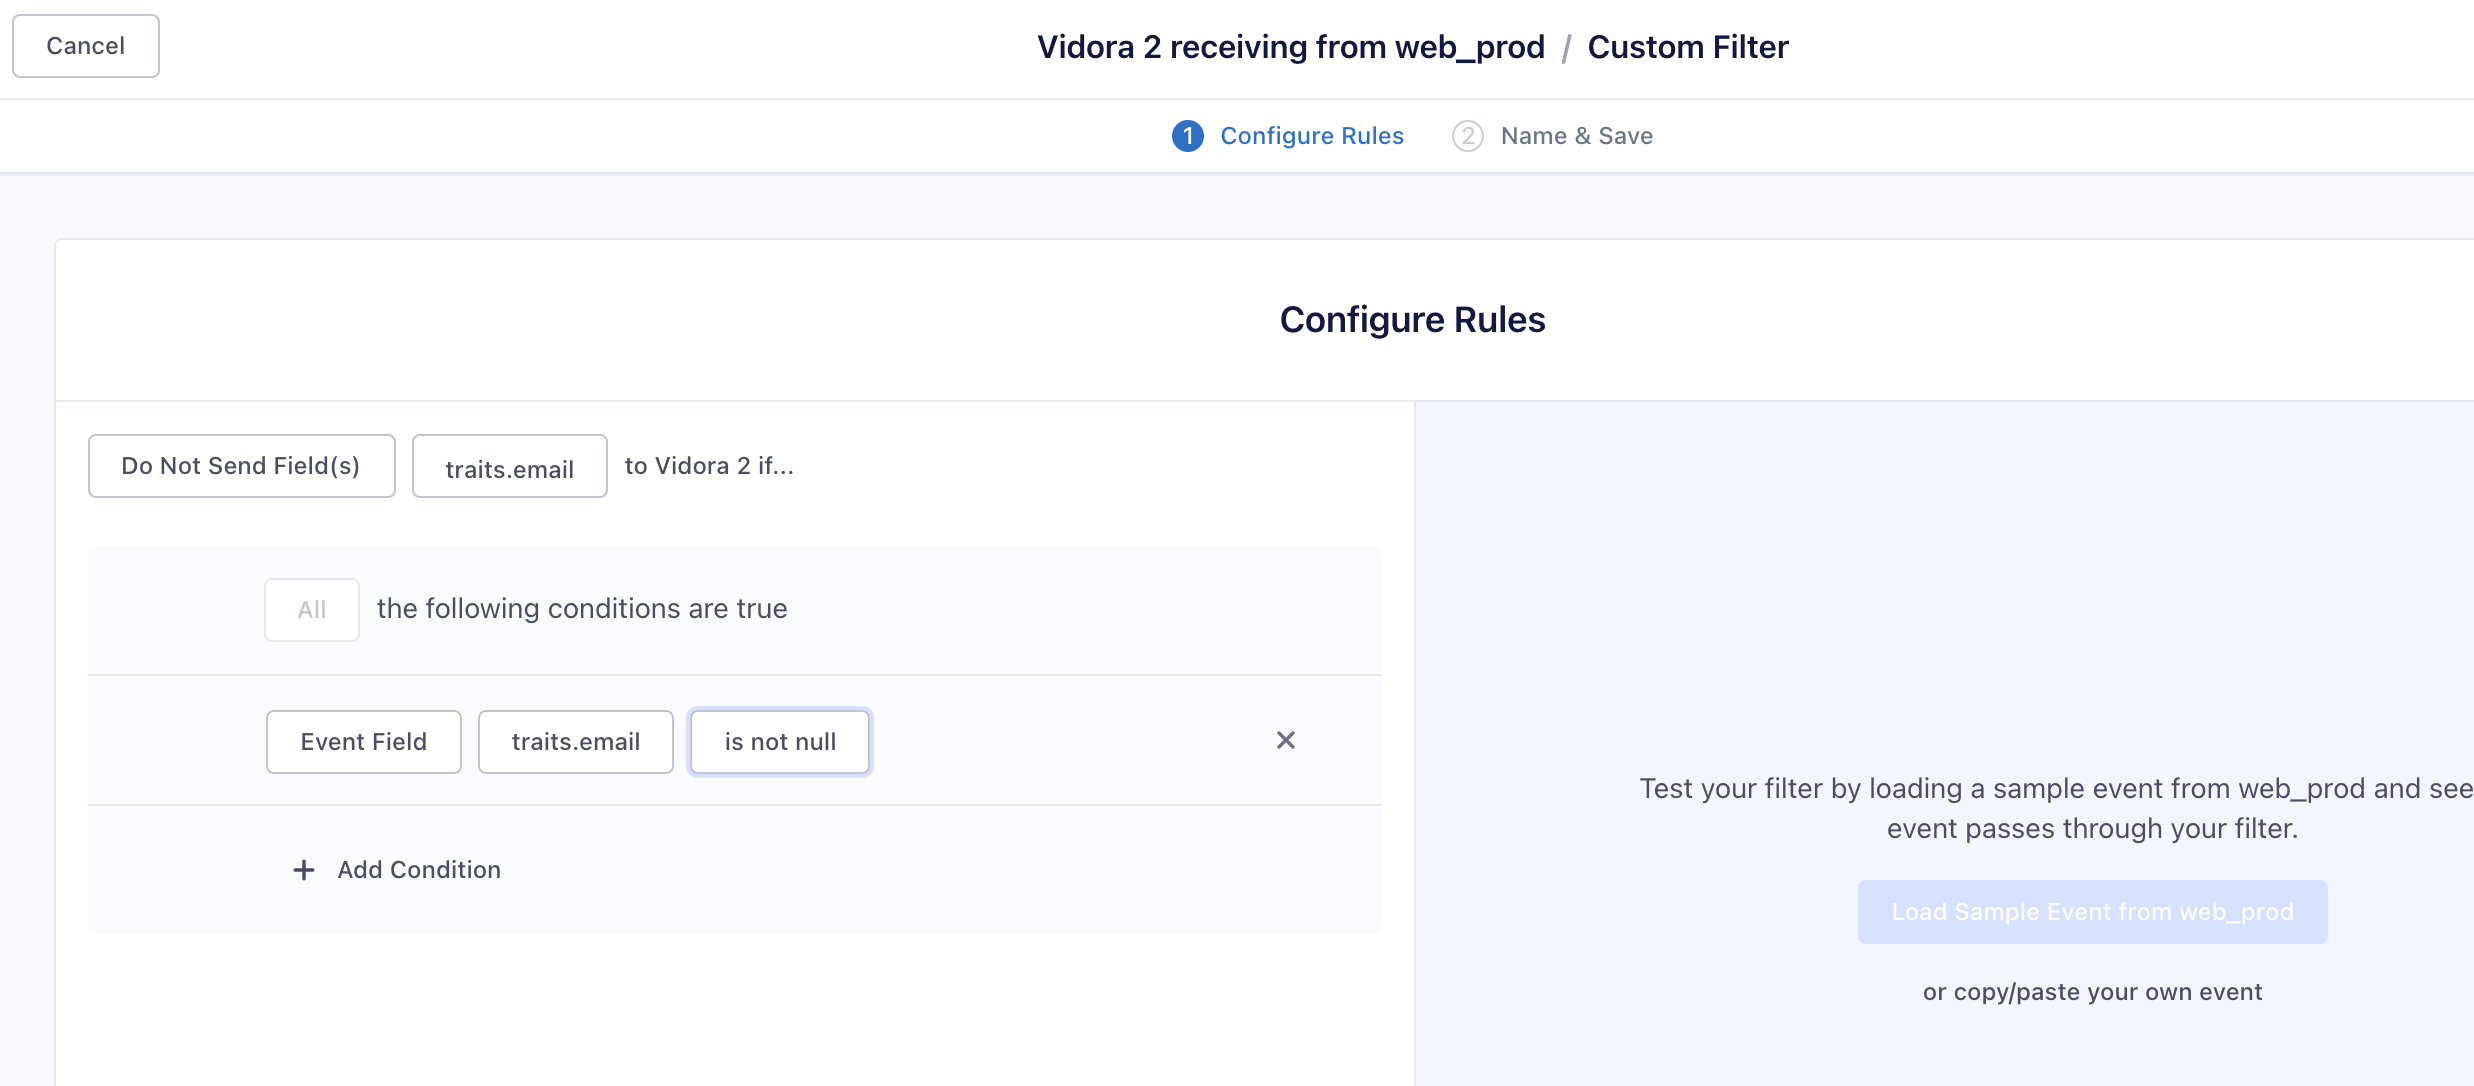
Finally, you can configure the rule to define the specific Events or Event Fields to send or not send.
Step 4: Test the Integration
After you have set up your Vidora Destination, test the integration by sending a few events to Vidora –
- Select the Cortex Vidora from within the Segment App
- Navigate to the ‘Event Tester’
- Test sending off any of the Event Types
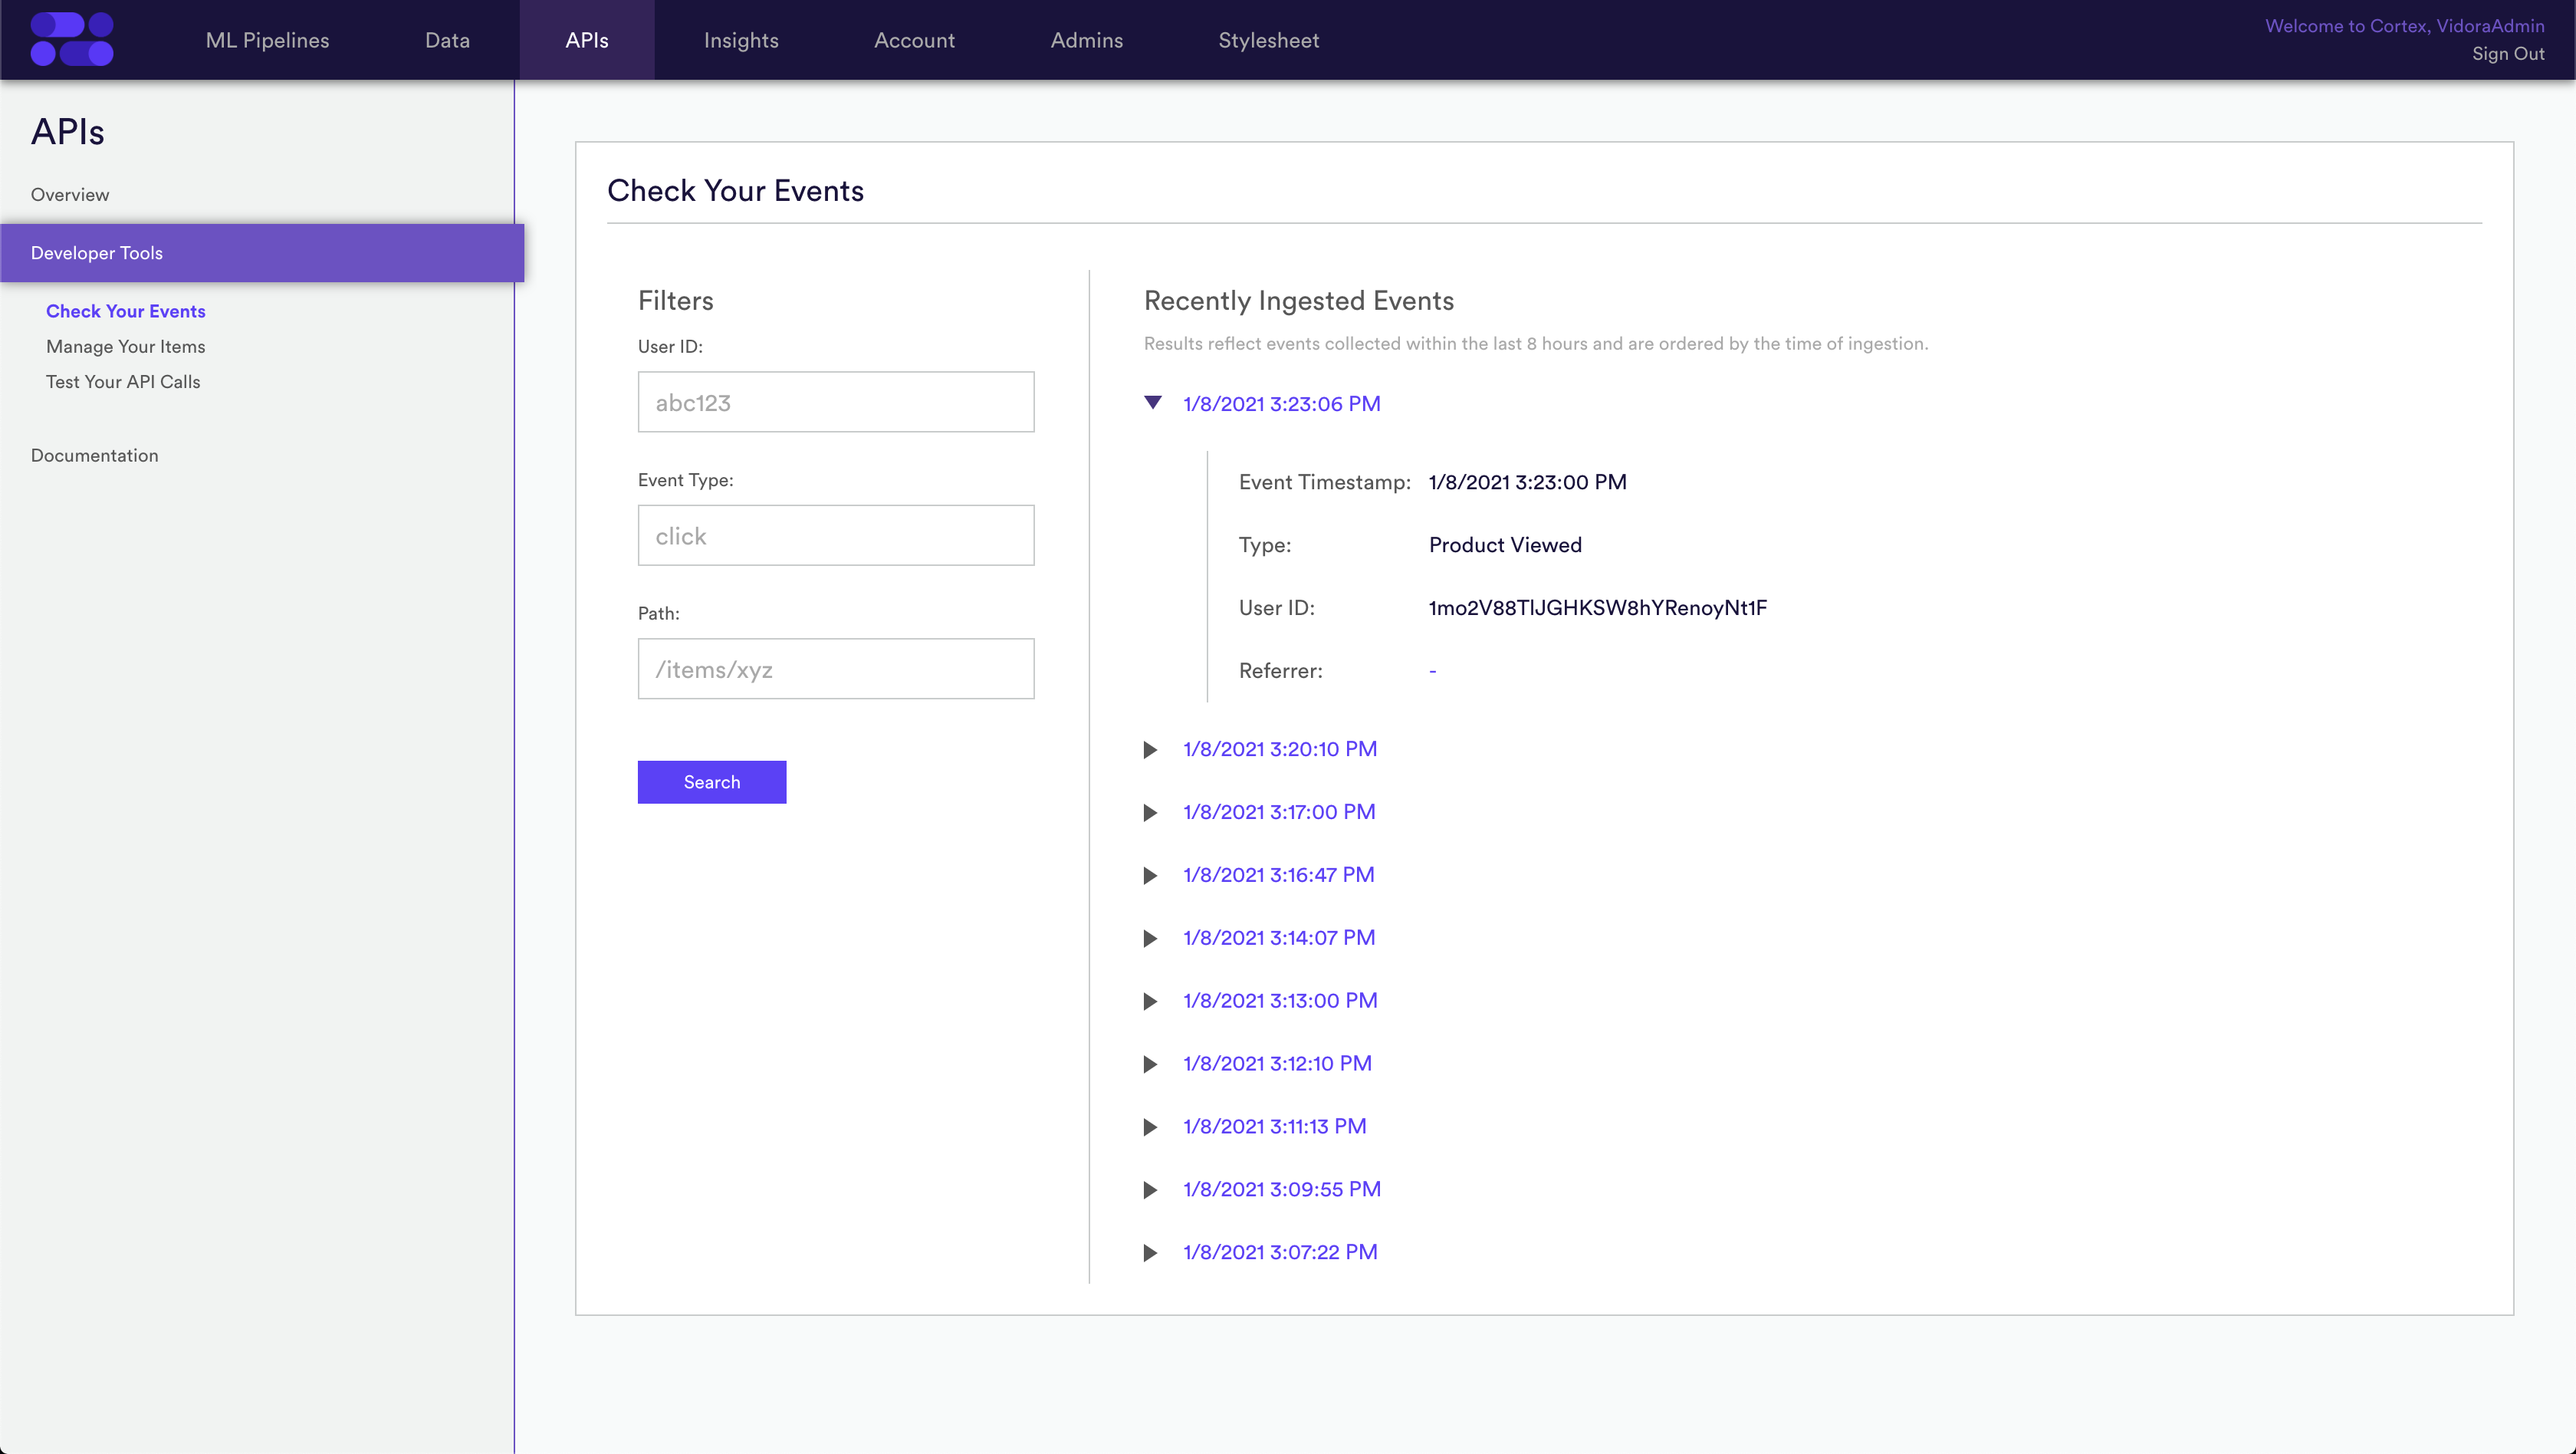
- Log in to Cortex and navigate to the API>Check Your Events page
- You should see your Test Events from Segment in your Recent Events List
- Note you can always filter/search by User ID or Event Type for easy find-ability
Once your Cortex account detects events data flowing from Segment, a Data Source will automatically be created. You can access this Data Source from the Data tab within Cortex, where you can view information about its schema, and a snapshot of recently ingested sample data.
Client Side Integration
If you are interested in using the Segment SDK to automatically forward events to the Cortex SDK on the client side, please refer to this article. This Client Side integration will enable Real Time Decisioning without having to duplicate event tracking that already exists with the Segment SDK.
Related Links
- Segment – Client Side Integration
- Events Data
- Attributes Data
- Behavioral API
- API Monitoring
- Data Monitoring
Still have questions? Reach out to support@mparticle.com for more info!