How Can We Help?
Real Time Decisioning: SDK Quick Start Guide
This article is a high level overview and guide to setting up the Cortex SDK to enable Real Time Decisioning. This focuses only on the Client Side SDK Integration.
Step 1: SDK Setup
From your Cortex Account, navigate to API>Documentation to get your API Key, this will be used in the SDK Initialization.
For Real Time Decisioning, the SDK that includes the Decisions Module should be loaded, i.e.
<script src="https://assets.vidora.com/js/vidora-client-rt.1.x.x.min.js" type="text/javascript"></script>
With that SDK Version and API Key, you can load the SDK Onsite
Step 2: Identifying Users
If you already have a way to uniquely identify users, you can set that directly in the SDK, e.g.
window.vidora.push(["setUserId", "asdf1234"]);
Otherwise, you can have the SDK create and set the User ID for you, e.g.
api.getUUID();
This setUserId should be called on every page to ensure the events are tracked across the session to the same user.
Step 3: Track Behaviors
Tracking user events will form the basis of the data used to create and train the Decisions.
For example, two events could be pageview and click, each of which would be sent with parameters that give more context to the action being taken. Here are two examples of what this may look like (your parameter key/value names will probably differ):
window.vidora.push(["send", "pageview", null, {page_url:"www.example.com/path/article", more_keys:"more values"}]);
window.vidora.push(["send", "click", null, {page_url:"www.example.com/path/blog", more_keys:"more values"}]);
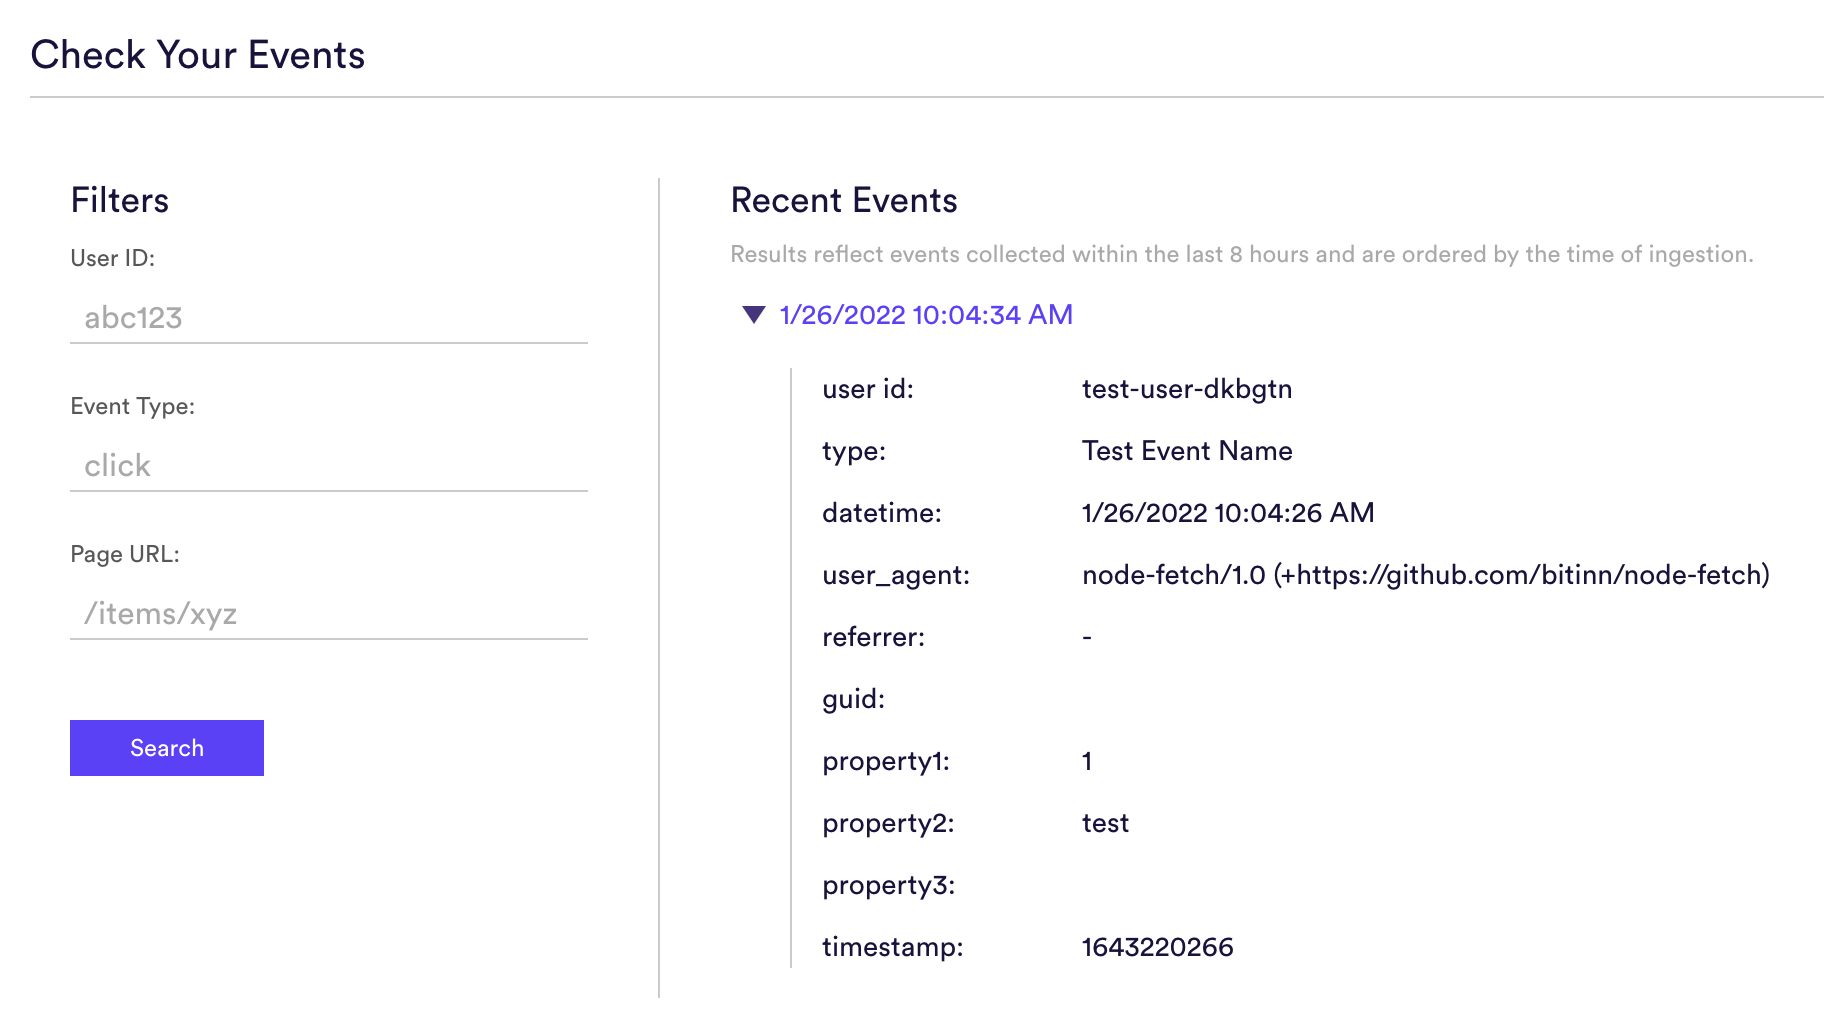
Step 4: Checking Events
As you are integrating the SDK and sending over events, Cortex provides a real time event tracker for you to use to debug and ensure events are being sent and captured by Cortex. In your Cortex account this can be found at API->Developer Tools->Check Your Events.
Step 5: Creating a Decision Project
Once the SDK is setup and sending in events, the next step is to create a Decision Project. A Decision Project is made up of one or more Machine Learning Pipelines, and are used for translating ML predictions into concrete actions that your business should take for each user onsite.
Check out this link to learn how to create a Decision Project in Cortex.
Step 6: Retrieve Decisions
Once the SDK is set up and Pipelines are created in Cortex, these decisions can be retrieved through the SDK indicating the ideal action to take for each user.
The first step is to load the project from Cortex where the Decision Prediction is being created:
api.getProject(projectId)
With this project loaded, decisions can now be retrieved in real time for each user:
project.getDecision(function(decision){

// user-defined logic to act on the decision

});
Within the Decision object, a string will be returned indicating the ideal action(s) for each user. If using Future Events or Uplift pipelines, a single action will be returned. If using a Recommendations pipeline, multiple actions will be returned, in descending order of relevance to the user.
decision.actions;
Step 7: Tying Events to Decisions
In order for the SDK to continually learn and optimize over time, it is important to create a feedback loop indicating that a decision from the SDK was taken and shown to the end user. This will enable the SDK to learn behaviors over time to ensure it is always returning optimal decisions.
For example, if a decision is being made to Show or Not Show a paywall, then an event tracking a ‘shown_paywall’ event should be sent indicating this decision was taken based on the response from the SDK:
api.send('shown_paywall', null, {params: decision.tieEventToDecision()});
Related Links
Still have questions? Reach out to support@mparticle.com for more info!