How Can We Help?
Predict the Likelihood of User Churn
In this use case example, we will be walking through how to predict the future behavior of users using a Machine Learning Pipeline. Specifically, we’ll cover how to predict the likelihood of user churn based on in-activity.
What data do I need for this prediction?
The actions available for you to predict with a Future Events pipeline are based on the Event data that you are sending into Cortex. This sample prediction requires:
- Events Representing User Behaviors (e.g. logins, clicks, pageviews, adds to cart, etc.) with additional metadata (e.g. What device is the user on? Where was the user referred from? etc.) which give more detail to the event. Cortex will use all activity and behaviors tracked for every user to find patterns of usage. The more activity you are tracking the more signals there are to learn from.
While the above are the only pieces of information required to set up our sample prediction, more data will typically lead to better predictive performance. Other information that can be used to build features for our pipeline include:
- User Attributes (e.g. demographics, loyalty status, etc.)
How do I predict the Likelihood of User Churn?
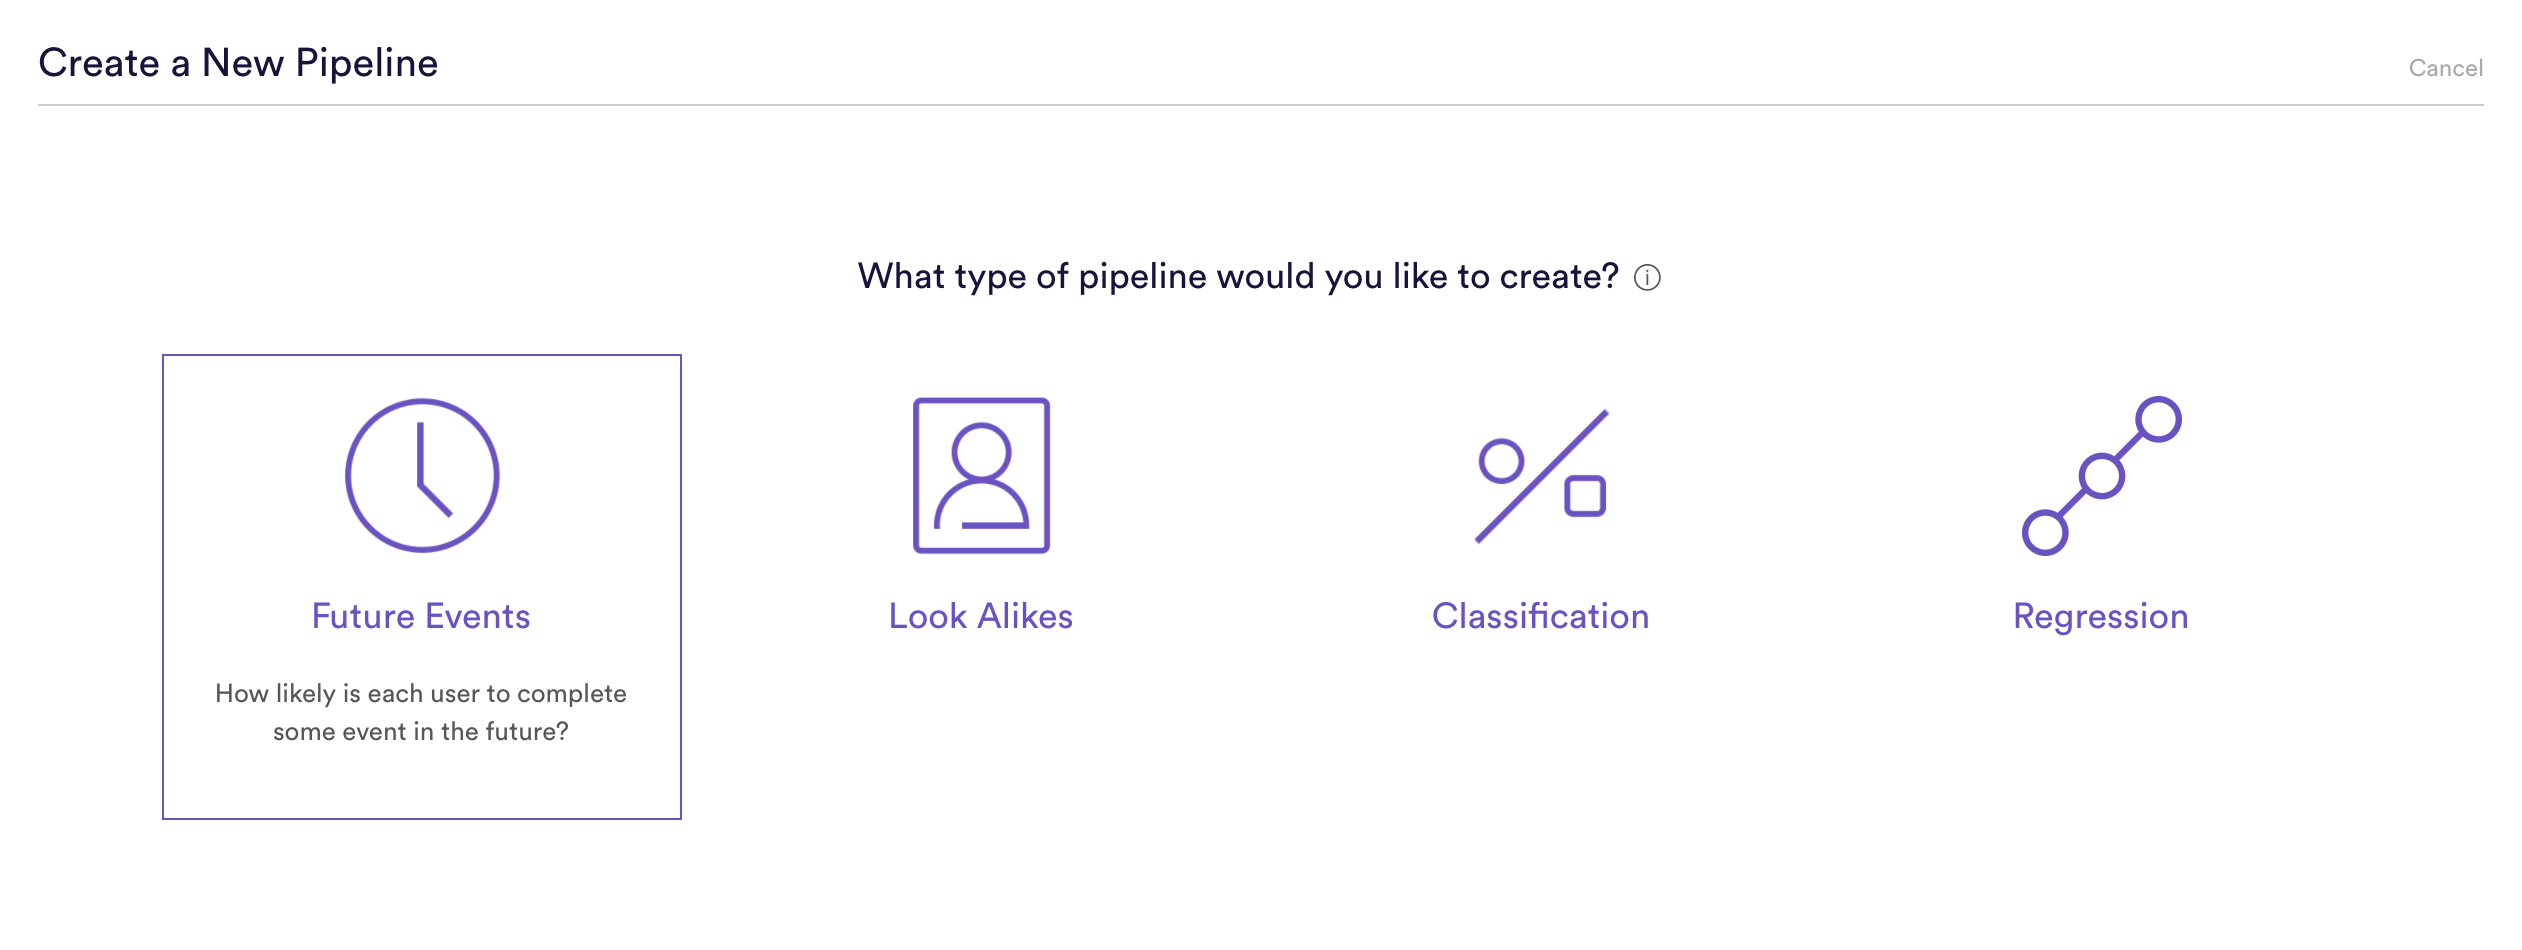
Step 1: Choose Pipeline Type
Select ‘Create New Pipeline’ from within your Cortex account, and choose the Future Events pipeline type.
Step 2: Define Event
Future Events pipelines are used to predict the probability that some event happens in the future for each of your data points. Any future events prediction can be stated as a sentence as follows:
(A) happens (B) or more times where (C) within (D) days.
For our prediction, we will be predicting any activity for each user. The idea behind this prediction is that: the users least likely to take any action within a timeframe are the users most likely to be churning. These users often represent a target segment of users for outreach to reengage. The prediction in Cortex will read:
Any Event happens 1 or more times for all users within 30 days.
Here is how that will look in Cortex

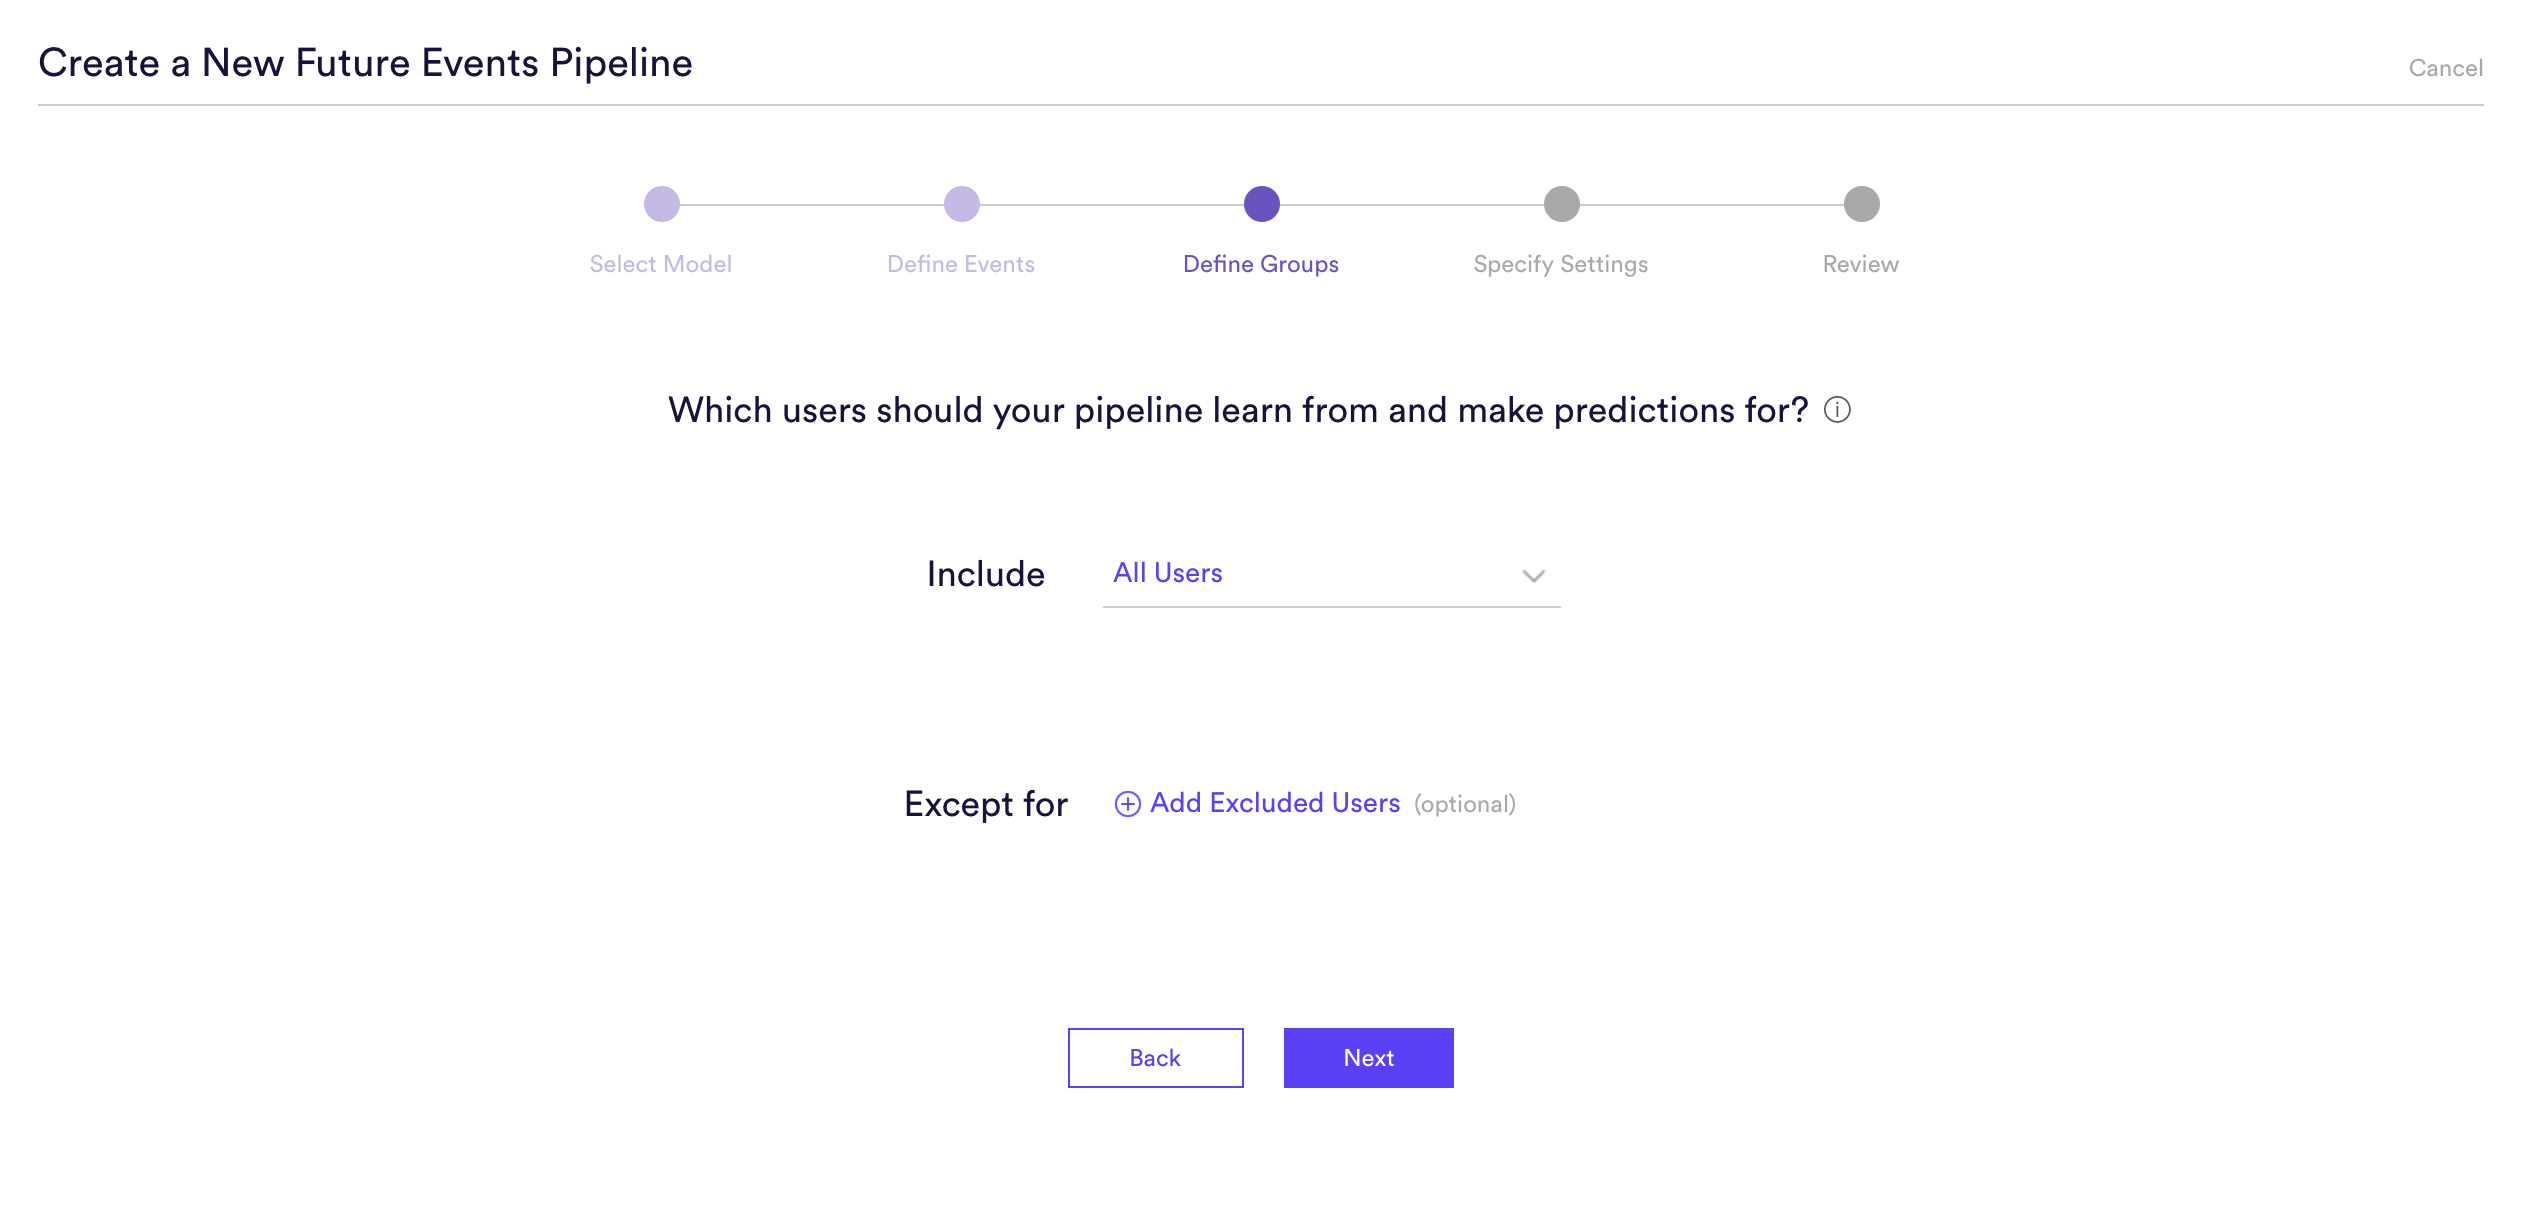
Step 3: Define Groups
Sometimes you are looking to make a prediction for every user in your system, while other times you want a prediction only for a certain group of users. This prediction will be made for All Users, so nothing needs to be done for this step.
Step 4: Specify Settings
Settings is where you give a Name to your pipeline as well as the option to add Tags. Name and Tags are the two main ways to find your pipeline within Cortex after it has been created, so best practice is to use descriptive Names and Tags specific to each prediction.
In this example, the pipeline name is “Churn Future Events Prediction” and the Tag “churn” has been added as well.
Additionally, you can choose to run this pipeline only once, or have it rerun weekly. In this example, the pipeline is set to re-run every Sunday. This means that your pipeline will use the latest available data to retrain and re-generate up-to-date predictions on a weekly basis.
Step 5: Review
The final step is to review your pipeline and ensure all settings look accurate! If anything needs updated, simply go ‘Back’ in the workflow and update any step. Otherwise, click ‘Start Training’ and sit back while Cortex generates the predictions.
Those are all the steps necessary to create a future events pipeline that predicts user churn.

Related Links
- Future Events Performance
- How to Build a Look Alike Pipeline
- How to Build a Classification Pipeline
- How to Build a Regression Pipeline
Still have questions? Reach out to support@mparticle.com for more info!