How Can We Help?
Segment
Once you’ve created a Machine Learning Pipeline, Cortex makes it easy to integrate the predictions into various third-party platforms, including Segment.
An integration with Segment allows you to deliver predictions from any Cortex pipeline directly into your Segment account. This lets you add predictive attributes to Segment’s unified view of the customer, enabling you to create rich user profiles which are accessible to every team in your organization.
In this guide, we’ll walk through how to set up a Segment export connection in Cortex, and discuss the functionality that this integration unlocks within your Cortex account.
If you’re also interested in creating a Data Source integration so that customer events and attributes are automatically forwarded from Segment to Cortex, click here to learn more.
Connecting a Segment Export Destination
A Cortex Export Destination sets up an integration between your Cortex account and a third-party platform. Once the connection is live, you may export predictions from Cortex directly to this custom destination.
To connect your Cortex account to Segment, create an Export Destination by following the steps below.
Step 1: Select Platform
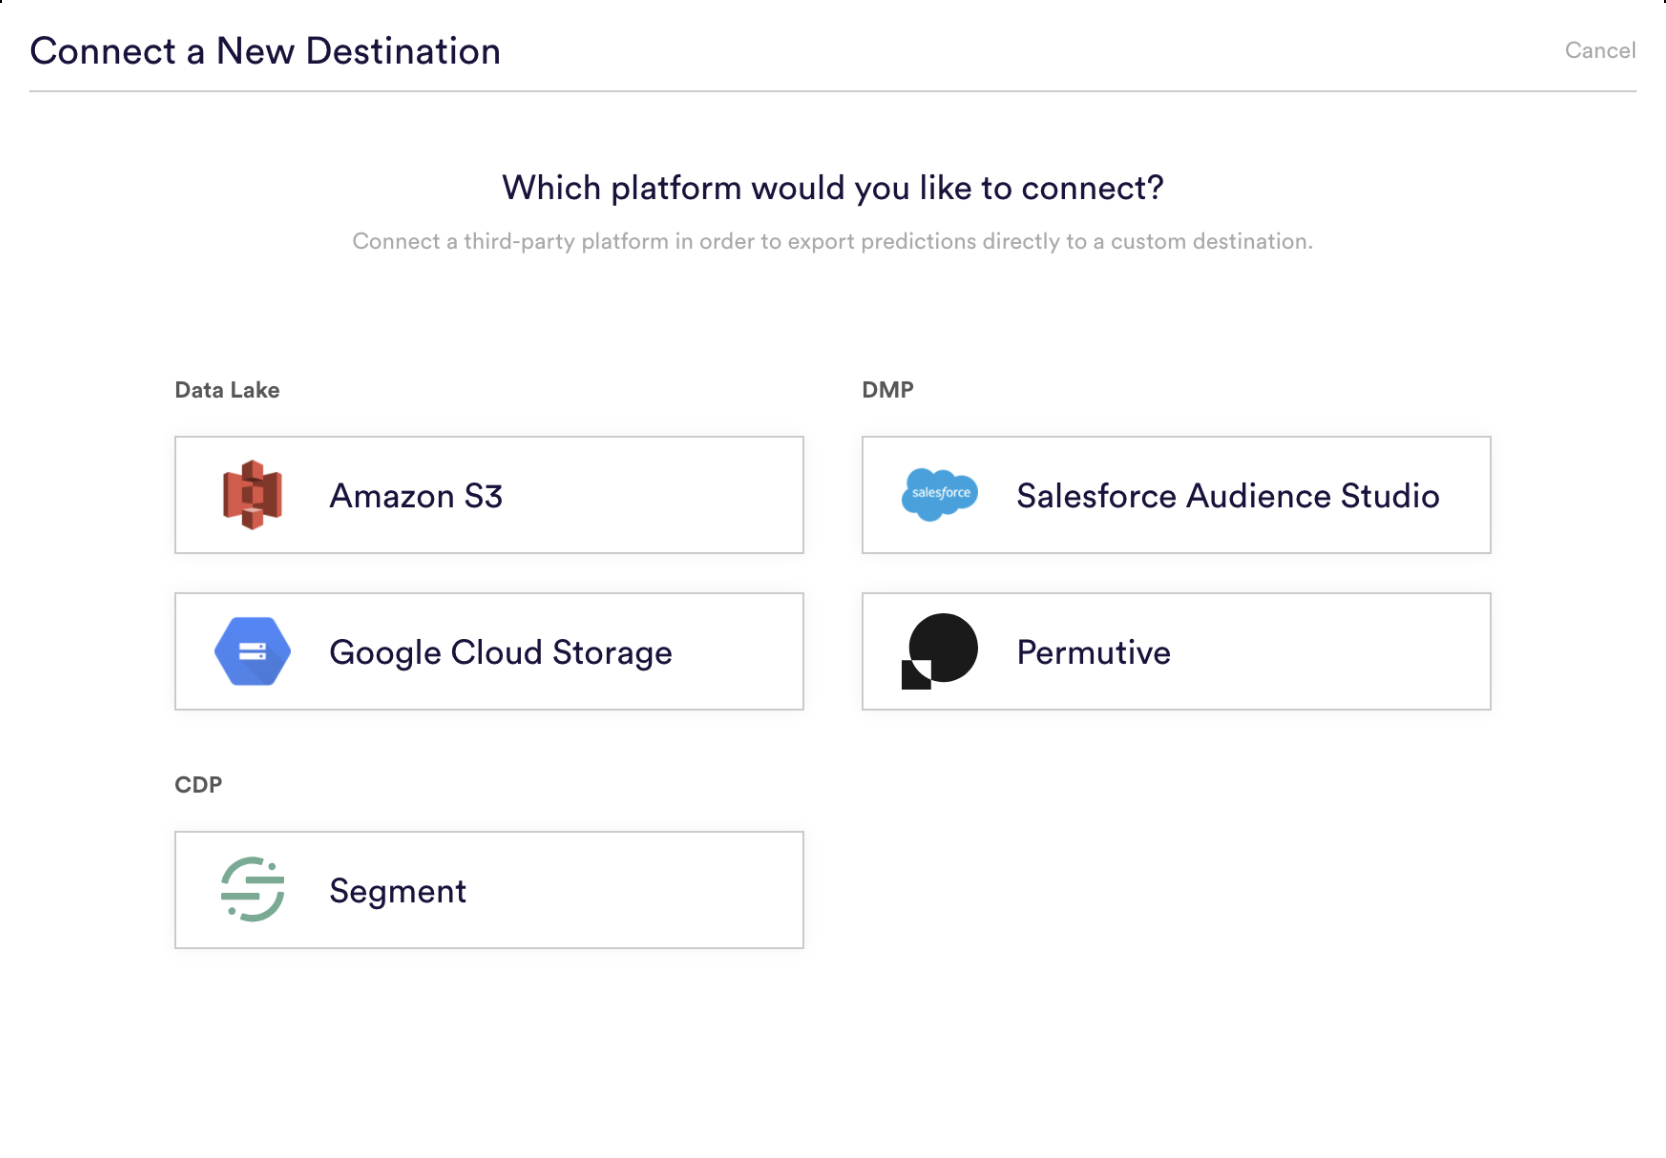
First navigate to the Export Destinations area of the Data tab in Cortex, and select the “Segment” icon from the list of available platforms.
Step 2: Name Your Export Destination
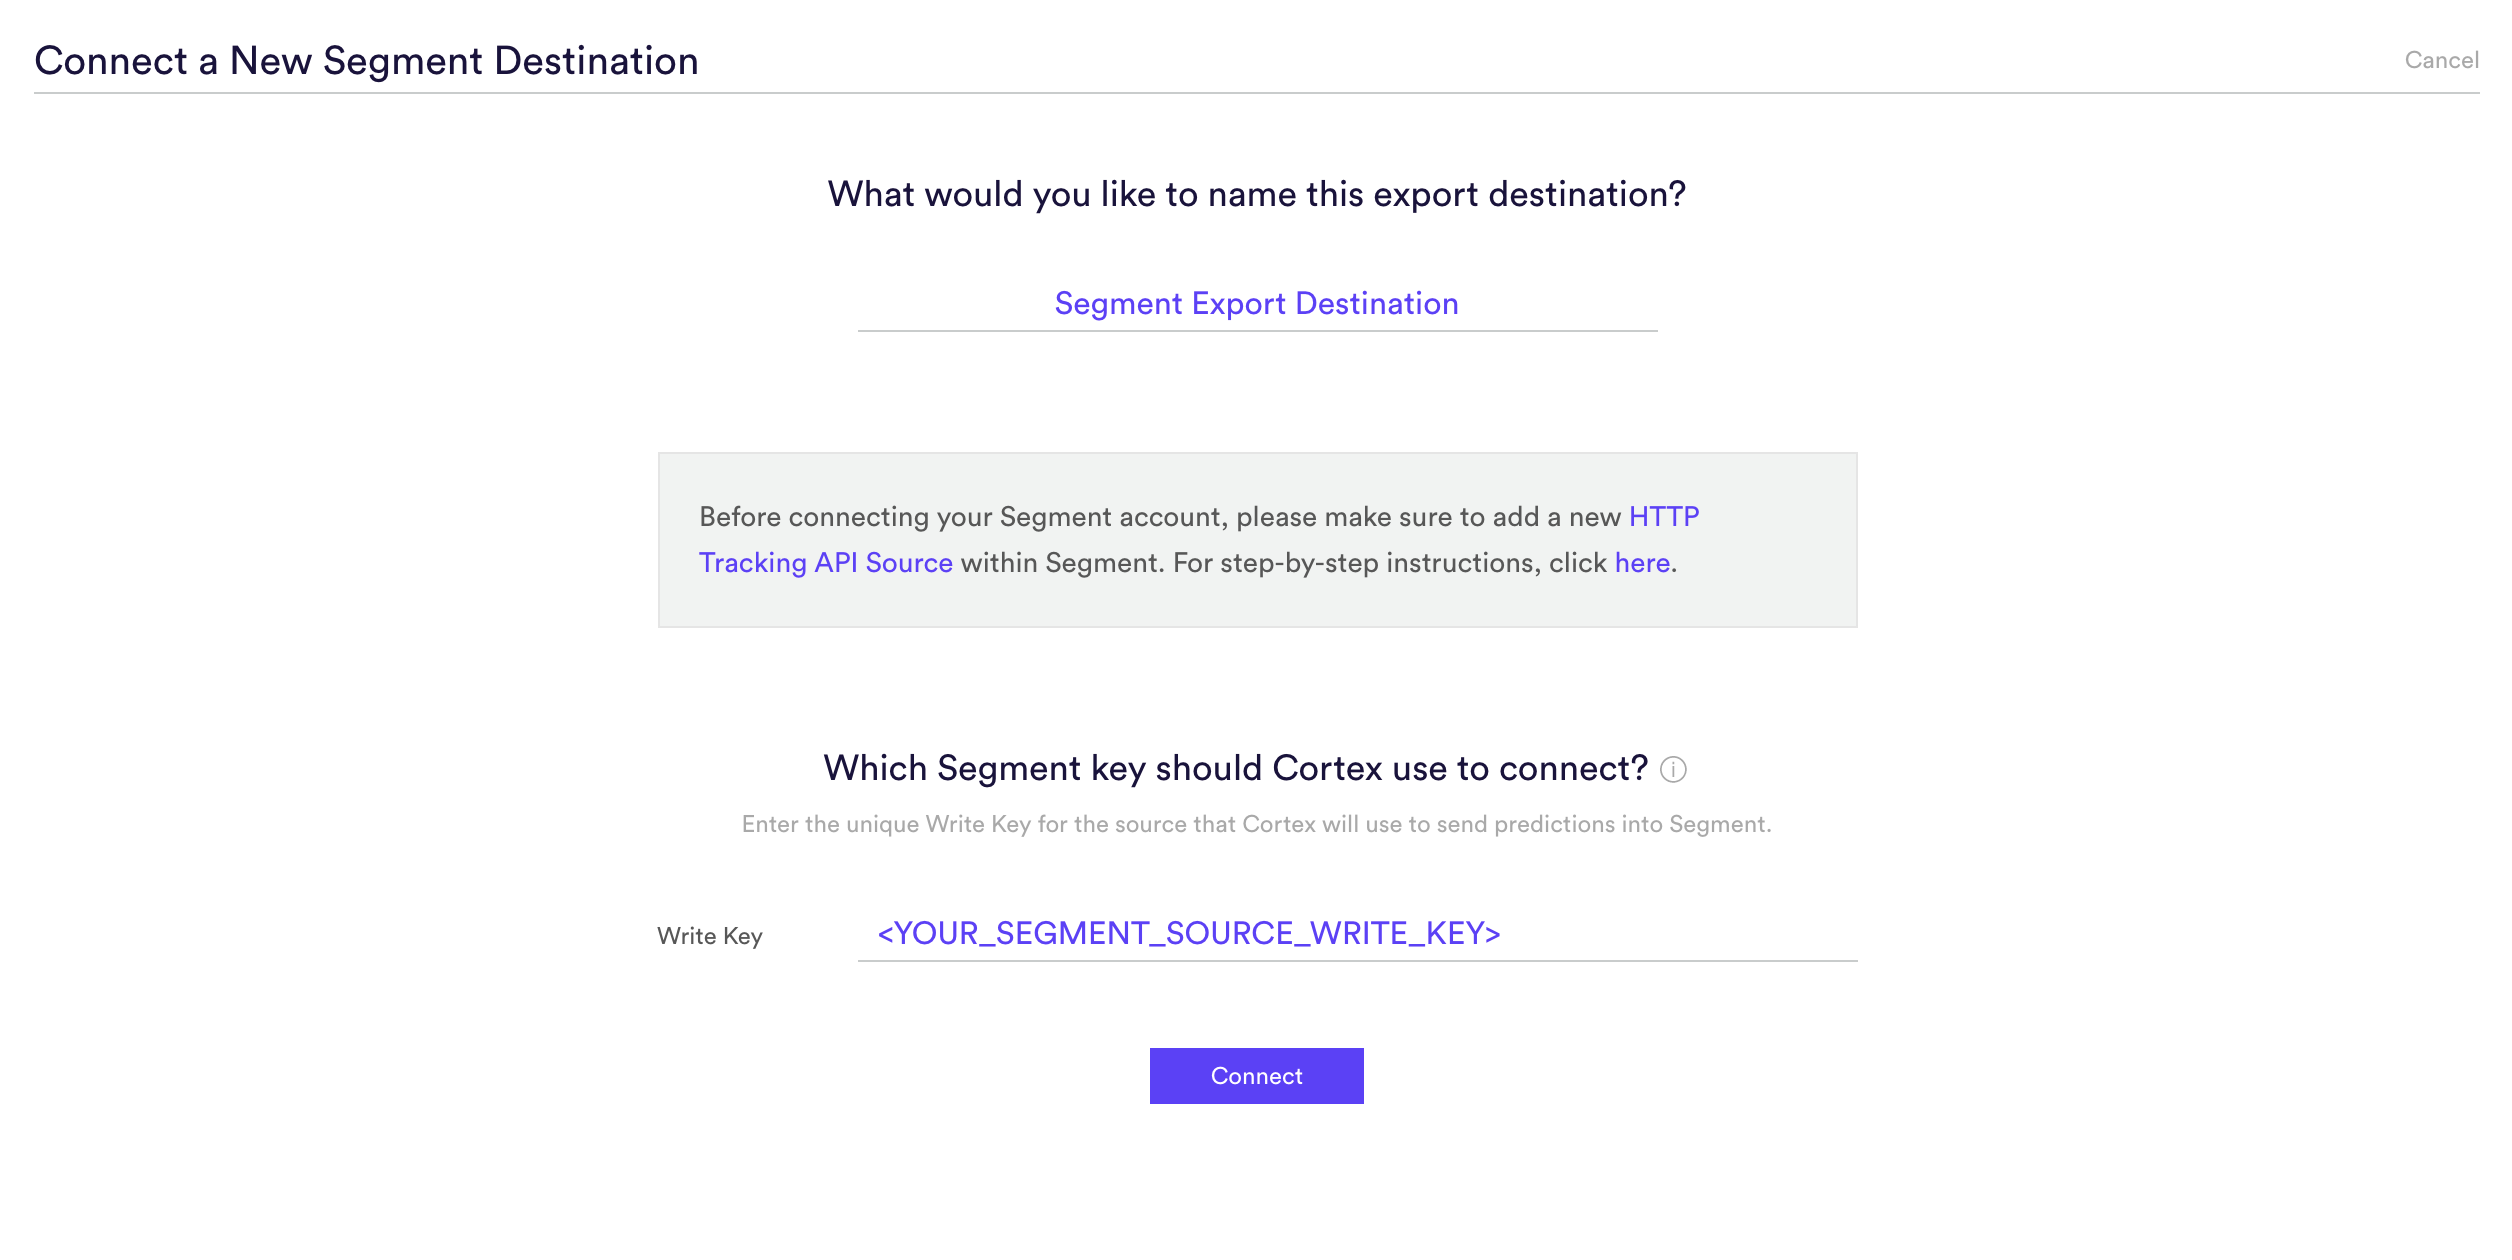
Provide a name for your Export Destination so that you can reference it later when exporting predictions from a pipeline.
Step 3: Create a New Source for Cortex in Segment
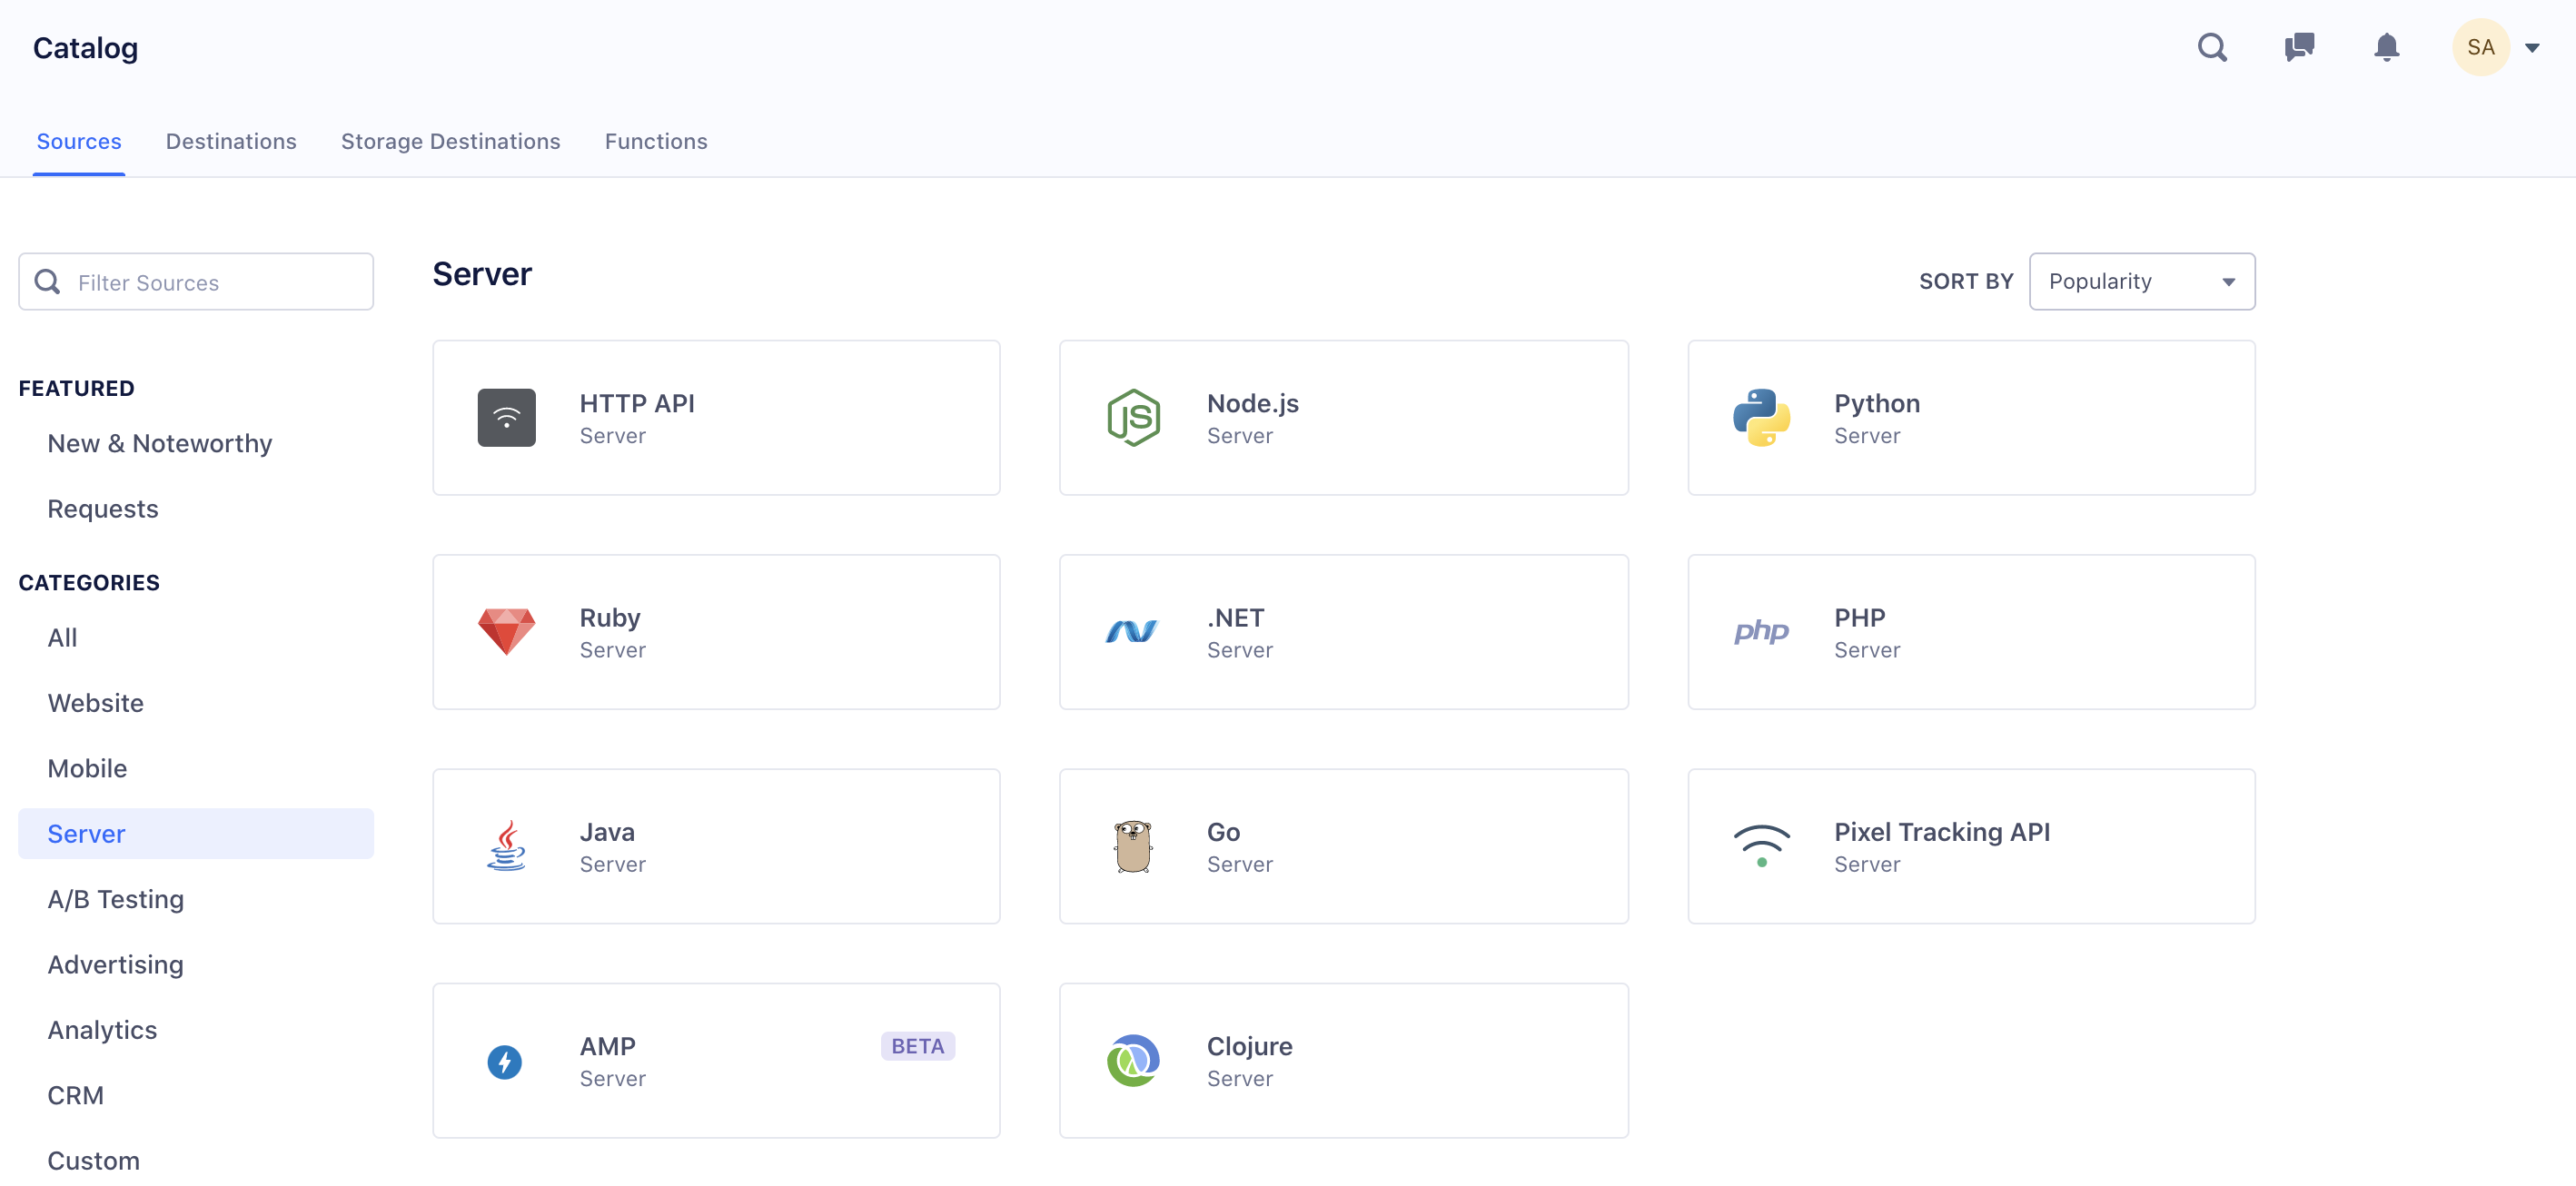
Within your Segment account, navigate to the Sources tab and select ‘Add Source’. From the Segment integrations sources catalogue, navigate to the Server Category and select the HTTP API source. This source will enable Cortex to deliver predictions back into Segment.
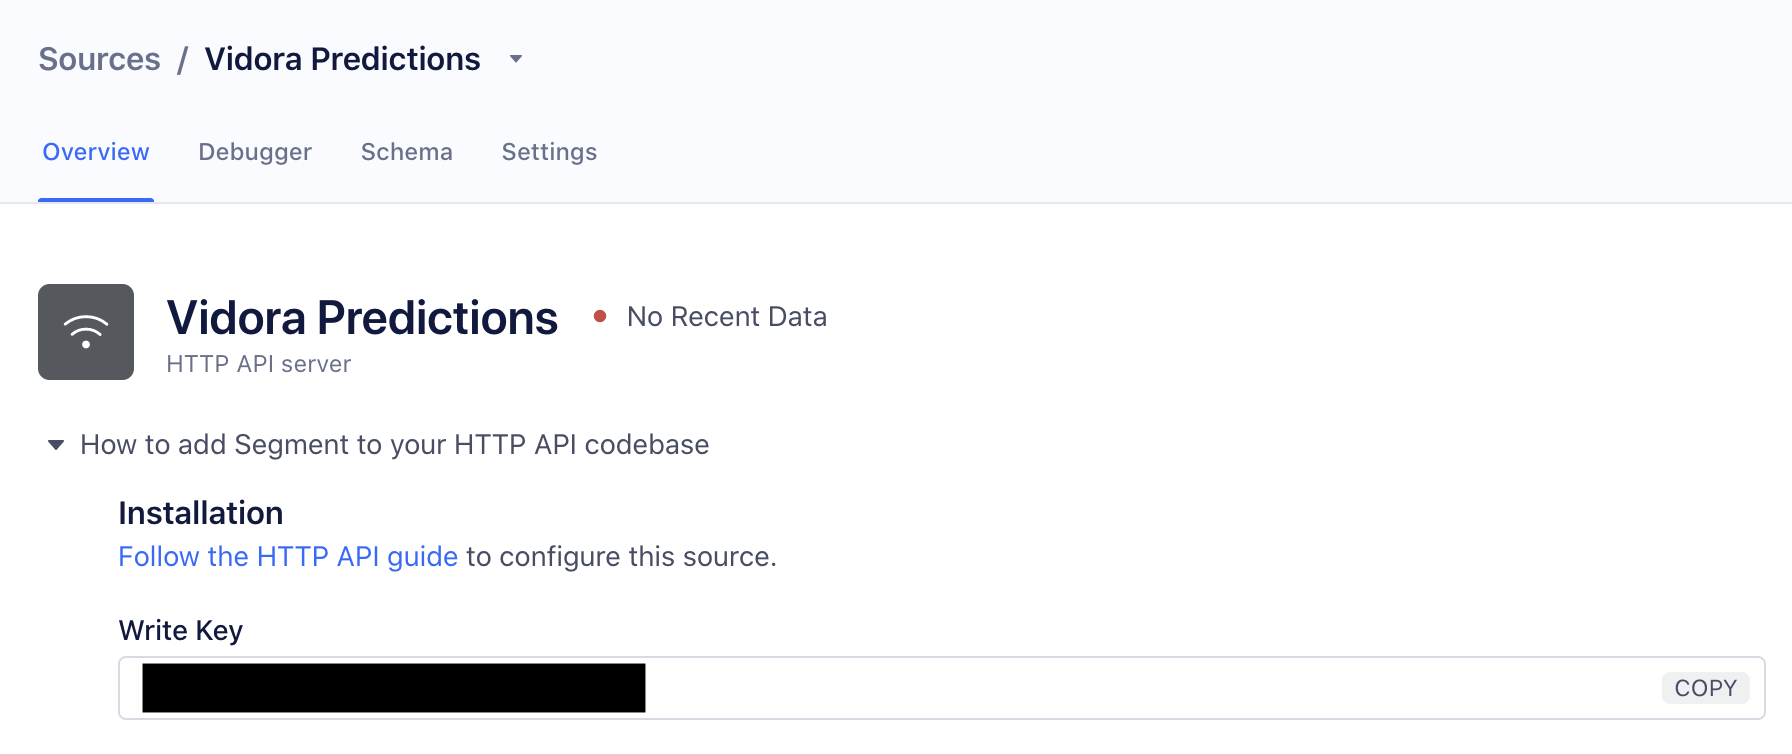
After you have added the HTTP API source, you will be given a Write Key. This is the key used by the API to send data to Segment, and needs to be copied from Segment over to your Cortex Account for Step 4.
Step 4: Enter Segment Credentials
Next, head back to Cortex and enter the Write Key for your new Source. This key grants Cortex write permissions to your Source so that Cortex can send predictions into Segment, where they will be imported as User Traits.
Step 5: Activate the Connection
After you’ve entered your Write Key, hit “Connect” to activate the integration. Cortex will automatically send a test call to Segment to allow you to verify the integration is working properly.
Back in Segment, select the Cortex Predictions Source, and navigate to the Debugger tab. There, you should see a test event from Cortex with a ‘vidora_test_prediction’ User Trait.
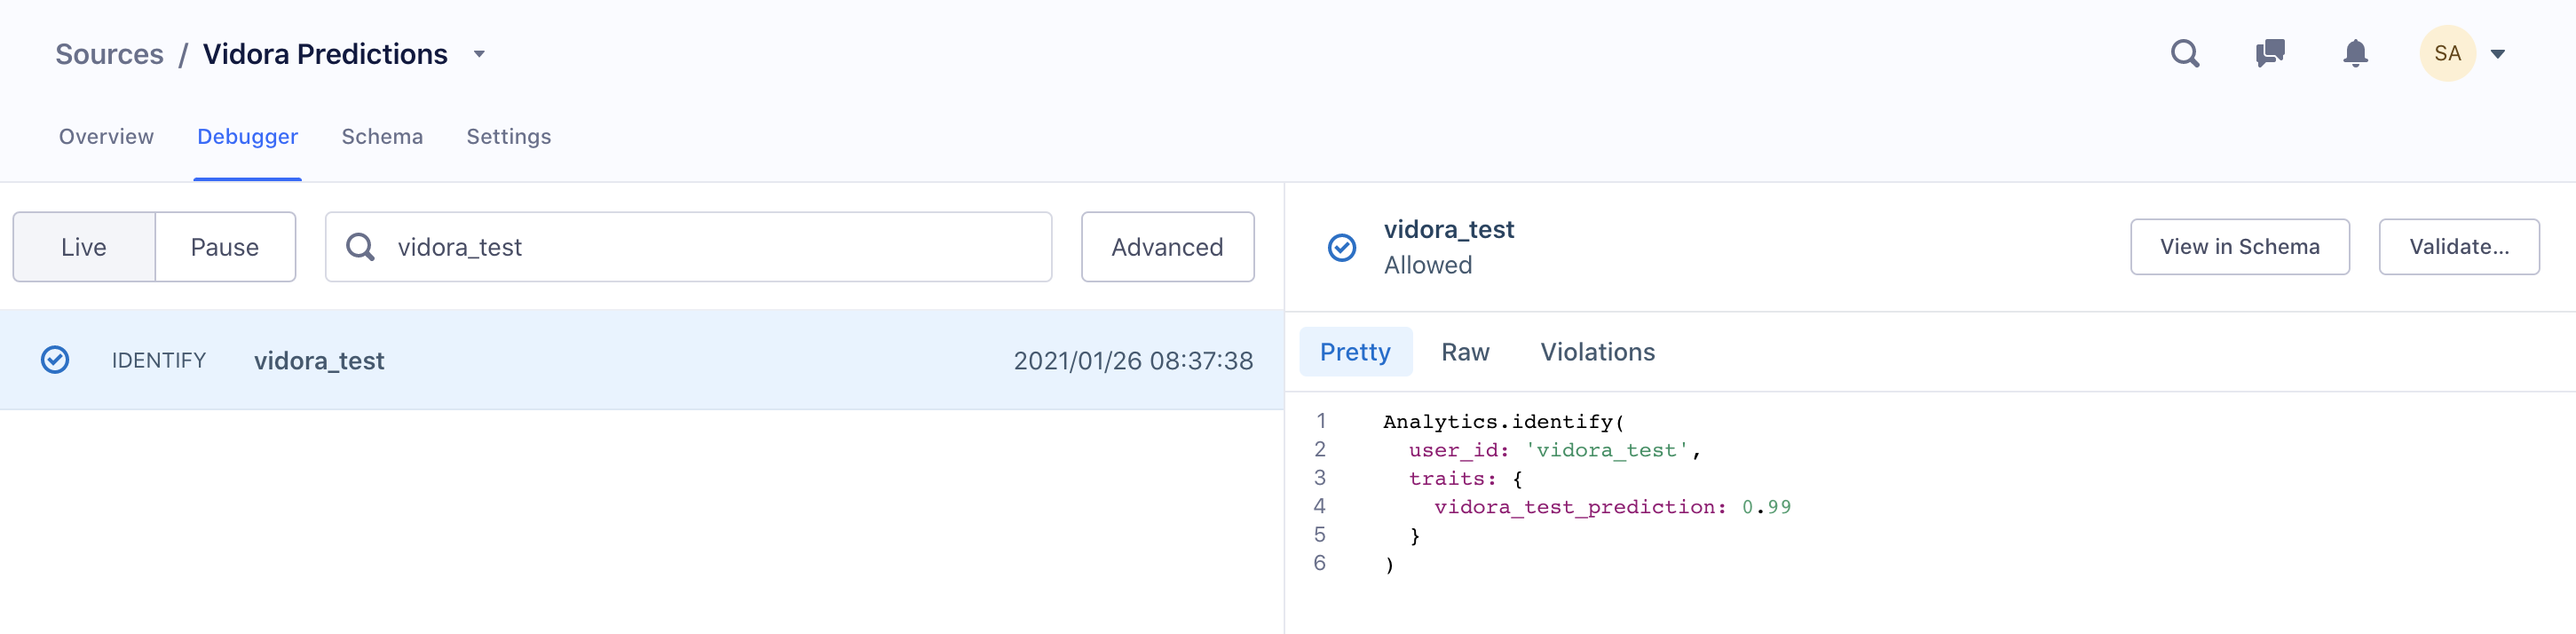
If you do not see this test event within Segment, it means the integration is not properly configured. Double check that the Write Key copied into Cortex is the same as the Write Key for this specific source, and then try to reconnect the Export Destination in Cortex. If the issue persists, please reach out to support@mparticle.com.
Exporting Predictions to this Destination
Once your Export Destination has been connected, predictions from any Machine Learning Pipeline may be exported directly into your Segment account. To do this, create a Prediction Export and specify that results should be copied to your Segment Export Destination.
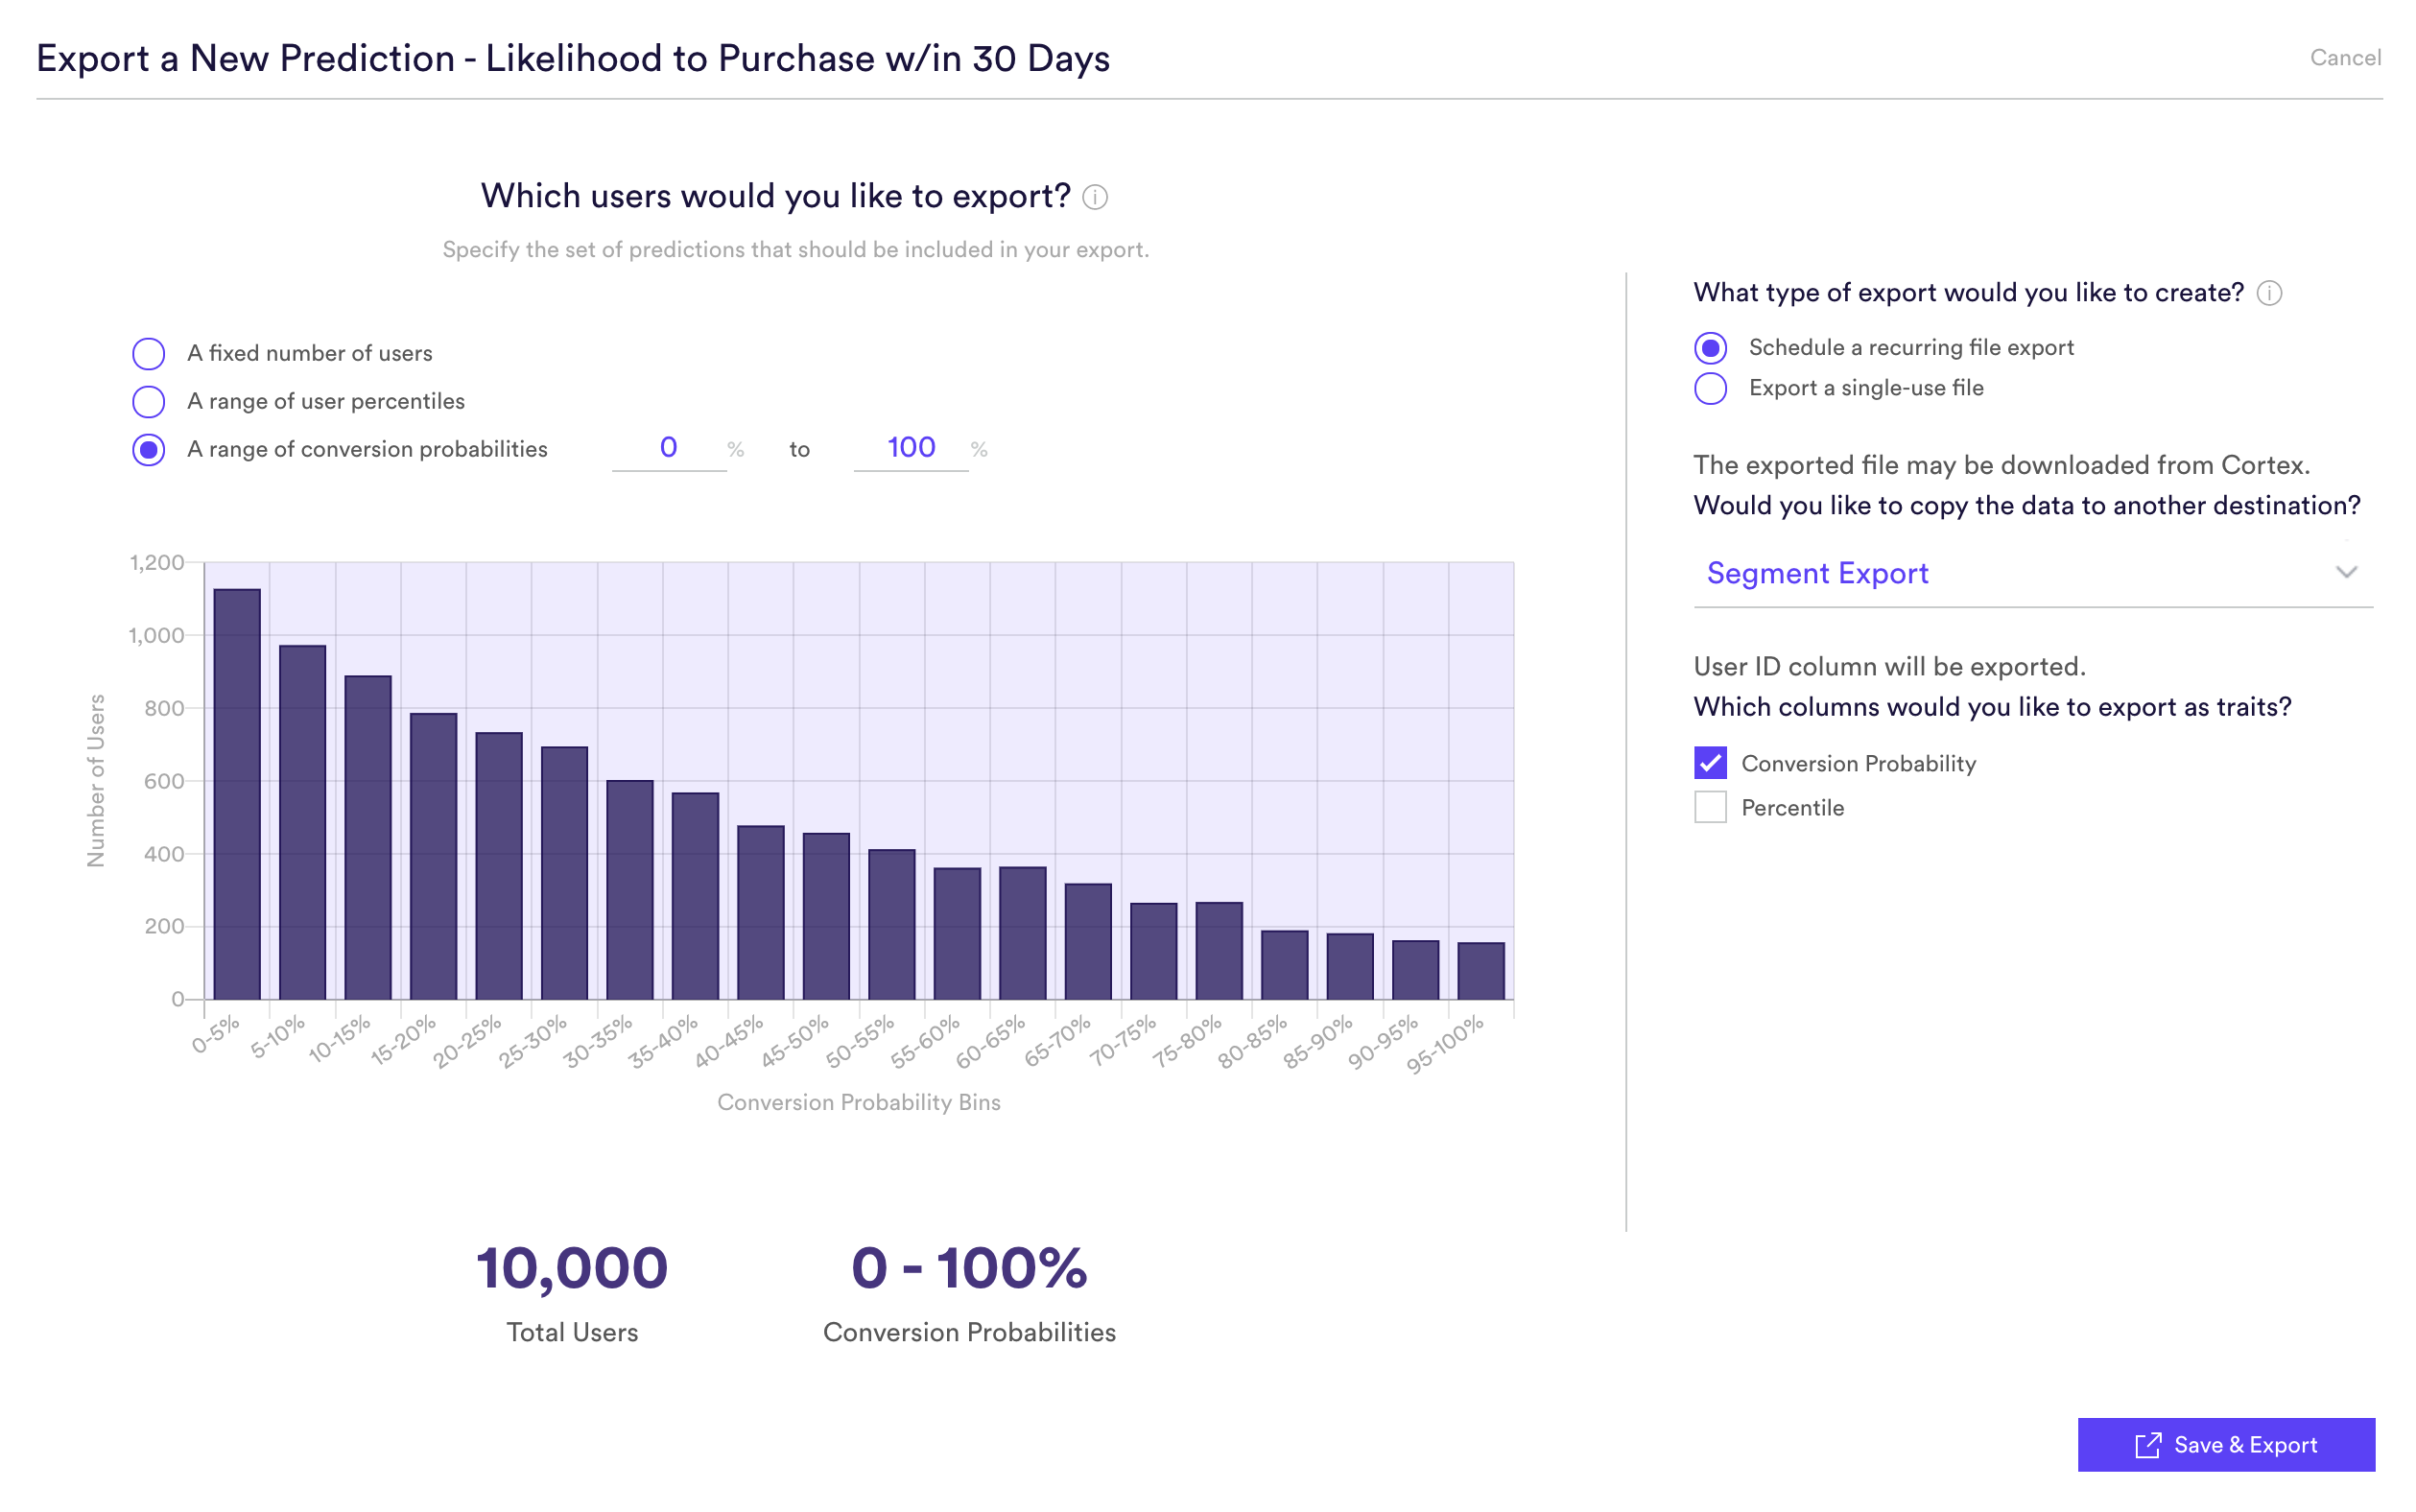
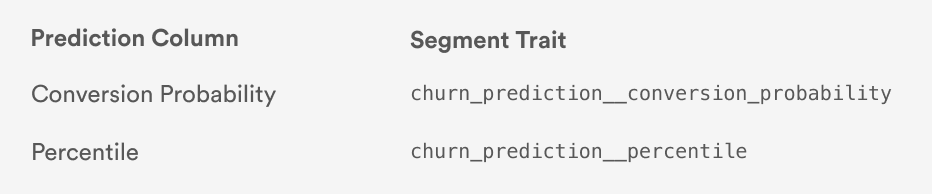
Once you’ve selected Segment as your destination, specify one or more prediction columns that you’d like to send to Segment. The prediction columns that you export will appear in Segment as User Traits, with a naming convention that indicates both the pipeline and column name. For example, the following traits would be available to export from a Future Events pipeline called “Churn Prediction”.
Related Links
Still have questions? Reach out to support@mparticle.com for more info!