How Can We Help?
Permutive
Once you’ve created a Machine Learning Pipeline, Cortex makes it easy to integrate the predictions into various third-party platforms, including Permutive DMP.
An integration with Permutive allows you to deliver predictions from any Cortex pipeline directly into your Permutive DMP account. This enables you to seamlessly launch ad campaigns using ML-powered segments which strike the right balance between reach and precision.
In this guide, we’ll walk through how to set up a Permutive connection in Cortex, and discuss the functionality that this integration unlocks within your Cortex account.
Connecting a Permutive Export Destination
A Cortex Export Destination sets up an integration between your Cortex account and a third-party platform. Once the connection is live, you may export predictions from Cortex directly to this custom destination.
To connect your Cortex account to Permutive DMP, create an Export Destination by following the steps below.
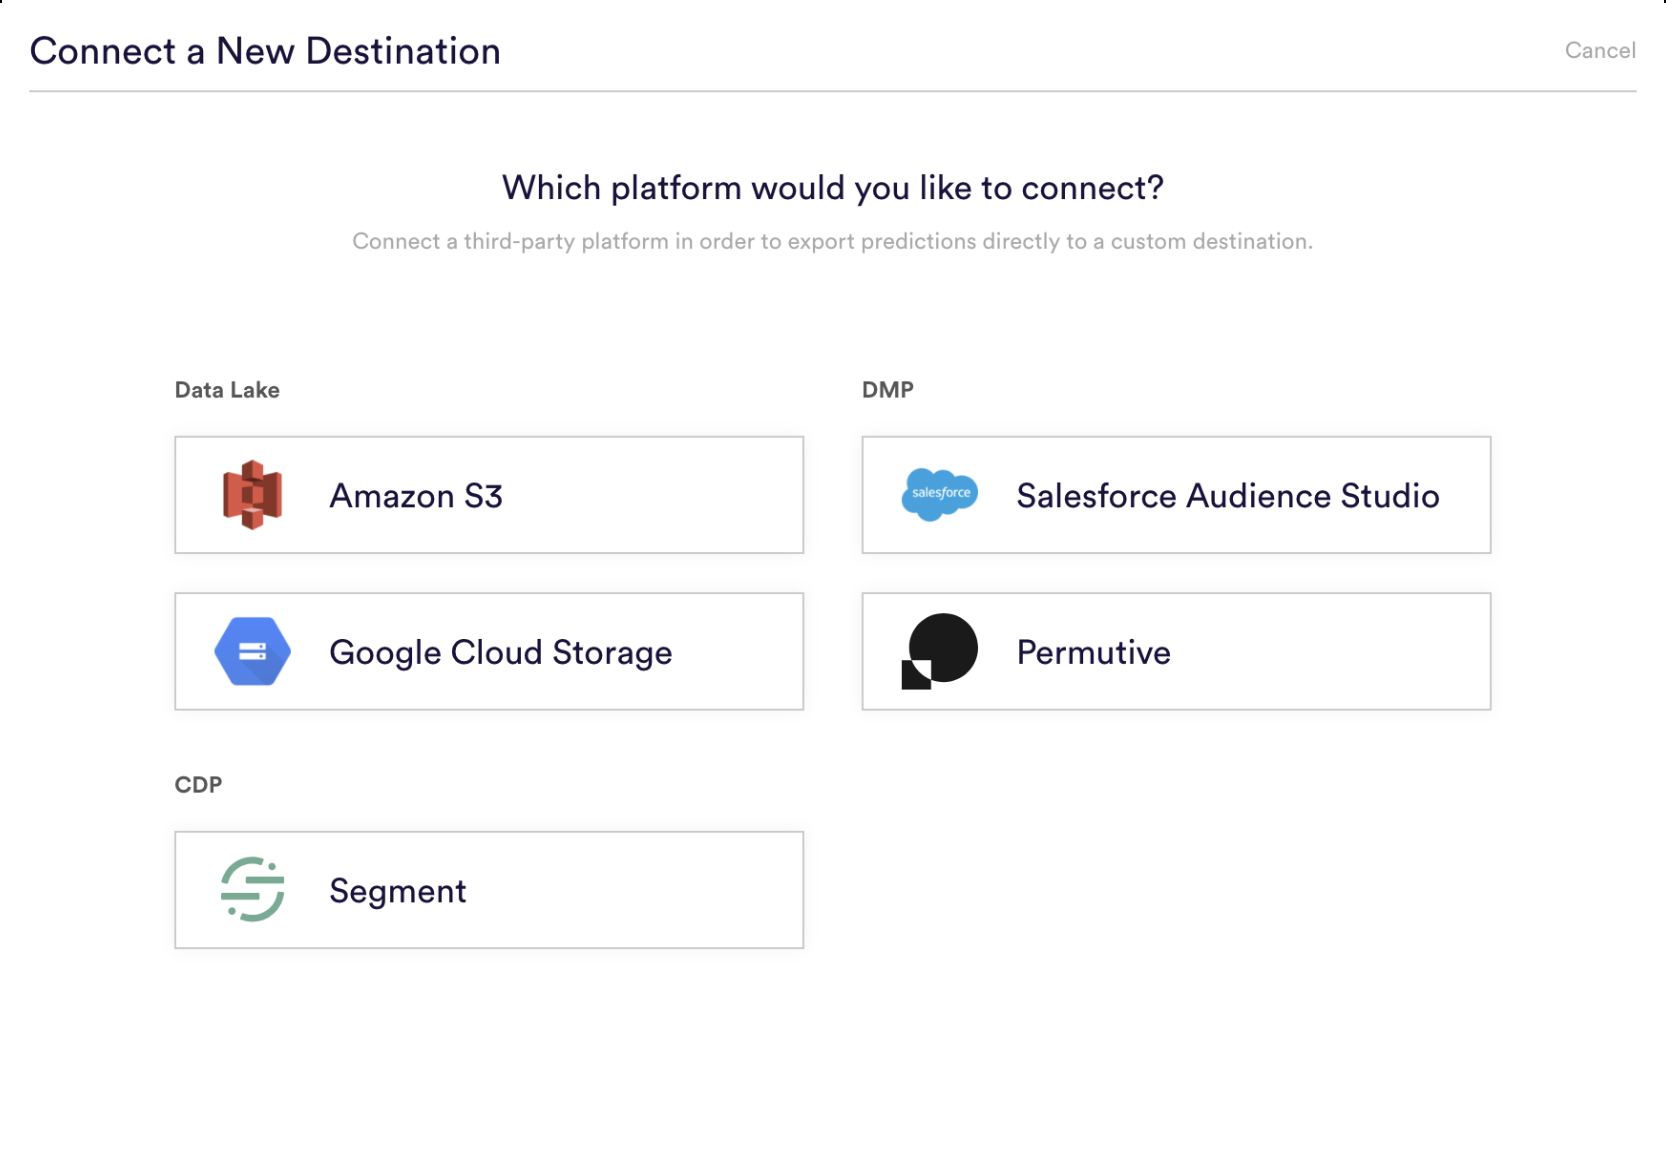
Step 1: Select Platform
First navigate to the Export Destinations area of the Data tab in Cortex, and select the “Permutive” icon from the list of available platforms.
Step 2: Name Your Export Destination
Provide a name for your Export Destination so that you can reference it later when exporting predictions from a pipeline.
Step 3: Create an Upload Directory
Before connecting the export destination, you must first contact Permutive support to ensure that (a) a Google Cloud Storage bucket has been provisioned for your account, and (b) access to this bucket has been granted to a GCP service account with email address partners@vidora-production.iam.gserviceaccount.com.
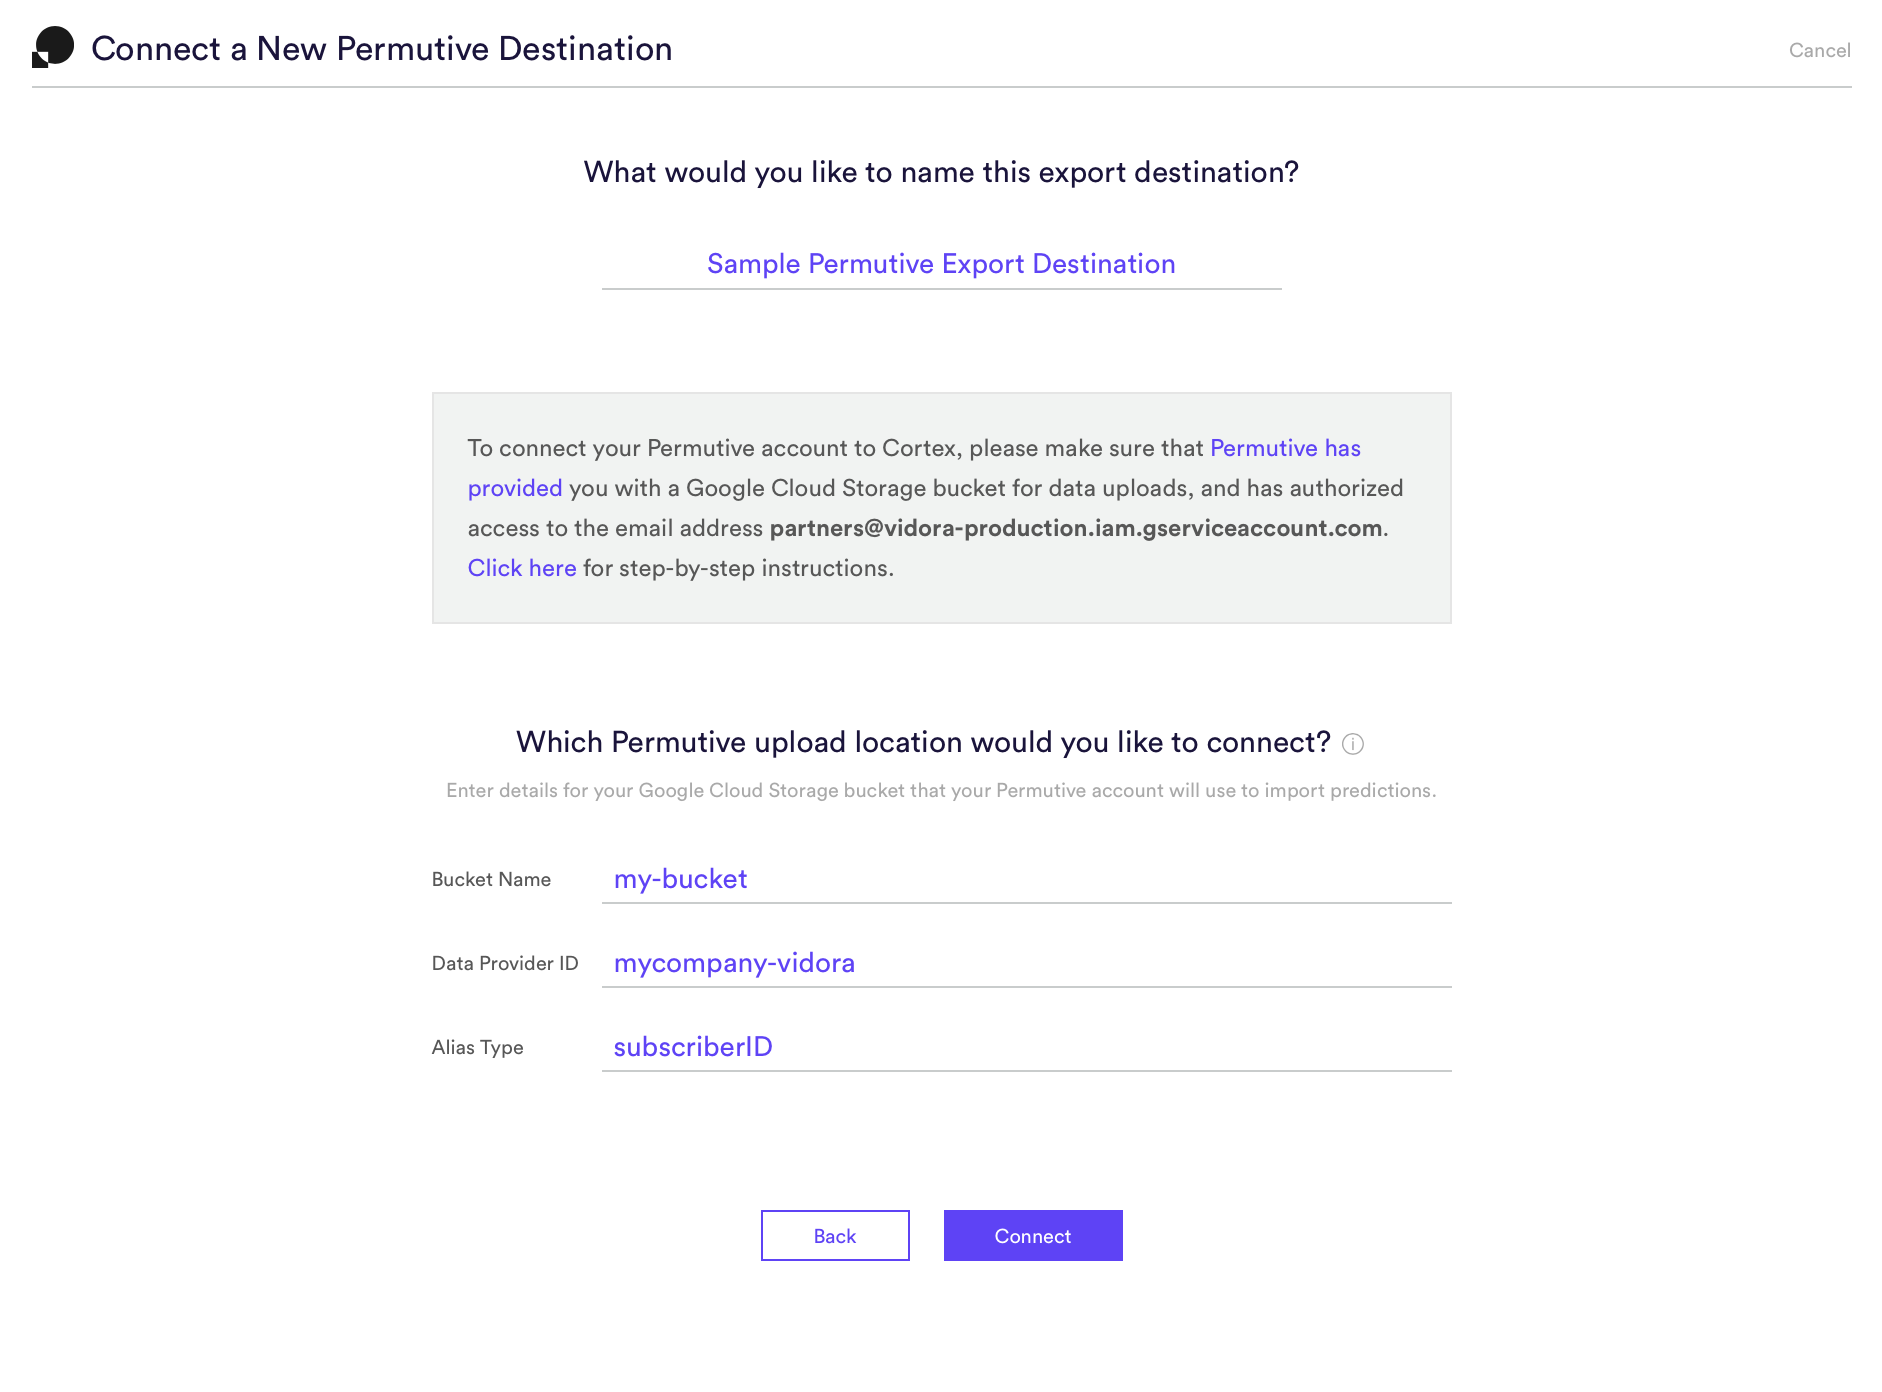
Step 4: Enter Bucket Details
Enter details for the Google Cloud Storage bucket that was provisioned in Step 3. Once your Export Destination is live, you may create a Prediction Export to send predictions into this bucket, where they will be imported into Permutive as second party segment membership data.
The three pieces of information that you must specify are (1) bucket name, (2) data provider ID, and (3) alias type. Your Permutive support team can provide you with these details.
Bucket Name – the name of the Google Cloud Storage bucket provided to you by Permutive (e.g. ‘my-bucket’)
Data Provider ID – an identifier for Cortex as a data provider to Permutive (e.g. ‘mycompany-vidora’)
Alias Type – the name of the user ID field to be used for matching users in Permutive (e.g. ‘subscriberID’)
Step 5: Activate the Connection
After you’ve entered your bucket details, hit “Connect” to activate the integration. Cortex will automatically test whether the connection is valid before creating the Export Destination.
Exporting Predictions to this Destination
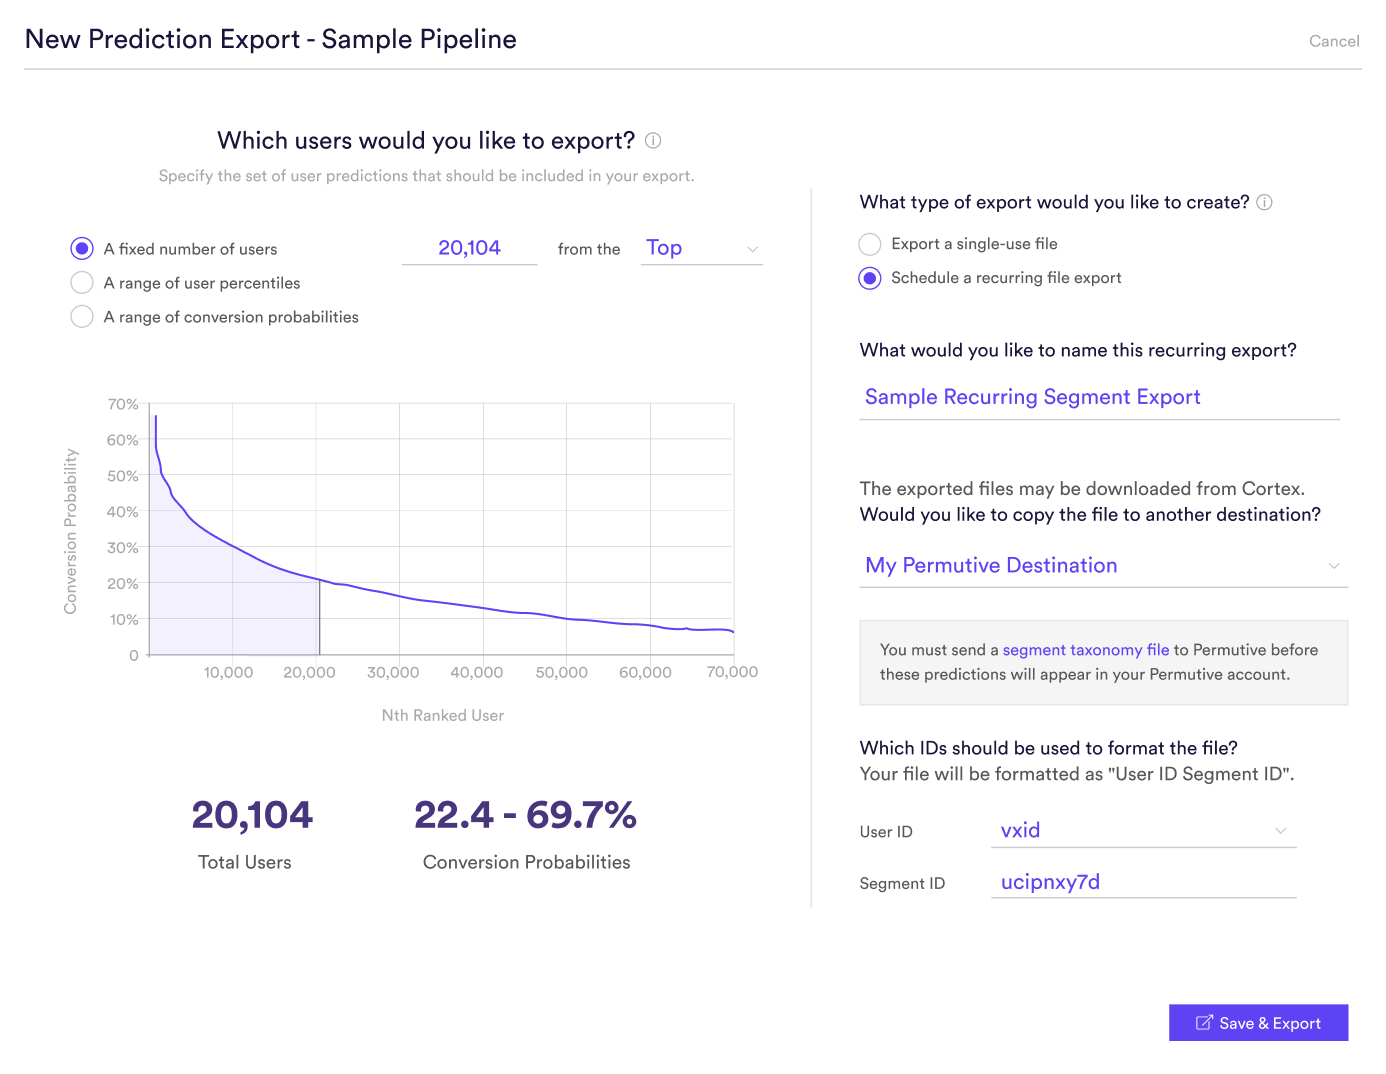
Once your Export Destination has been connected, predictions from any Machine Learning Pipeline may be exported directly into your Permutive account. To do this, first create an empty placeholder segment in Permutive and take note of the segment ID string. Next, create a Prediction Export in Cortex and specify that results should be copied to the Permutive Export Destination that you created.
Once this option is selected, supply the IDs that will be used to format the file according to Permutive’s requirements:
- User ID: Which ID column does Permutive use to match your users?
- Segment ID: What is the unique ID for the segment in Permutive? This can be any alphanumeric string.
Once the export is live, you’ll need to send a taxonomy file to your Permutive support team. Once the taxonomy file has been processed by Permutive, the segment should appear in your Permutive account.
You should also work with Permutive support to set a TTL on the segment. This TTL should match the schedule on which your pipeline runs. For example, if your pipeline updates its predictions on a weekly basis, the segment that this pipeline is populating in Permutive should have a TTL of 7 days. This ensures that the old results will be expired and fully replaced by new results when the pipeline refreshes.
Related Links
Still have questions? Reach out to support@mparticle.com for more info!